Sign in
Create Your Account
Create My Account
Sign In
Create Your Account
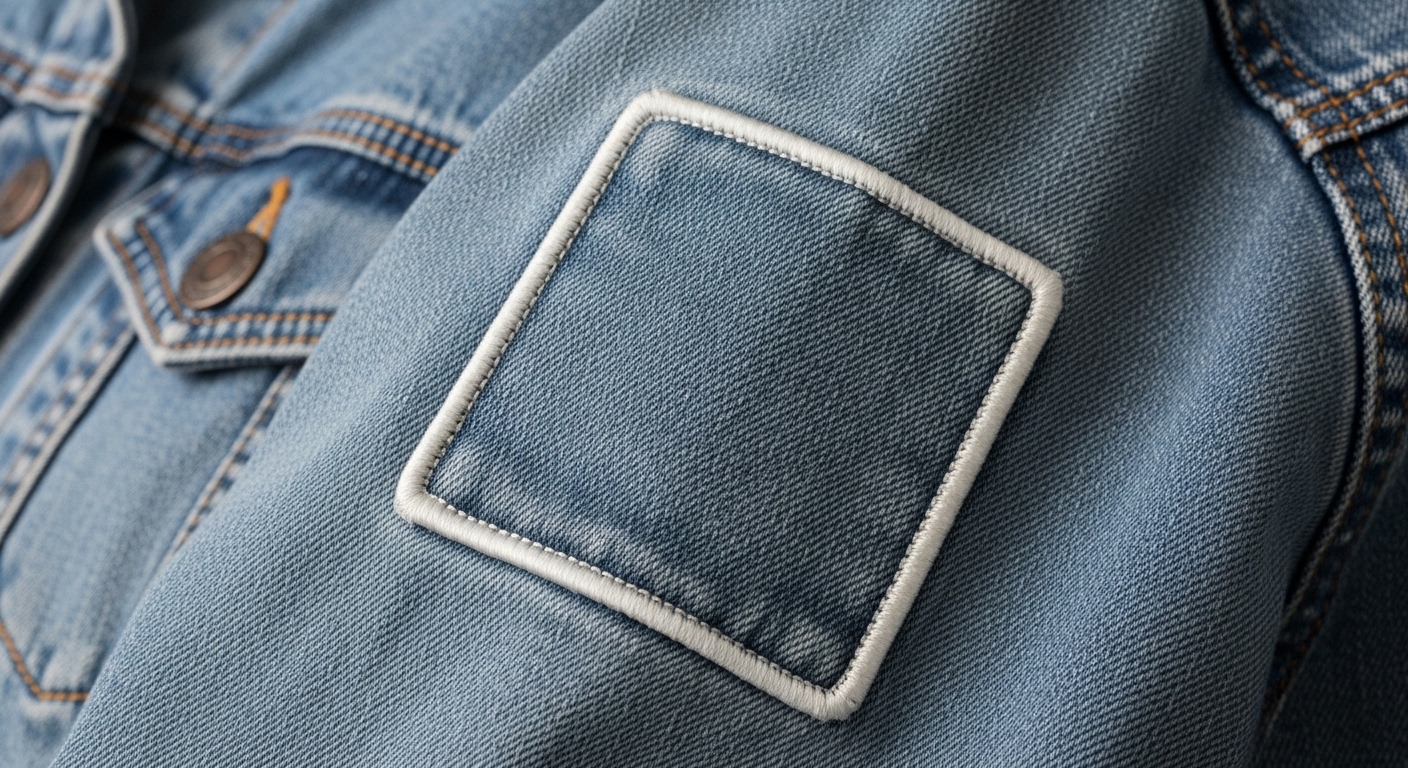
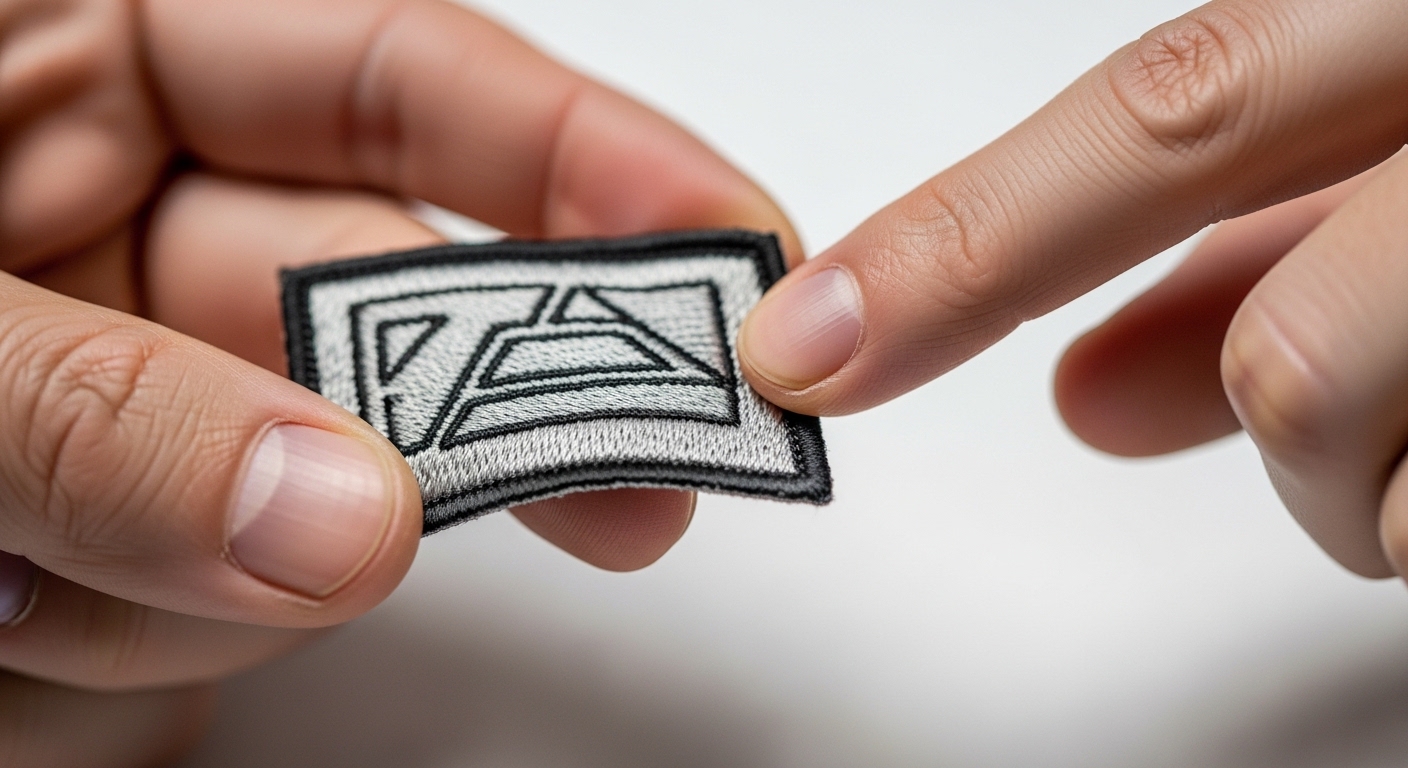
Learn how to order custom embroidered velcro patches that stay sharp, durable, and easy to swap—get logo and name tips plus a faster quote path.
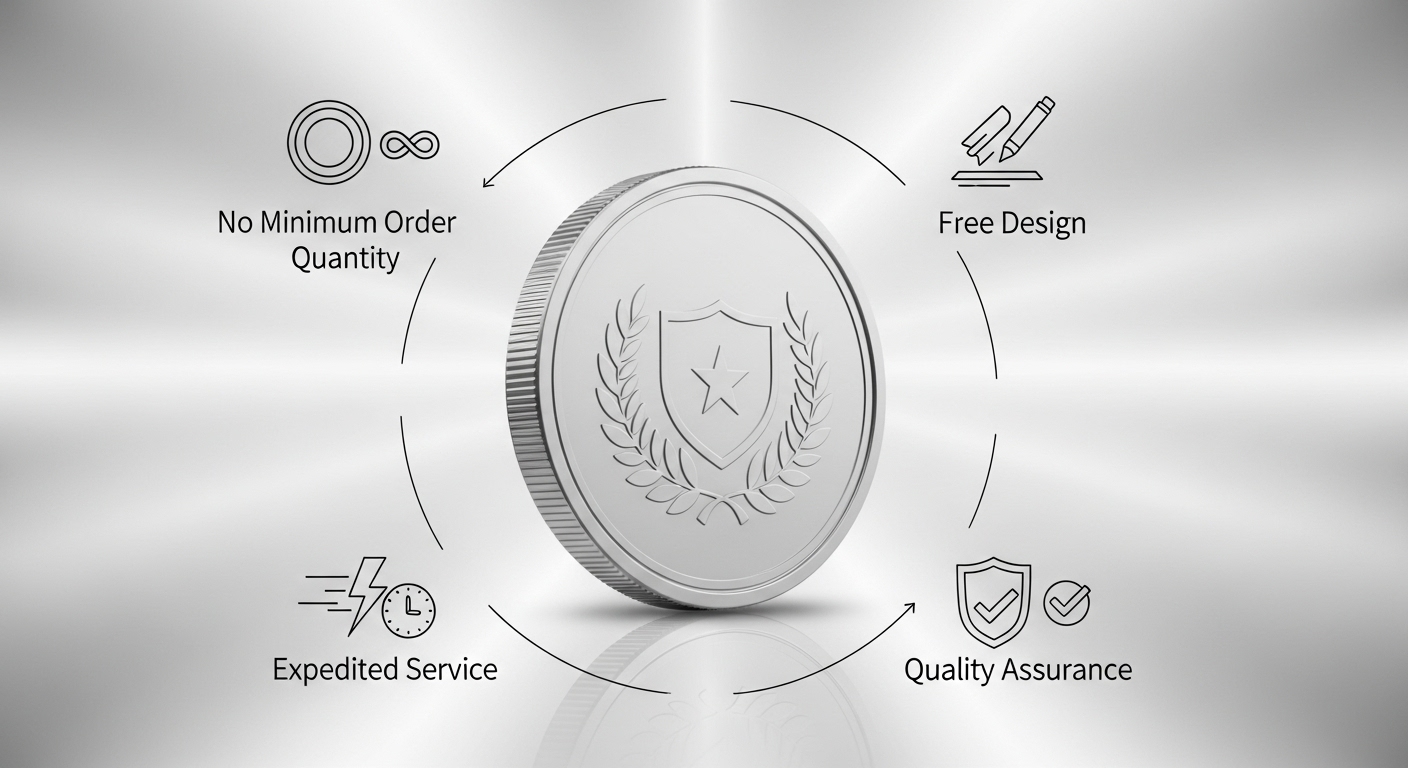
What makes Velcro-backed embroidered patches a go-to choice?
Why do teams and brands rely on custom embroidered Velcro patches?
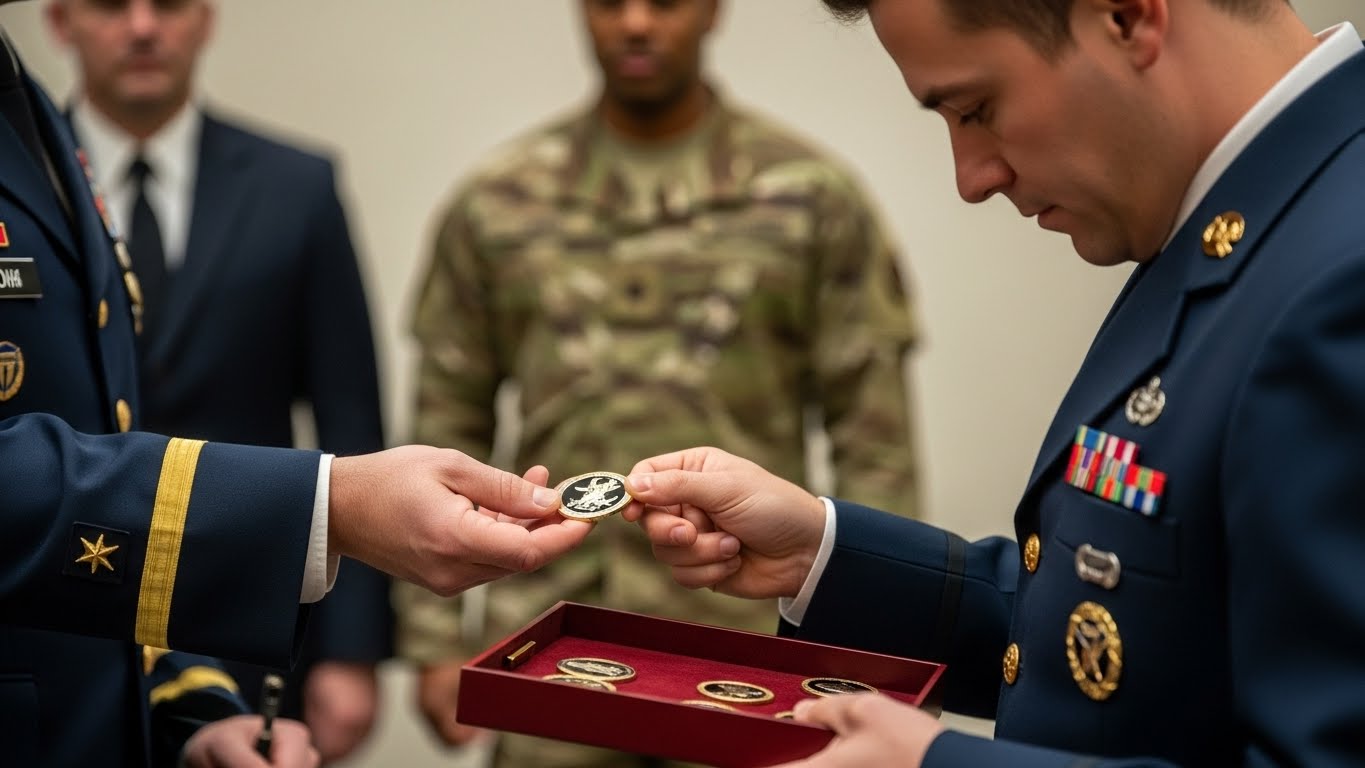
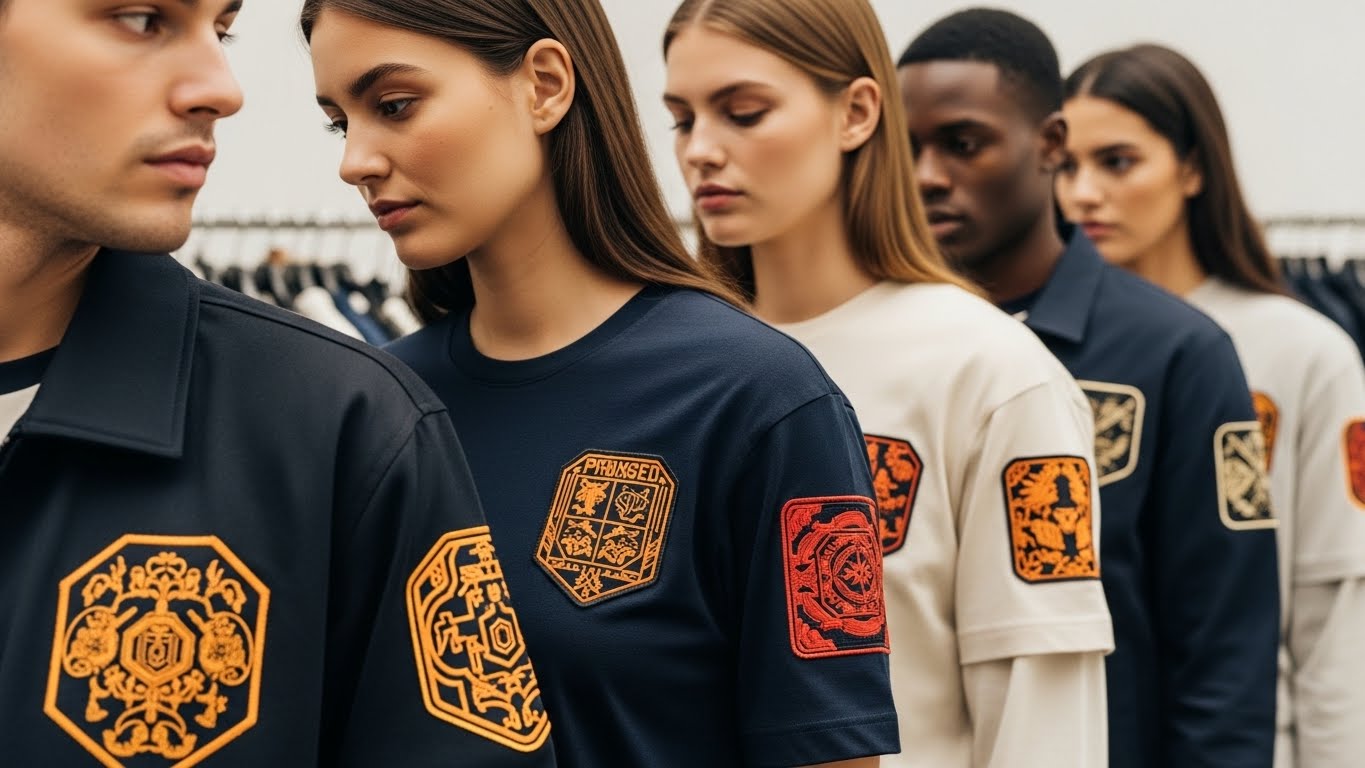
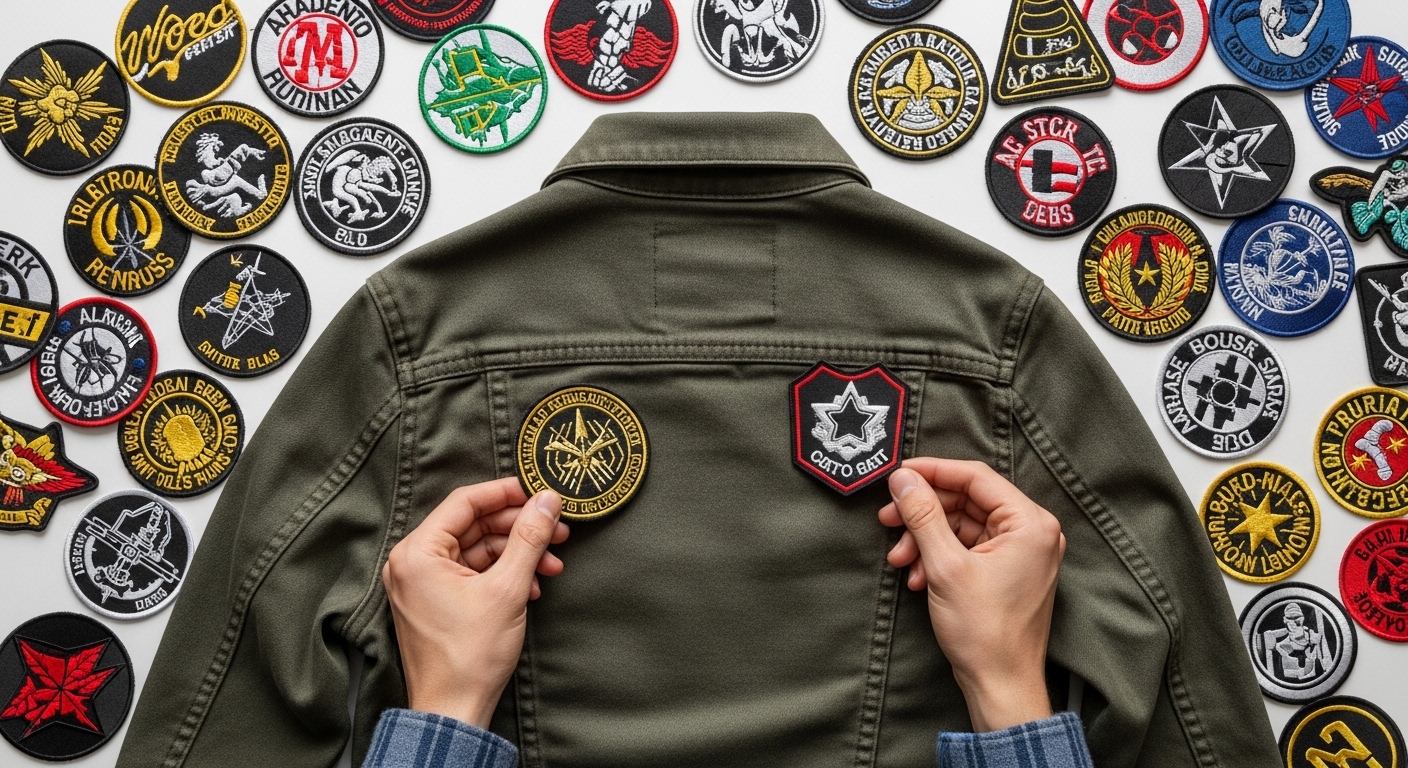
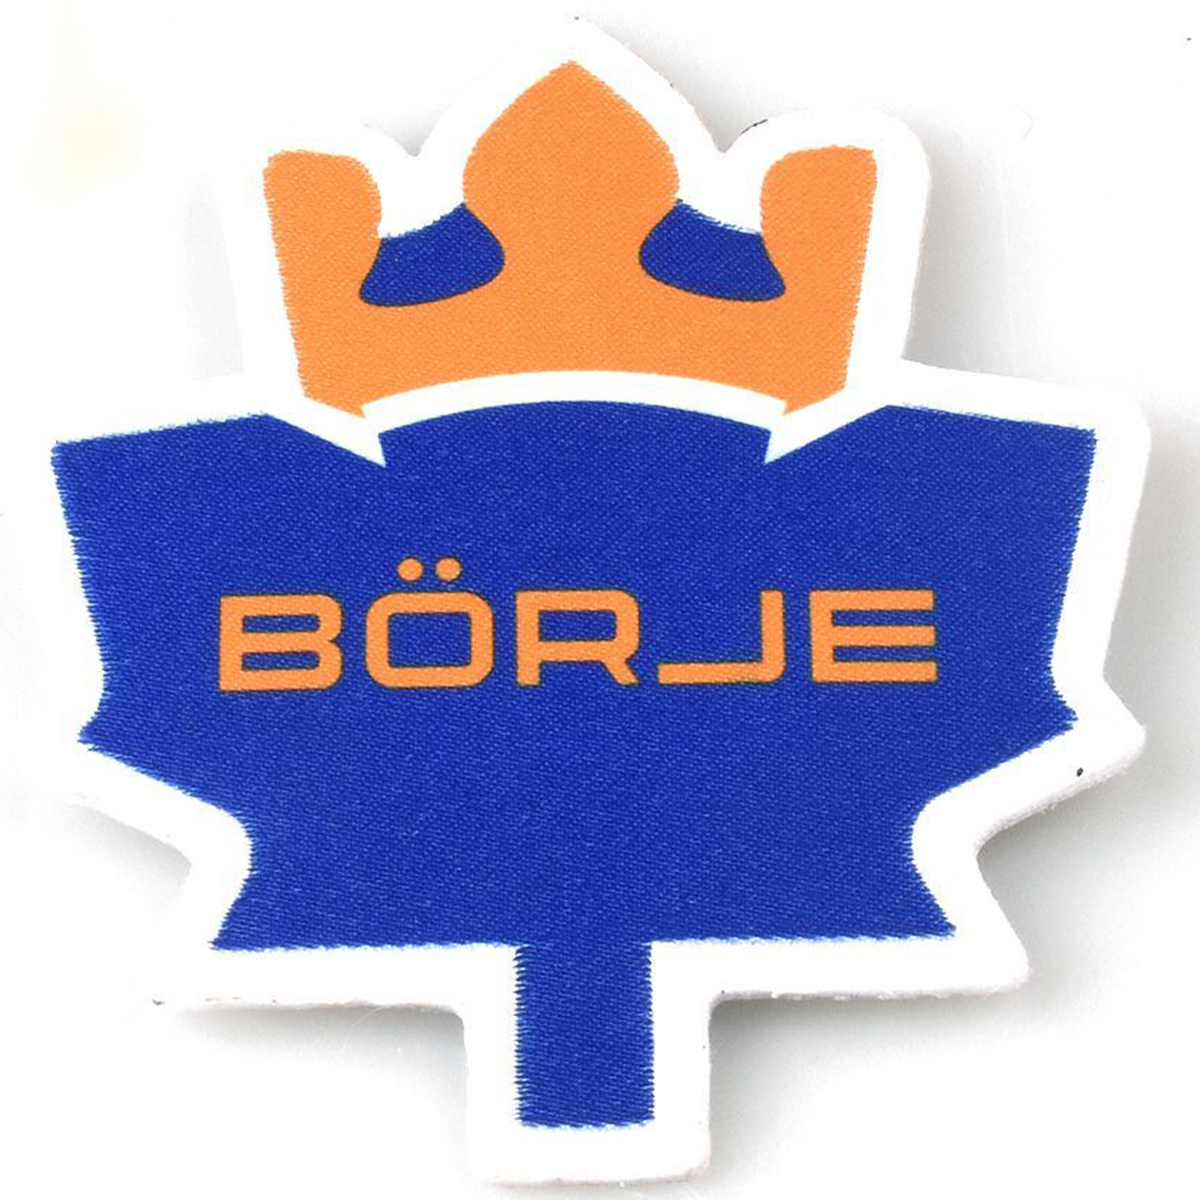
If you’ve ever managed uniforms, event staffing, field gear, or brand activations, you’ve probably felt the pain of “one garment, many needs.” A jacket might be worn by different staff members across shifts, a tactical vest may need role identifiers, and a production crew might rotate between venues. Hook-and-loop backing solves that operational problem: patches can be swapped in seconds without sewing each time. That’s why custom embroidered velcro patches show up everywhere from corporate service teams to outdoor clubs and government-related departments.
Embroidery also does something printed labels often can’t: it signals durability and intent. Thread has depth, catches light, and stays readable from multiple angles. When you’re building trust—think staff credibility at a trade show, safety visibility on site, or brand consistency in customer-facing roles—patch quality quietly communicates professionalism. And because embroidered patches can be produced in consistent color and stitch density, they’re a practical way to keep a brand system tight across regions and suppliers.
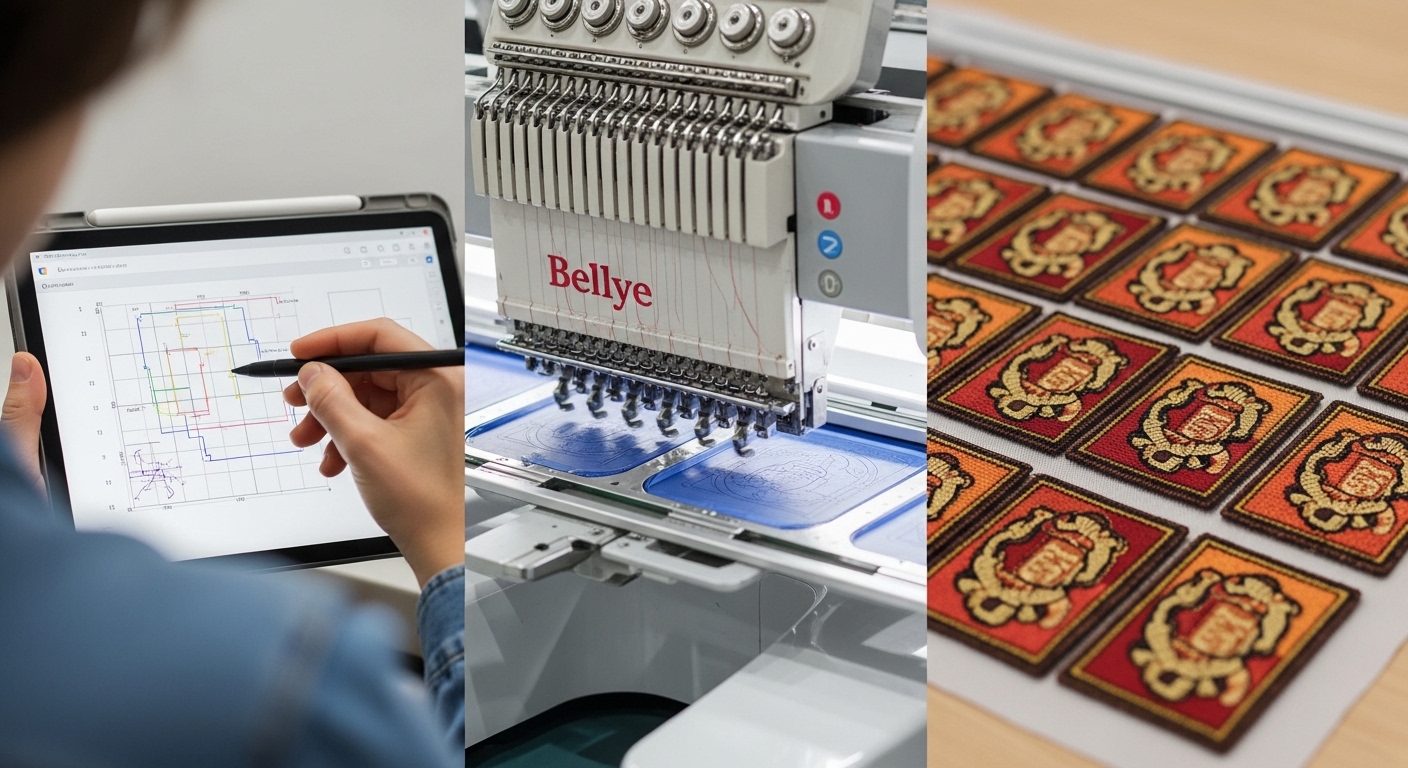
Maxemblem has been manufacturing custom products for over 20 years, supporting global brands, government departments, small businesses, and independent creators. For patches specifically, the biggest difference you’ll notice from an experienced manufacturer is not “just prettier stitches”—it’s cleaner digitizing, stronger edge finishing, and more reliable hook-and-loop attachment so the patch doesn’t peel or curl during real use.

How to decide with confidence: price, size, craftsmanship, and design
Most patch disappointments come from unclear expectations. People often focus on the artwork, then get surprised by cost, readability, edge quality, or attachment strength. Use the four checkpoints below to make decisions like a buyer who’s ordered hundreds of patches—not a first-timer guessing in the dark.
Why does the price vary so much for custom patches?
Patch pricing isn’t random—there’s a simple structure behind it. The two biggest cost drivers are setup and production complexity. Setup includes digitizing (turning your logo into stitch instructions) and preparing production. This is where many small-quantity orders feel “expensive”: customization typically requires setup work, and for very small runs there may be an additional one-time fee (often described as a mold, plate, or digitizing/setup fee depending on the product category and process).
After setup, unit cost depends on what you’re asking the patch to do. More thread colors, higher stitch density, intricate borders, unusual shapes, and premium backings can increase time and material usage. On the flip side, a clean design with smart simplification (for example, turning thin lines into slightly thicker embroidered strokes) can keep pricing efficient while still looking sharp.
A practical way to estimate cost drivers
If you’re ordering a small batch, plan for the possibility of an added setup fee. That’s normal in custom manufacturing—and it’s also why many buyers bundle a logo patch plus a set of name patches in one quote to maximize value.
How to choose the right patch size so it looks “intentional,” not awkward
Size affects everything: readability, comfort, and how premium the patch feels. Too small and your logo turns into a blob; too big and it looks costume-like or crowds out other identifiers. The best way to choose size is to start with placement, not artwork. Measure the available “flat” area on the garment or gear (chest panel, sleeve loop field, hat front, backpack panel) and leave breathing room around the patch so it doesn’t hit seams or curved edges.
What is the simplest measurement method?
For custom velcro patches name (name strips), legibility usually matters more than brand “impact.” A slightly longer strip with taller letters often reads cleaner from a normal conversation distance. For logos, you can choose a compact footprint if the mark is bold and simple; detailed emblems typically need more room.
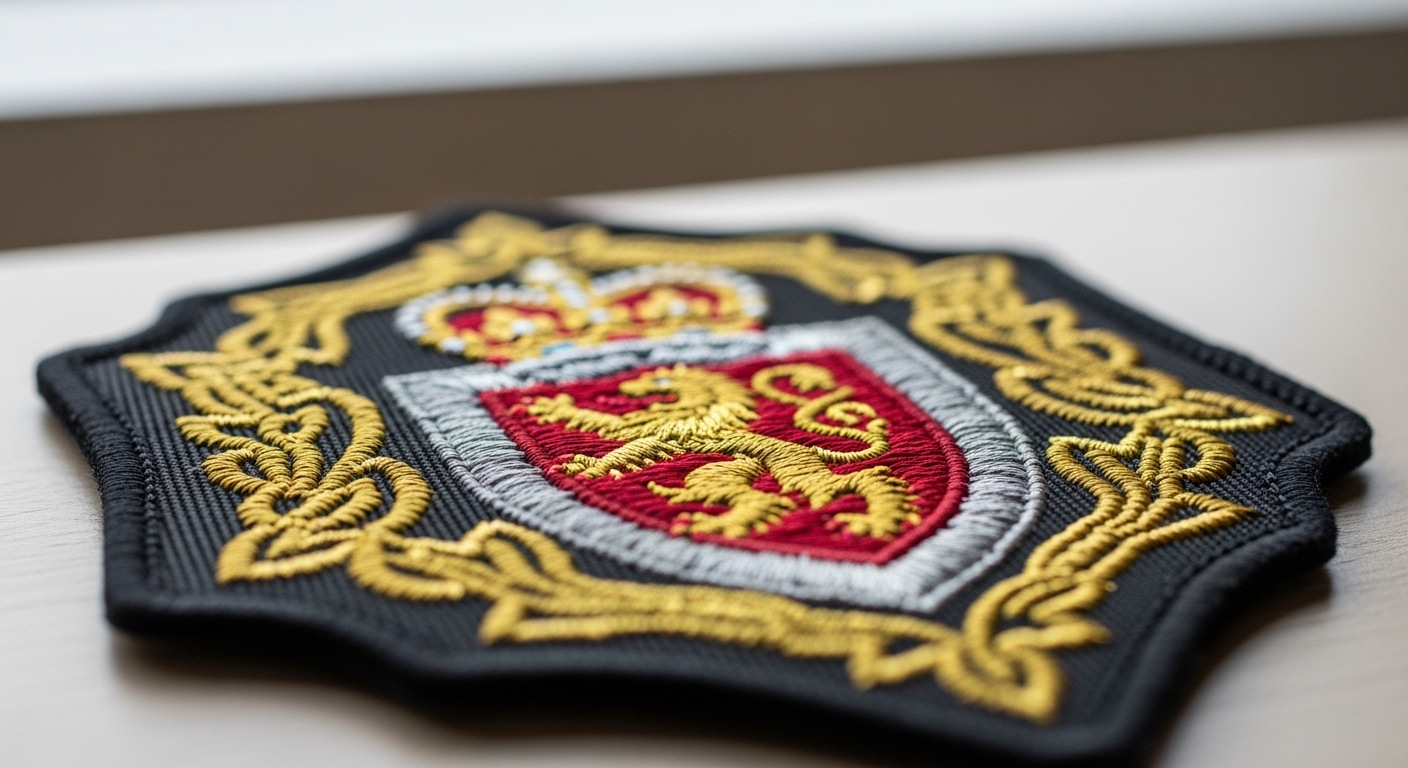
What does “craftsmanship” mean for embroidered Velcro patches?
Craftsmanship is the difference between a patch that survives real use and one that frays after a few weeks. It’s not just the embroidery on top; it includes the base fabric stability, edge finishing, stitch density choices, and how the hook-and-loop is attached. A patch can look fine in a product photo and still fail if the border is weak or the backing is stitched poorly.
Quality checkpoints you can ask about
If your patch will be washed frequently or used outdoors, emphasize durability from day one. Better edge finishing and strong backing attachment are often worth more than squeezing in extra micro-details that no one can see.
How to turn a logo into embroidery without losing clarity
The most common issue with custom velcro patches logo orders is assuming that a screen-ready logo will stitch perfectly. Embroidery is made of thread paths, not pixels. Extremely thin lines, tiny text, gradients, and high-frequency detail often need simplification. That’s not “ruining your design”—it’s translating it into the language of thread so it reads clearly in the real world.
To keep your brand recognizable, aim for bold shapes and clean negative space. If your logo has a slogan, consider separating it into a larger patch or moving it to a printed medium. For embroidery, fewer elements usually looks more premium—because each element gets enough stitch real estate to look intentional.
Design rules that save you from rework
When you’re ordering custom embroidered velcro patches, asking for a clear proof (with thread colors and stitch direction) is the fastest way to prevent “it looked different in my head” moments.
What type of patch should you choose for logos and name personalization?
Not every design belongs on embroidery. The best patch type depends on how much detail you need, where it’s used, and what “feel” you want. Use this table like a matching tool—choose the material that protects your design’s intent.
Patch Type |
Best For |
Strengths |
Watch Outs |
|---|---|---|---|
Embroidered |
Bold logos, classic uniform look, durable identity patches |
Premium texture, strong presence, long wear |
Tiny text and fine gradients may need simplification |
Woven |
Fine detail logos, small text, clean lines |
Sharper detail than embroidery at small sizes |
Less raised texture; “flatter” feel |
PVC |
Modern look, outdoor use, waterproof needs |
Weather resistance, bold colors, easy wipe-clean |
Very fine detail can still be limited by depth/relief |
Leather |
Premium lifestyle branding, heritage aesthetic |
High-end vibe, great for minimal marks |
Not ideal for complex multi-color logos |
Printed |
Photo-like detail, gradients, complex artwork |
High detail reproduction, flexible visuals |
May feel less “classic” than embroidery for uniforms |
Chenille |
Varsity/retro looks, bold letters, big shapes |
Thick texture, strong visual impact |
Not suited for small detail or thin lettering |
TPU / Flex |
Sport/outdoor styling, modern minimal marks |
Clean finish, good durability, contemporary look |
Design must work with the material’s edges and relief |
For most uniform systems, a reliable pairing is: one custom velcro patches logo for brand consistency and multiple custom velcro patches name strips for individual identification. If your logo is extremely detailed, woven patches often preserve fine lines better than embroidery at smaller sizes.
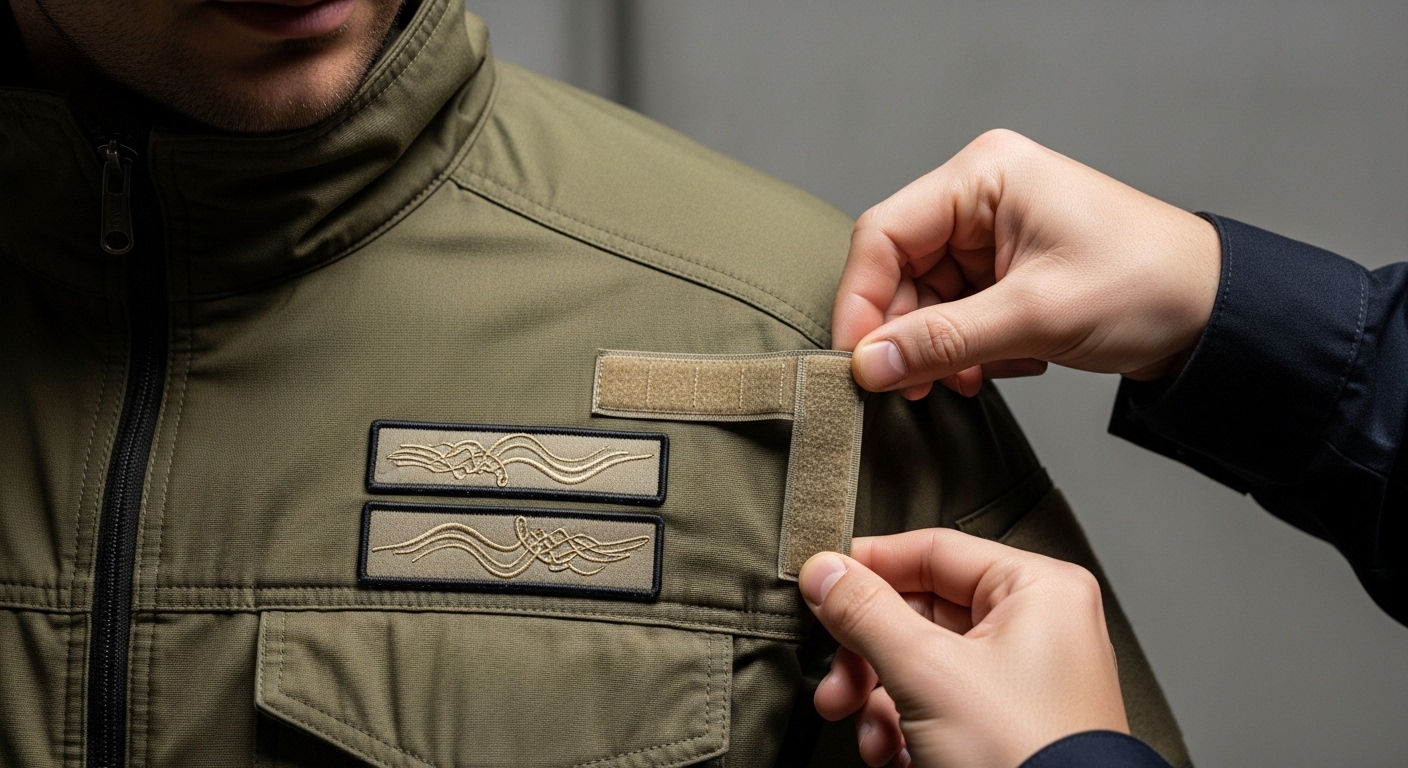
What is hook-and-loop backing, and how do materials affect durability?
What is the difference between hook and loop (Velcro) sides?
Hook-and-loop is a two-part fastening system: the “hook” side has tiny stiff hooks, and the “loop” side has softer loops that catch those hooks. Many people casually call the system “Velcro,” which is commonly used to describe hook-and-loop fasteners in general. For patches, the usual setup is that the patch carries one side, while the garment or gear panel carries the other. The benefit is simple: quick attachment, easy removal, and repeatable alignment.
The key quality point is how securely the backing is attached to the patch body. If corners lift, it’s often because the backing wasn’t stitched or bonded well enough—or because the patch is too stiff for the placement area and constantly flexes. If you expect heavy use, ask for stronger edge finishing and backing attachment so your patch stays flat and secure over time.
A quick backing checklist
How do thread and base materials change the final look?
Materials are not just a technical detail—they determine how your patch looks under real lighting and real wear. Thread type and base fabric influence sheen, color perception, and how crisp the embroidery appears. Some threads reflect more light and appear brighter; others look more matte and understated. Base fabrics can also impact stitch stability: a stable base helps fine shapes stay clean, while a softer base may show more texture variation.
For brand systems, consistency matters. If you’re ordering both custom velcro patches logo and custom velcro patches name for the same program, it’s smart to keep base color and border style consistent so the whole set looks unified. When patches look mismatched, it’s often because details like border thickness or base fabric color were decided separately.
If you want a modern, rugged feel, PVC is a strong option. If you want a classic uniform aesthetic, embroidery remains the default. And if you want small text that stays sharp, woven patches typically outperform embroidery at the same size.
How to order custom Velcro patches from concept to finished product
How does the ordering process work step by step?
A smooth patch order is less about luck and more about aligning expectations early. Most issues—blurred text, unexpected color shifts, or backing mismatches—come from skipping proofs or assuming a logo will embroider exactly like it appears on a screen. The process below is designed to keep you in control while preventing the common pitfalls that waste time and budget.
How fast can patches be produced and shipped?
Lead times vary by product type and shipping method. The table below follows the provided production and shipping time references.
Shipping Method |
Product Type |
Production & Shipping Time |
|---|---|---|
Priority Shipping |
Embroidery Patches |
3 business days for production, 3 business days shipping |
Priority Shipping |
Woven Patches |
10 business days for production, 3 business days shipping |
Priority Shipping |
Printed Patches |
5 business days for production, 3 business days shipping |
Priority Shipping |
PVC Patches |
7 business days for production |
Priority Shipping |
TPU / Flex Patches |
3 business days for production, 3 business days shipping |
Express Shipping |
Embroidery Patches |
5–7 business days for production, 3 business days shipping |
Standard Shipping |
Embroidery Patches |
5–7 business days for production, 9 business days shipping |
Timelines above are a planning baseline. Final delivery depends on proof approval timing, order complexity, and the chosen shipping method.
Ready to get a quote with fewer back-and-forth messages?
Share your artwork, target size, quantity, and intended use, and we’ll help you choose the right construction for durability and clarity:
FAQs buyers ask before ordering custom Velcro patches
What is the minimum order quantity for custom patches?
Minimum order quantity can vary by patch type, size, and production method. For small-quantity orders, it’s also common to see an additional setup/digitizing fee because custom work requires preparation before production. If you’re deciding between a small run and a larger run, request a quote for both—many buyers choose a slightly larger quantity to reduce the per-piece impact of setup.
What’s the difference between embroidered and woven patches?
Embroidered patches use thicker thread that creates a raised, textured look—great for bold logos and classic uniform aesthetics. Woven patches use finer threads woven together, which can preserve small text and fine lines more cleanly at smaller sizes. If your custom velcro patches logo has tiny lettering or detailed outlines, woven may keep it sharper; if you want a premium “stitched” texture, embroidered is often the right call.
How can I make sure my logo stays clear after embroidery?
Start with a simplified version of the logo for embroidery: thicken thin lines, reduce micro-elements, and increase spacing between shapes. Use high-contrast color choices, and confirm a proof that shows how details will stitch. If clarity is still a concern, consider woven or printed patches depending on your artwork style.
Which is better for uniforms: a logo patch or name patch?
Most uniform programs use both: a consistent logo patch to support branding and a name patch to help staff feel approachable and identifiable. That’s also a practical workflow—logo patches stay the same across roles, while custom velcro patches name can be swapped as staff rotate, departments change, or temporary crew members join.