Sign in
Create Your Account
Create My Account
Sign In
Create Your Account
Learn custom tactical velcro patches—materials, sizing, and design tips for morale, unit, logo & name patches. Get it right and order faster.
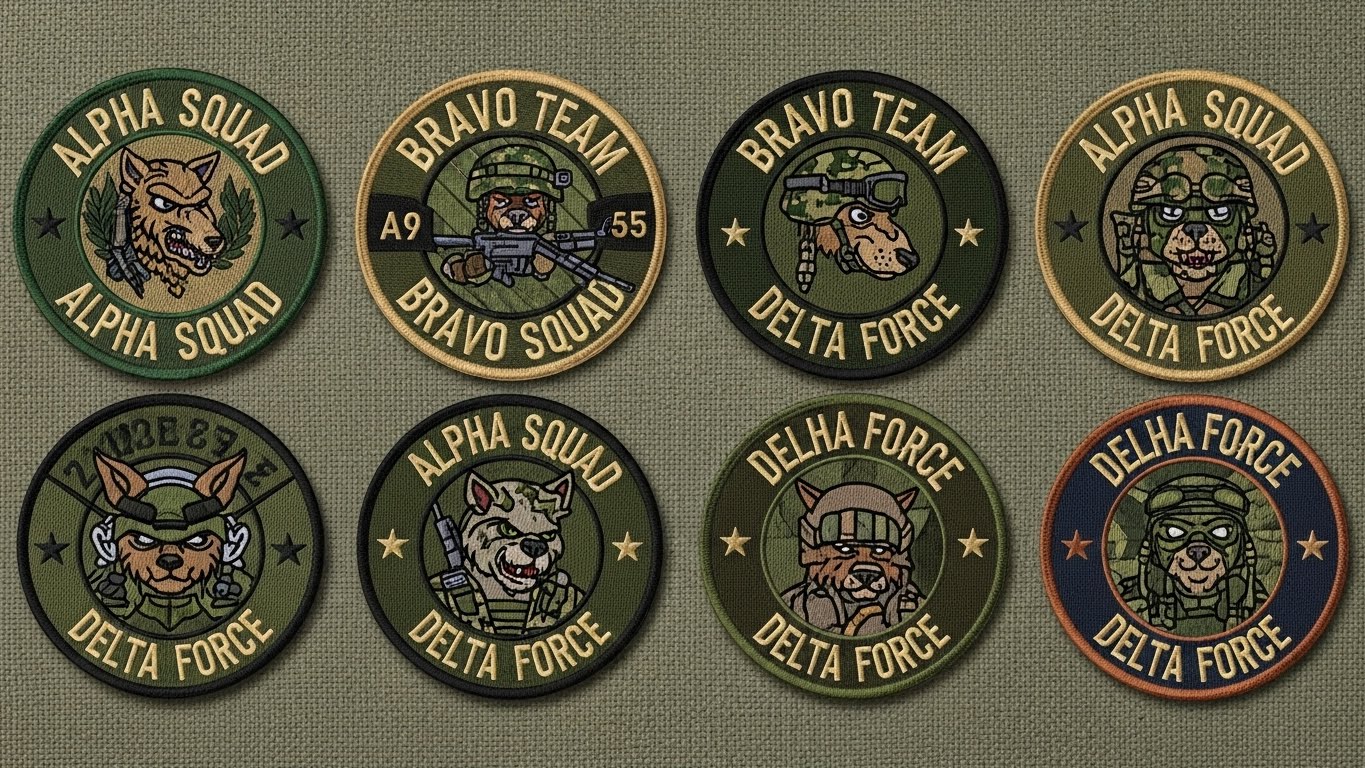
What are Velcro-backed patches used for in airsoft and uniform programs?
Why do Velcro patches feel like the “soul” of tactical gear?
Whether you’re joining an airsoft event, coordinating a team for training, or managing uniform programs, the reality is the same: people need clear identification that can change quickly. Hook-and-loop backed patches solve that problem in seconds. Unlike sewn-on insignia, custom tactical velcro patches can be swapped when roles shift, when gear rotates between team members, or when a unit needs temporary markings for a specific mission or exercise.
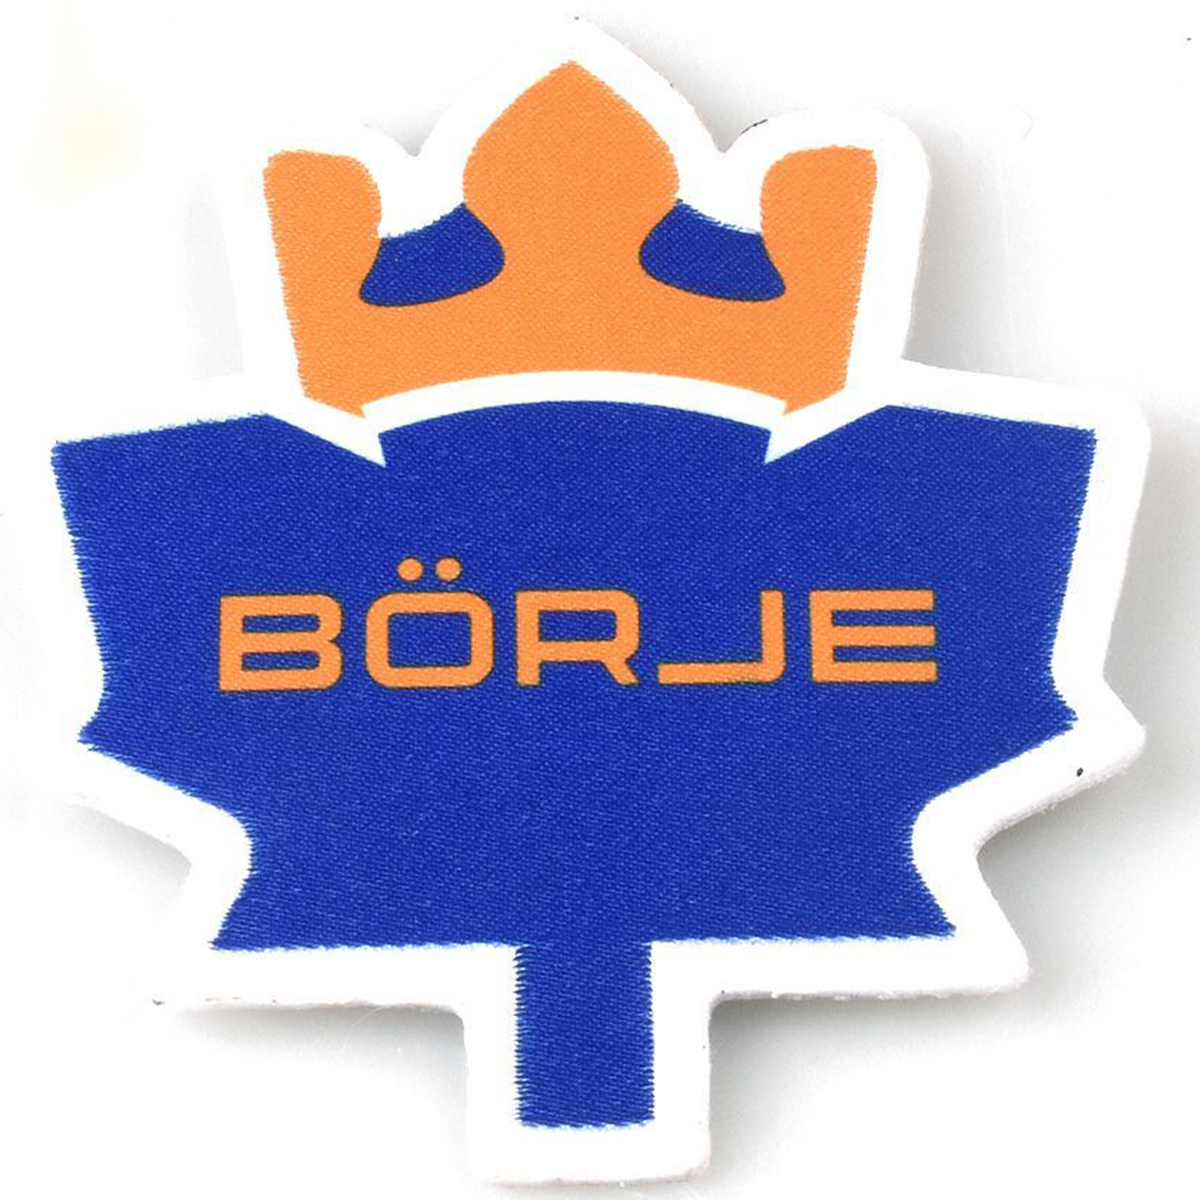
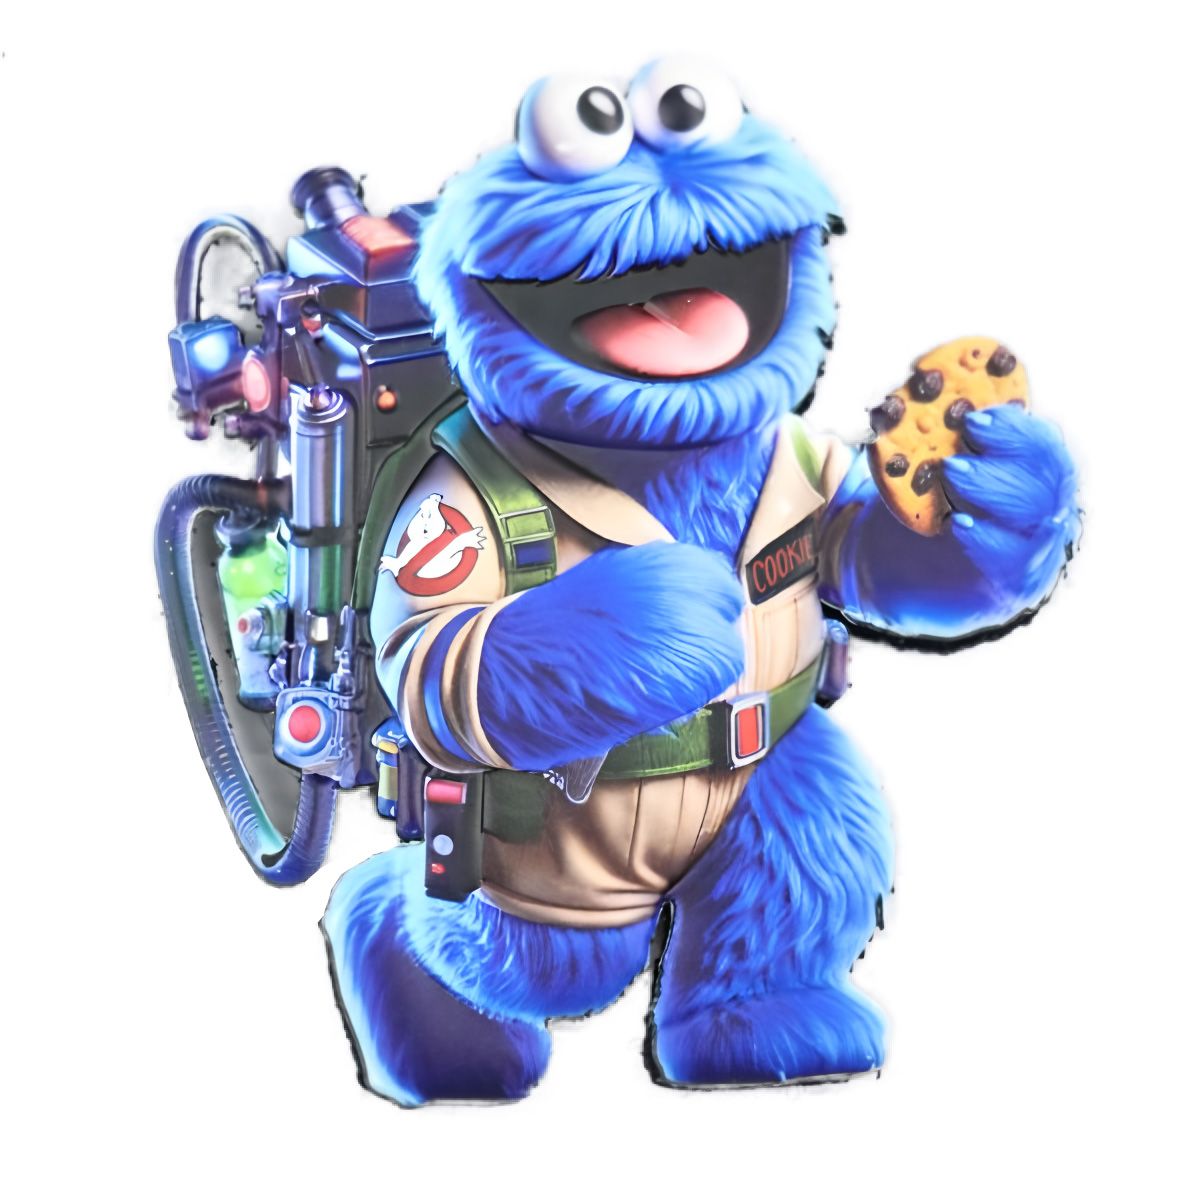
There’s also a culture layer. A well-made morale patch isn’t just decoration—it’s a signal of belonging and shared experience. That’s why custom military morale patches and custom marine corps patches inspired designs (often created by veterans, collectors, or clubs) remain popular: they’re small, visible, and meaningful. For airsoft teams, the same concept applies. A clean team emblem plus custom airsoft name patches gives each player identity while reinforcing team cohesion.
Maxemblem has over 20 years of custom manufacturing experience for global brands, government departments, and small businesses. In patch production, experience shows up in the details that matter outdoors: strong edge finishing, stable stitching, and hook-and-loop attachment that stays tight through repeated rip-and-press cycles—without fraying or curling.
How to avoid costly mistakes: the 4 essentials of customization
Most “bad patch” stories aren’t about taste—they’re about mismatched expectations. A first-time buyer might focus only on the artwork and ignore the practical constraints that decide whether the patch looks sharp on fabric, stays readable at a distance, and holds up to repeated use. If you can evaluate price, size, craftsmanship, and design, you can choose confidently even if you’ve never ordered patches before.
Why does pricing change with quantity and setup?
Patch cost is driven by two things: one-time preparation and per-unit production. For embroidery, artwork must be digitized (converted into stitch instructions). For molded or relief-style patch types, a dedicated setup step may be required. In custom manufacturing, it’s normal that small runs feel “more expensive per piece” because setup work is spread across fewer units. That’s the core reason buyers often ask, “Why is a small batch higher than I expected?”
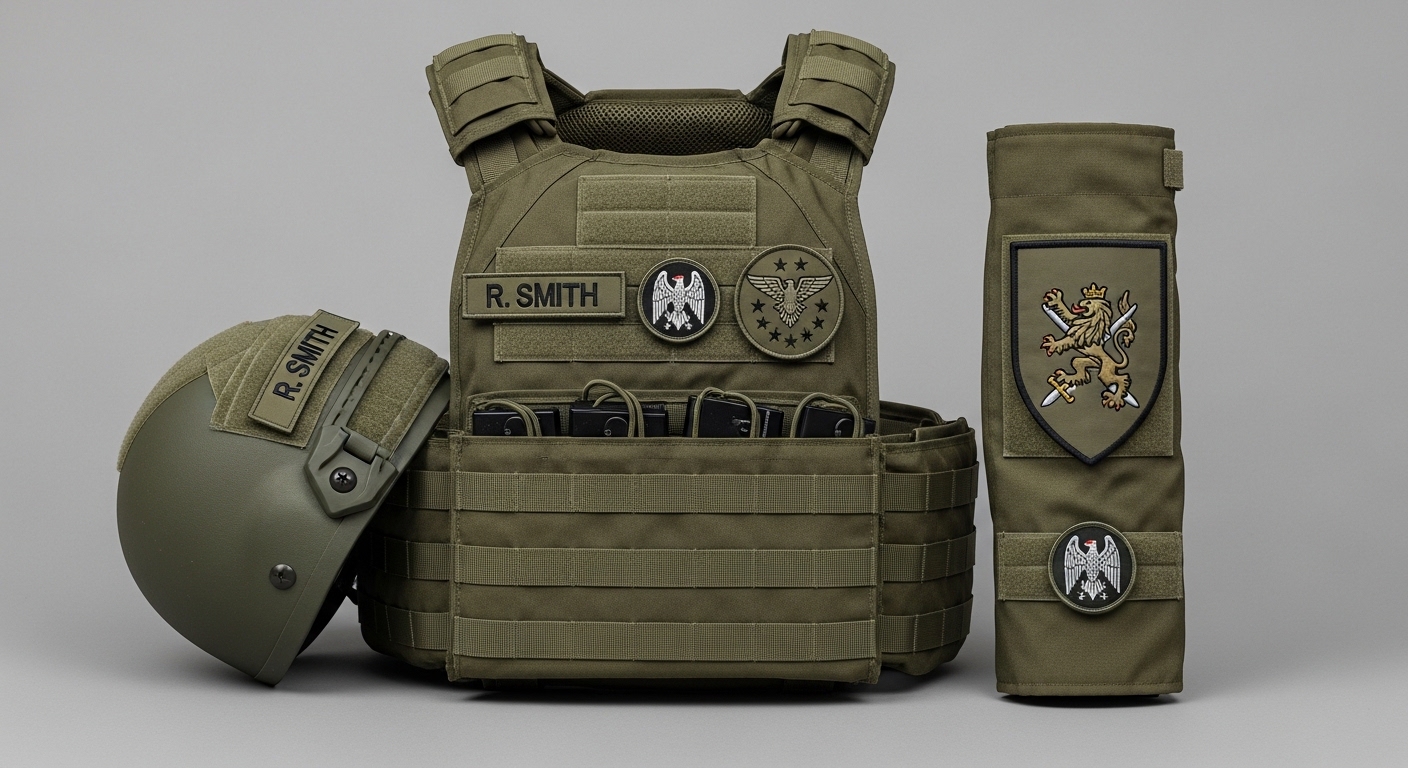
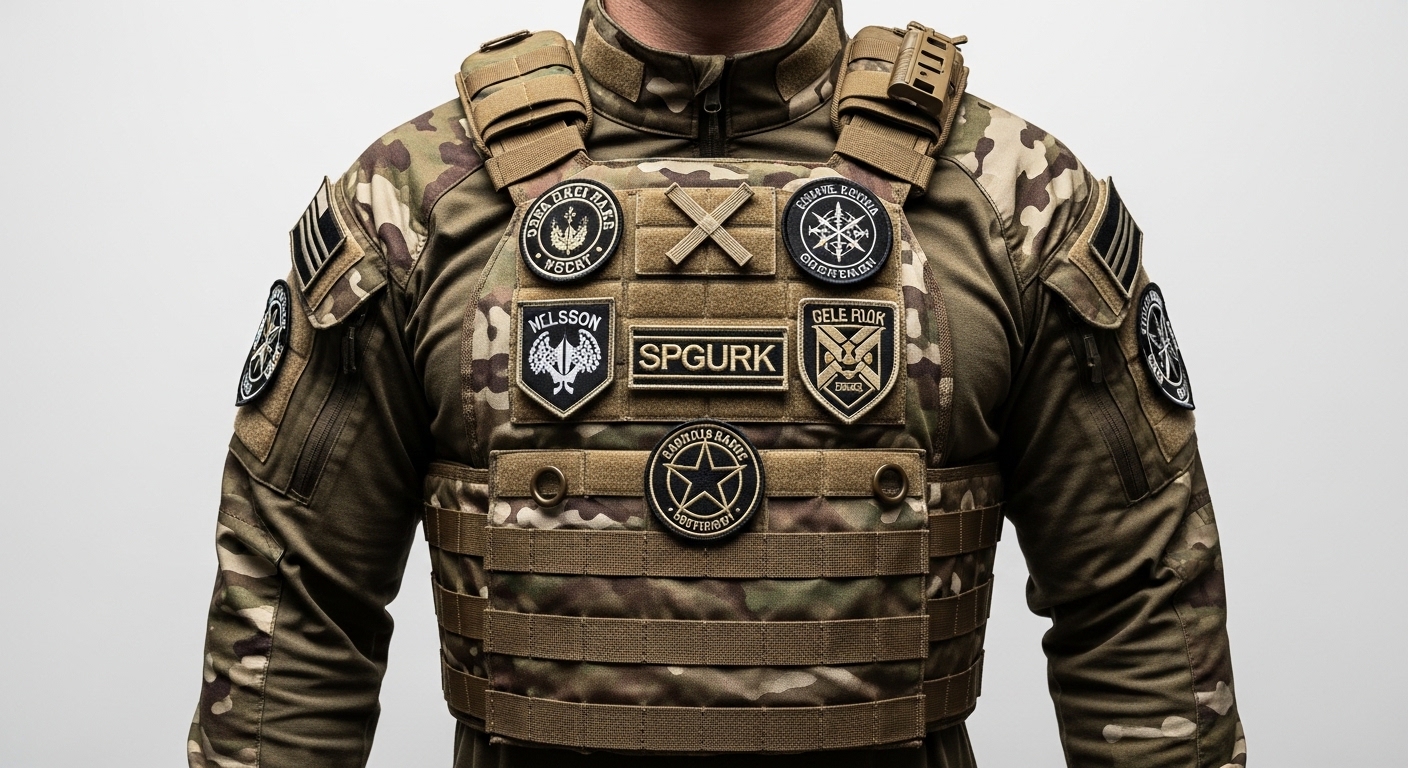
This is also why buyers frequently combine different patch needs into one quote: for example, one set of custom military unit patches (team/unit emblem) plus a pack of military name patches for uniforms (individual name strips). You get a cohesive system, and you reduce the chance of paying multiple separate setup charges across vendors.
Cost Driver |
What It Means |
How to Keep It Efficient |
Buyer Tip |
|---|---|---|---|
Setup / Digitizing |
One-time prep before production (digitizing, layout, production files) |
Use clean vector art; keep the design readable and not overly complex |
Small batches may carry a shared setup fee |
Size |
Larger patches use more material and stitches |
Choose size based on placement area, not just “bigger is better” |
If you need text, prioritize legibility over tiny detail |
Detail Level |
More stitches, more colors, complex borders increase time |
Simplify micro-lines; reduce tiny text; use bold shapes |
Ask for a proof that shows readability at real size |
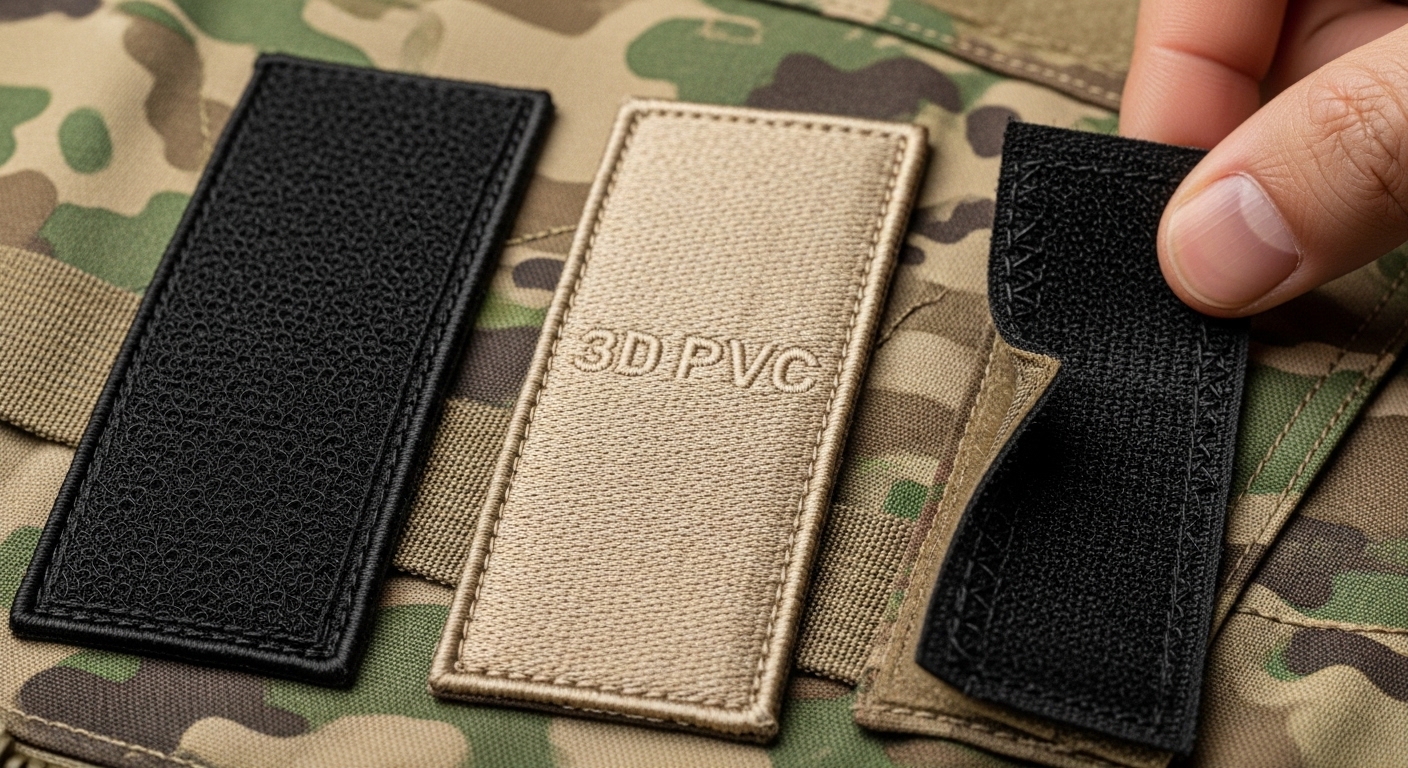
Backing & Finish |
Hook & loop quality and edge finishing affect durability |
Pick a border style that matches how rough the use case is |
Strong backing attachment prevents corner lift |
Education note for first-time buyers: custom production involves a preparation step, so smaller quantities can include extra shared costs. If you’re unsure how minimum order quantity and pricing interact, reach out for the most flexible option—especially when building a system that mixes unit emblems and name strips.
How to choose sizes for vests, helmets, and uniforms
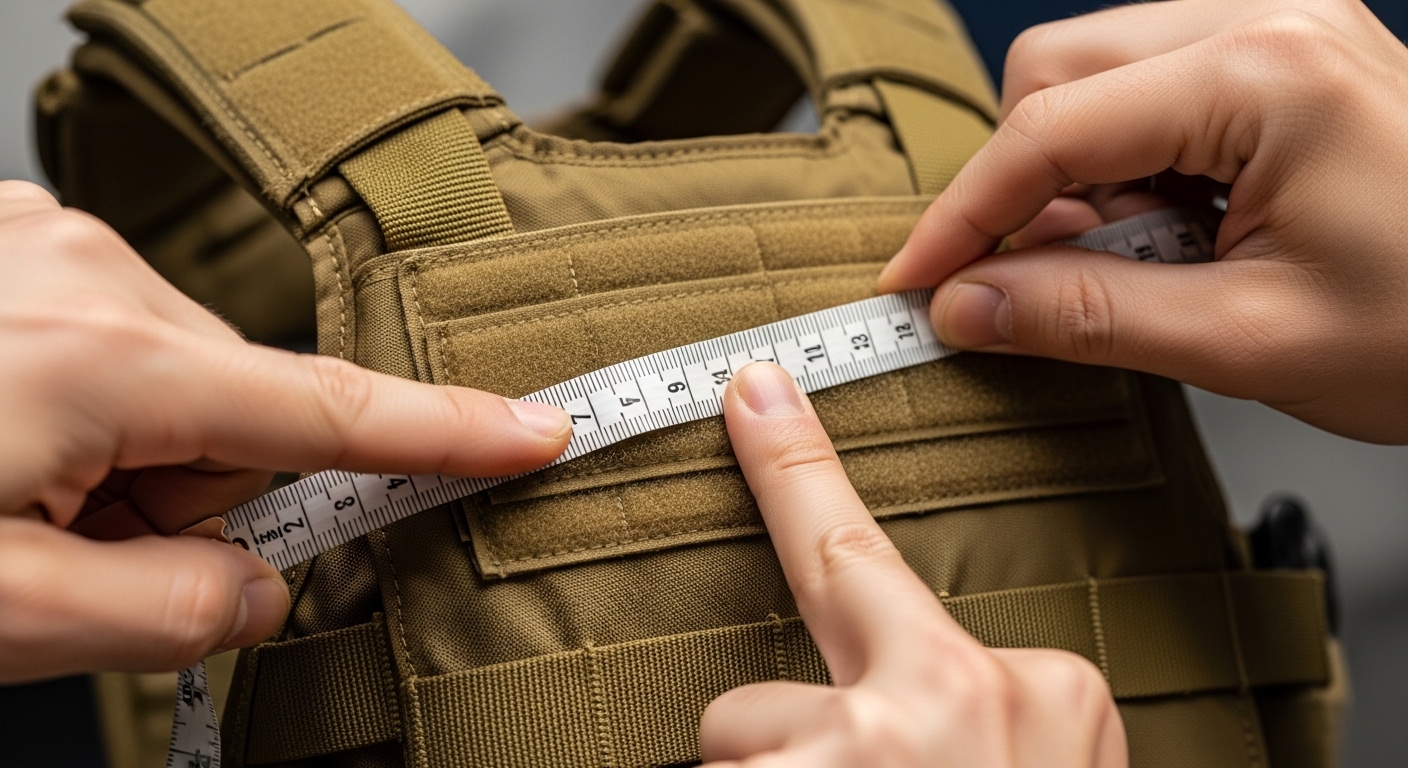
Size is the easiest place to get it wrong, especially for custom airsoft velcro patches and name strips. The key is to measure the actual hook-and-loop field on the gear you’re using. Many tactical vests and carriers include loop panels on the chest, shoulders, or back; helmets and hats often have smaller fields with curved surfaces that can cause stiff patches to lift at the edges.
How to measure in 60 seconds
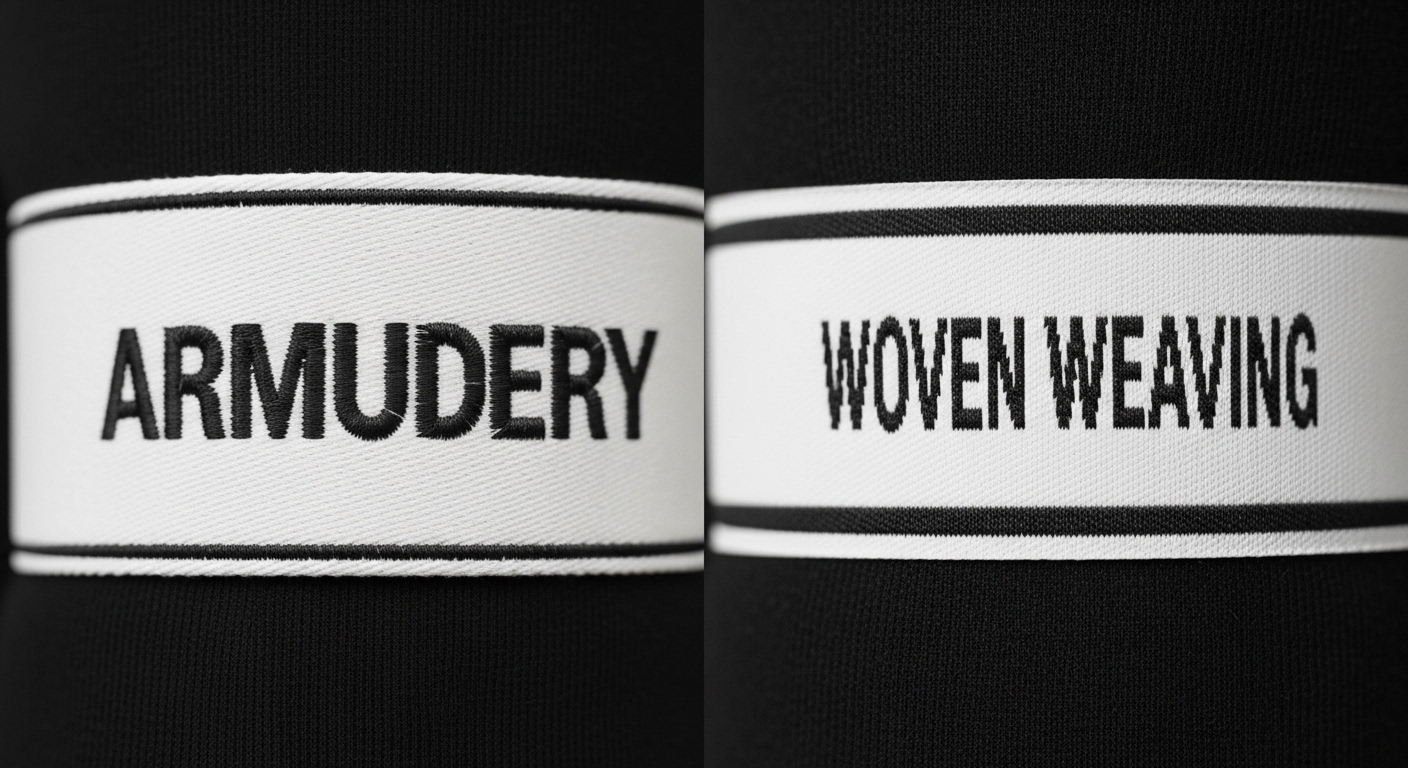
A simple rule: the more your patch relies on text (like air force flight suit name patches or air force name patches for flight suit), the more you should size for readability rather than aesthetics. If you need a compact layout, consider woven construction for sharper small text.
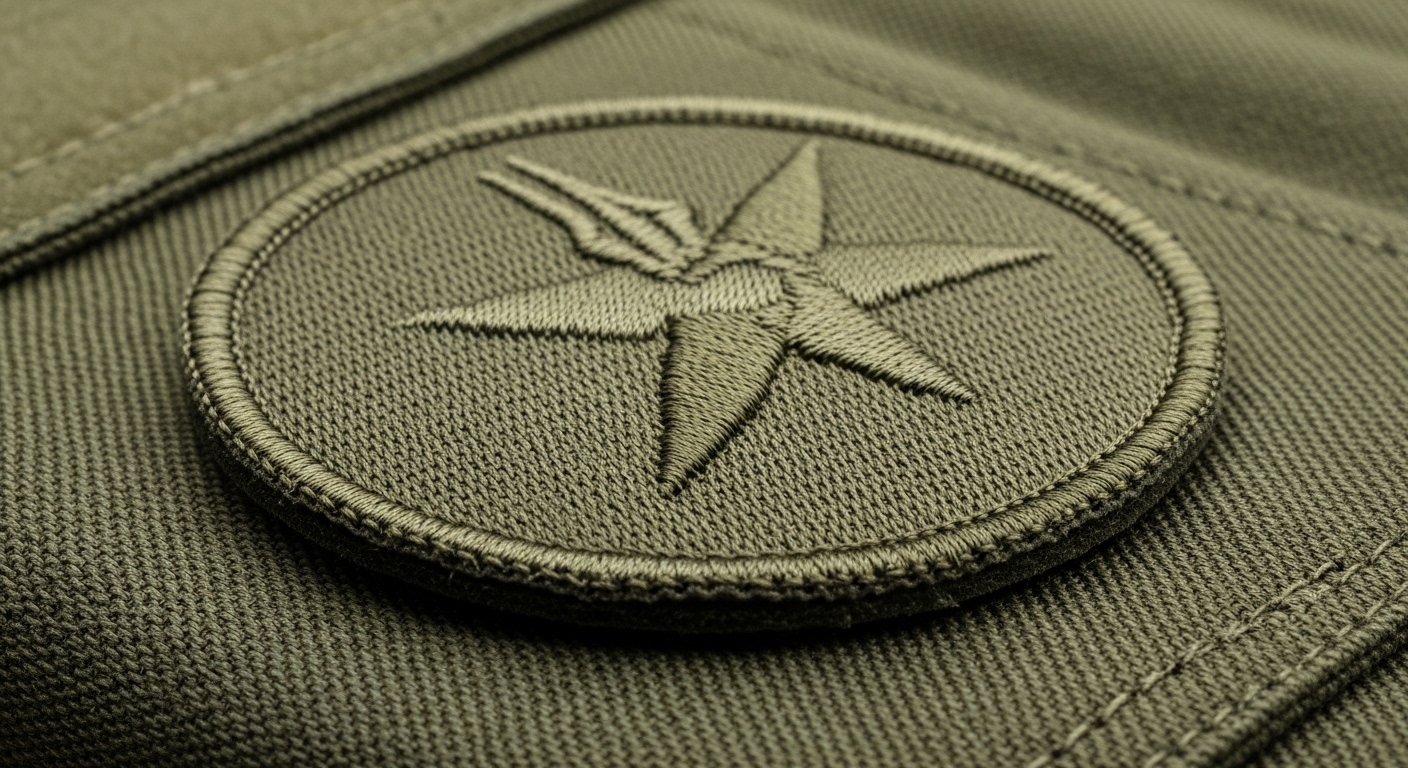
How to keep logos readable in limited space
Design problems usually come from trying to squeeze a complex emblem into a small patch. Embroidery is thread-based, so super thin lines, tiny slogans, and high-detail crests may lose clarity when reduced. If you’re planning custom military rocker patches (curved top/bottom text arcs) or unit identifiers, the layout needs enough space for letterforms to breathe. The goal is not “maximum detail”—it’s “instant recognition.”
Design moves that keep patches readable
This is where a strong production team helps: they can recommend small adjustments so your custom military unit patches remain crisp without changing the brand identity.
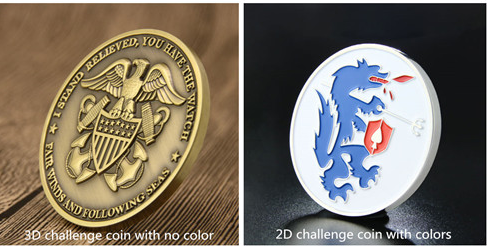
What materials work best for your mission: embroidery vs PVC vs woven?
Material choice is less about trends and more about the environment. If you want classic texture and tradition, embroidery delivers. If you need easy cleaning and water resistance, PVC is strong. If your design includes very small text (like certain international military patches or detailed insignia), woven construction can preserve sharper detail at smaller sizes.
Material Type |
Best Use Case |
Strengths |
Trade-offs |
|---|---|---|---|
Embroidery |
Traditional uniform look; military style name patches |
Raised texture, premium feel, strong presence |
Micro text and fine lines may soften at small size |
PVC |
custom tactical velcro patches for wet/muddy use |
Water resistance, easy cleaning, modern look |
Very tiny details may still be limited by relief depth |
Woven |
Small text; detailed insignia; compact name strips |
Sharper fine lines and letters than embroidery at small size |
Flatter texture than embroidery |
A common “pro setup” is: embroidered emblem patch for identity + woven name strip for maximum legibility. For airsoft teams, pairing custom airsoft velcro patches (team logo) with custom airsoft name patches (player name) creates a consistent, clean kit.

Why do different branches and scenarios need different standards?
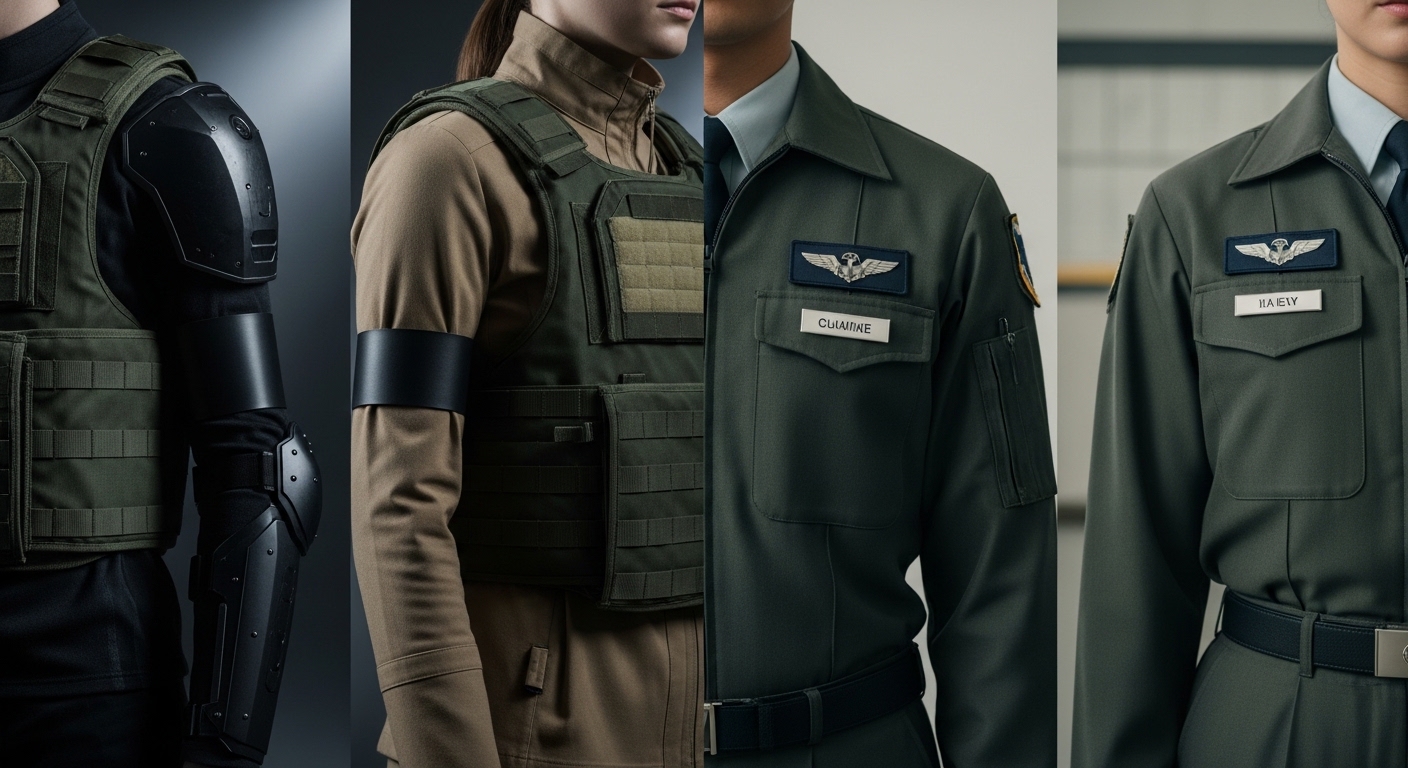
What do people mean by “USMC” or “Air Force” style name patches?
Buyers often use “style” as shorthand for a familiar look: color family, font choices, layout, and overall seriousness. When someone asks for custom usmc flak patches or custom marine corps patches aesthetics, they usually want a rugged, no-nonsense design that reads quickly and matches tactical color palettes. When someone requests air force flight suit name patches or air force name patches for flight suit, they often want a traditional, clean layout with strong legibility and a classic embroidered feel.
It’s important to be precise: “style” doesn’t automatically mean official specification, and patch requirements can differ by organization and use case. The best approach is to define your goal in plain language: visibility vs low-profile, classic vs modern, and whether the patch is for display, collecting, events, or uniform programs.
Quick spec checklist for your quote request
How do Multicam-compatible name patches stay readable and low-profile?
multicam velcro name patches are a balancing act: you want the patch to blend into the kit, but you still need text that can be read when needed. The most common mistake is choosing a base color that blends perfectly but makes the lettering disappear. The goal is controlled contrast: enough difference between letters and base to read at close range, while still fitting the overall camouflage palette.
If the patch is mainly for identification on uniforms, lean toward clarity. If it’s primarily aesthetic or collection-oriented, you can push the low-profile look further.
Why does hook-and-loop beat clutch pins or magnets in a tactical setup?
People sometimes compare attachment methods across different products—like clutch backs (commonly used on lapel pins), magnets, and hook-and-loop. In environments with movement, layers, and frequent gear changes, hook-and-loop is favored because it’s fast, repeatable, and doesn’t require puncturing fabric. Clutch backs are designed for pins; they’re not a practical solution for swapping visible identifiers on vests or sleeves. Magnets can be convenient on some garments, but they may slip depending on fabric thickness and movement.
Hook-and-loop is the “system” approach: loop fields on gear + patches matched to that field. That’s why military uniform name patches and unit identifiers commonly use it—especially when the same gear must support different people, roles, or scenarios.
How to create custom military patches from artwork to delivery

How do you go from an idea to finished custom patches that actually match your expectations?
The smoothest orders happen when buyers treat patches like a system, not a one-off graphic. Start by defining the purpose: morale, identification, unit branding, or event recognition. Then decide which patch types belong to that purpose. For example, custom military morale patches can prioritize style and texture, while military name patches for uniforms should prioritize legibility and comfort. If you’re building a full set—emblem, rocker, and name strip—request a consistent base fabric and border style so everything looks intentionally designed together.
Step-by-step workflow
If you’re wondering whether your sketch is enough: in many cases, yes—especially if you can specify the exact text and provide reference images for the style you want. The important part is clear communication about size, material preference, and where the patch will be placed.
How fast can production and shipping be for patches?
If you’re planning for events, team launches, or uniform rollouts, timing matters. The table below follows the provided production and shipping time references for patches.
Shipping Method |
Product Type |
Production & Shipping Time |
|---|---|---|
Priority Shipping |
Embroidery Patches |
3 business days for production, 3 business days shipping |
Priority Shipping |
PVC Patches |
7 business days for production |
Priority Shipping |
Woven Patches |
10 business days for production, 3 business days shipping |
Express Shipping |
Embroidery Patches |
5–7 business days for production, 3 business days shipping |
Standard Shipping |
Embroidery Patches |
5–7 business days for production, 9 business days shipping |
Planning tip: build in time for proof review. Most delays happen when art details and size expectations are clarified late, especially for name strips and rocker sets.
Want the simplest way to choose the right patch type and avoid rework?
Share your artwork, placement area, quantity, and use case, and we’ll recommend the best build for durability and readability:
FAQs buyers ask about morale patches, unit identifiers, and small runs
Will embroidered patches pill or fuzz over time?
Embroidered patches can show wear depending on friction and washing frequency, but strong edge finishing and stable stitching reduce visible fuzzing. If the patch will see mud, frequent wiping, or harsh outdoor use, PVC may be a better match for durability and easy cleaning.
Can you create custom military patches from only a sketch?
Often yes. A sketch plus clear text (for name strips and rockers) and reference images for style can be enough to start. The key is confirming size, material, and placement so the final patch reads clearly. This is especially helpful when building a full set that includes custom military unit patches, rockers, and name strips.
Why can small-quantity custom orders cost more per piece?
Custom production usually requires preparation (digitizing or production setup). When the quantity is small, that shared setup cost is distributed across fewer units, which increases the per-piece average. This is normal in custom manufacturing. If you want the most efficient value, request pricing for multiple quantities and consider bundling items such as custom airsoft velcro patches (team logo) and custom airsoft name patches (players).
What’s the most reliable setup for uniforms: unit patch + name patch?
A common reliable system is one emblem/unit patch plus a name strip. This supports both identity and clarity. For uniforms, you’ll often see military uniform name patches paired with unit identifiers. If text must be extremely crisp, woven construction can help.