Sign in
Create Your Account
Create My Account
Sign In
Create Your Account
Custom patches for clothing made easy: pick the right size, design, backing, and patch type for leather jackets, jean jackets, and shirts—get practical tips fast.
What are custom patches for clothing, and why do they work so well?
They refresh old favorites: cover scuffs, stains, or wear spots without replacing the garment.
They create identity: from patches with names on them to team or brand logos that look consistent.
They’re flexible: pick sew-on for durability, iron-on for convenience, or Velcro for removable looks.
They scale up or down: works for one-off style projects or ongoing brand programs.
Terms you’ll see in this guide: personalized patches for clothes (US spelling) and personalised patches for clothes (UK spelling).
Why do patches make clothing feel more personal—and more valuable?
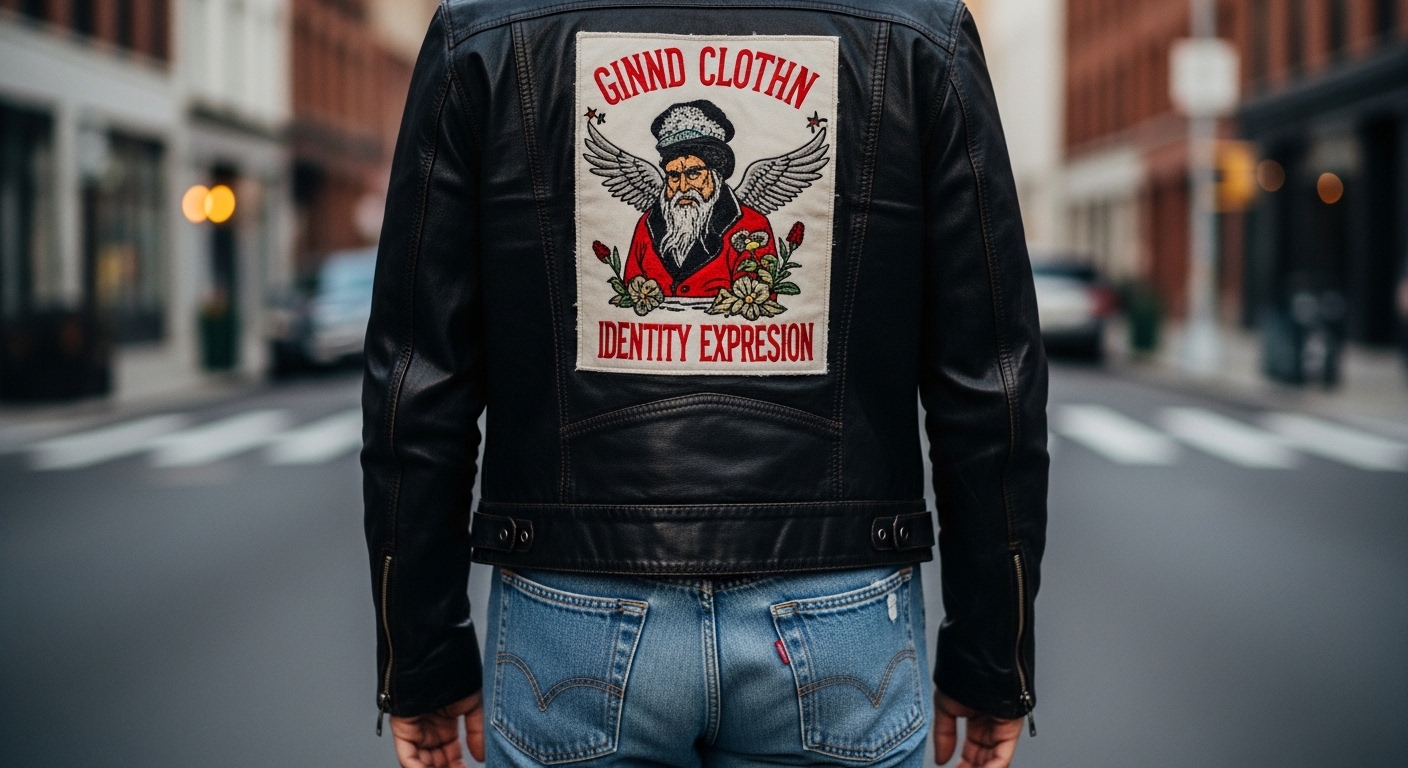
Clothes aren’t just something you wear—they’re something you live in. A jacket that traveled with you, a work shirt that survived late nights, or a denim piece you’ve broken in over years tends to carry memories. That’s why custom patches for clothing keep showing up across streetwear, uniforms, clubs, and creator merch: they let you add meaning without replacing what already matters. Whether you’re covering a worn elbow, building a team identity, or turning a plain jacket into a signature piece, patches can be a practical upgrade and an emotional one.
Patches also solve a very real design problem: clothing has limited “branding real estate.” A clean patch lets you place a name, emblem, or campaign message exactly where it’s most visible—chest, sleeve, back panel, or pocket area—while keeping the garment comfortable. That’s why people search for phrases like custom made patches for clothes or patches with names on them: they want something that looks intentional, not like an afterthought.
For overseas buyers, spelling can vary by region. You’ll see both personalized patches for clothes and personalised patches for clothes. The important part is the same: a patch should match the fabric, survive washing and wear, and keep the design readable at real size—not just on a screen.
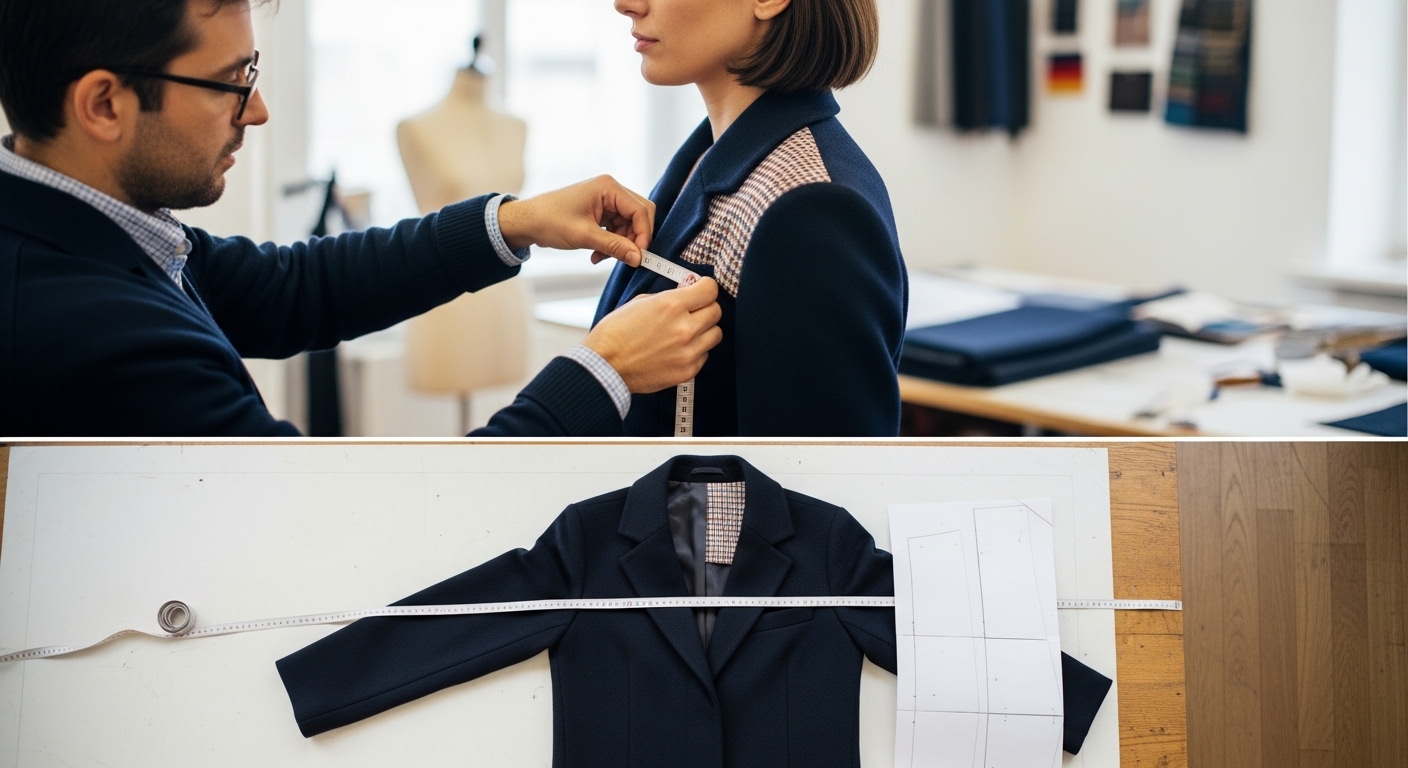
How to avoid mistakes: 4 critical factors before you order
Most patch disappointments come down to four things: the build doesn’t fit the fabric, the patch is the wrong size, the design is too detailed for the method, or the price expectations weren’t aligned with custom production reality. If you can evaluate these four factors—craftsmanship, size, design, and pricing—you can order confidently even if you’re doing this for the first time.
What craftsmanship fits each fabric?
“Craftsmanship” is more than how a patch looks in a product photo. It’s how the patch behaves on clothing: how flexible it feels, whether it wrinkles the fabric, how it holds up to washing, and whether the edge finish stays clean over time. A thick, stiff patch can pull down a light shirt. A rough border can irritate skin if it sits near a collar. A heavy backing can create puckering on thin fabrics. Matching the build to the garment is the fastest way to make your patch look premium.
Quick matching rules that work in real life
If your goal is a jacket-grade build, you’ll often end up looking for custom made patches for jackets. The key is not just “strong” but “strong without being uncomfortable.” That’s why it helps to decide where the patch will sit (back panel vs chest vs sleeve) and how the garment will be used (daily wear, event uniform, outdoor workwear).
How to measure size for chest, sleeve, and back placements
Size is the easiest thing to get wrong because screens lie. A design that feels “medium” on your laptop can end up tiny and unreadable on a jacket. Or it can be so large that it bends and buckles with body movement. Before ordering custom made patches for clothes, measure the actual placement area on the garment you’ll use—not a generic estimate. This matters even more when the patch includes text, especially patches with names on them, where readability is everything.
A simple size-check method (no special tools needed)
A practical rule: if the patch must communicate a name or short title quickly, prioritize letter height and spacing first, then choose the patch type that preserves those edges. That’s often how buyers land on jean jacket custom patches for classic readability or woven/printed options for smaller text.

How to design your own patches without losing detail
Many people want to design your own patches for clothes, but the best results come from designing for the production method. Embroidery uses thread, which naturally rounds corners and can soften tiny details. Woven constructions can hold finer linework and small text. Printed or sublimated styles can handle gradients and photo-like artwork. If you’re unsure, start with the question: “What must stay crystal clear at real size?” If the answer is “tiny lettering,” you likely want woven or printed/sublimated. If the answer is “texture and depth,” embroidery is hard to beat.
Design rules that make patches look expensive (even on simple garments)
If you’re trying to create your own patches for clothes for multiple garments, keep one more thing in mind: fabric color and texture can change how your patch colors appear. A patch that pops on light denim can feel muted on black leather. A good proof review should consider the garment color you’ll actually use.
Why does pricing change (and what is a setup/mold fee)?
Custom work usually has two parts: preparation and production. Preparation may include digitizing artwork for embroidery, creating production-ready files, or other setup steps needed before a single unit is made. This is why small quantities can feel “more expensive per piece”: the one-time preparation cost is shared across fewer items. This is not a trick—it's simply how custom manufacturing works.
If you only need a small quantity, you can still buy smart. The best approach is to ask for tiered pricing (for example, several quantity options) and choose the point where your budget and use case meet. Also remember that the easiest way to avoid unnecessary cost is clear specs up front: size, backing type, and a clean, readable design reduce rework and delays.
Cost Driver |
What It Usually Means |
How to Control It |
Best Practice |
|---|---|---|---|
Setup / Digitizing |
One-time prep to make artwork production-ready |
Provide clean vector art; simplify tiny details |
Request tiered quotes to see better value points |
Size & Coverage |
More material and time when designs are larger |
Choose size by placement, not by “looks big” |
Print a paper mockup at real size first |
Detail Level |
Tiny text and complex linework may need different methods |
Pick woven/printed for micro details |
Design for readability, not just decoration |
Backing Choice |
Iron-on, sew-on, Velcro affect usability and build |
Match backing to fabric and wash frequency |
For leather, sew-on is usually safest |
Key education point: custom production often involves preparation steps. If your quantity is small, the per-piece share of that preparation cost can be higher. For exact tier pricing and the most flexible options, it’s best to contact the manufacturer directly.


Which patch type works best for leather jackets, jean jackets, and shirts?
Not every patch belongs on every fabric. The “best” patch is the one that looks natural on the garment, stays comfortable, and keeps the design readable. Below is a practical way to decide by garment type—especially if you’re comparing custom patches for leather jackets, jean jacket custom patches, and custom made patches for shirts.
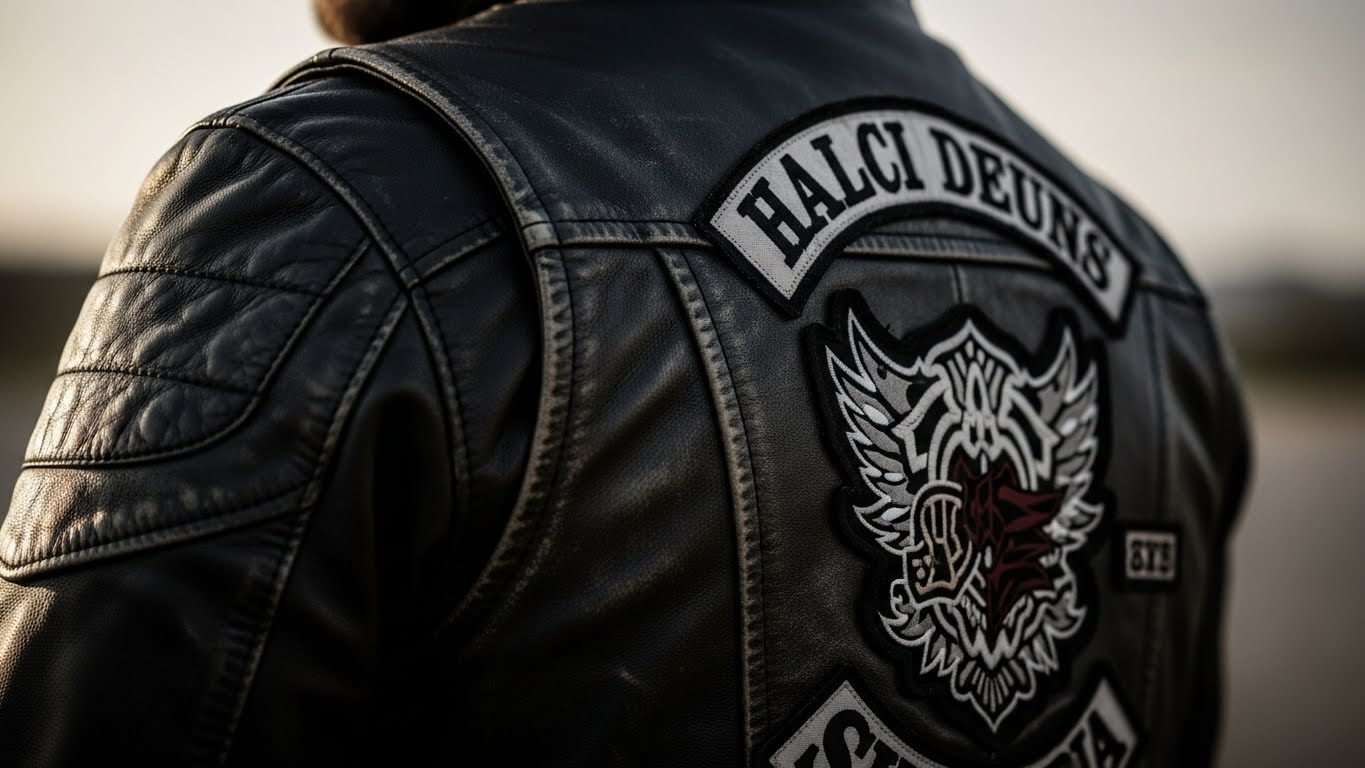
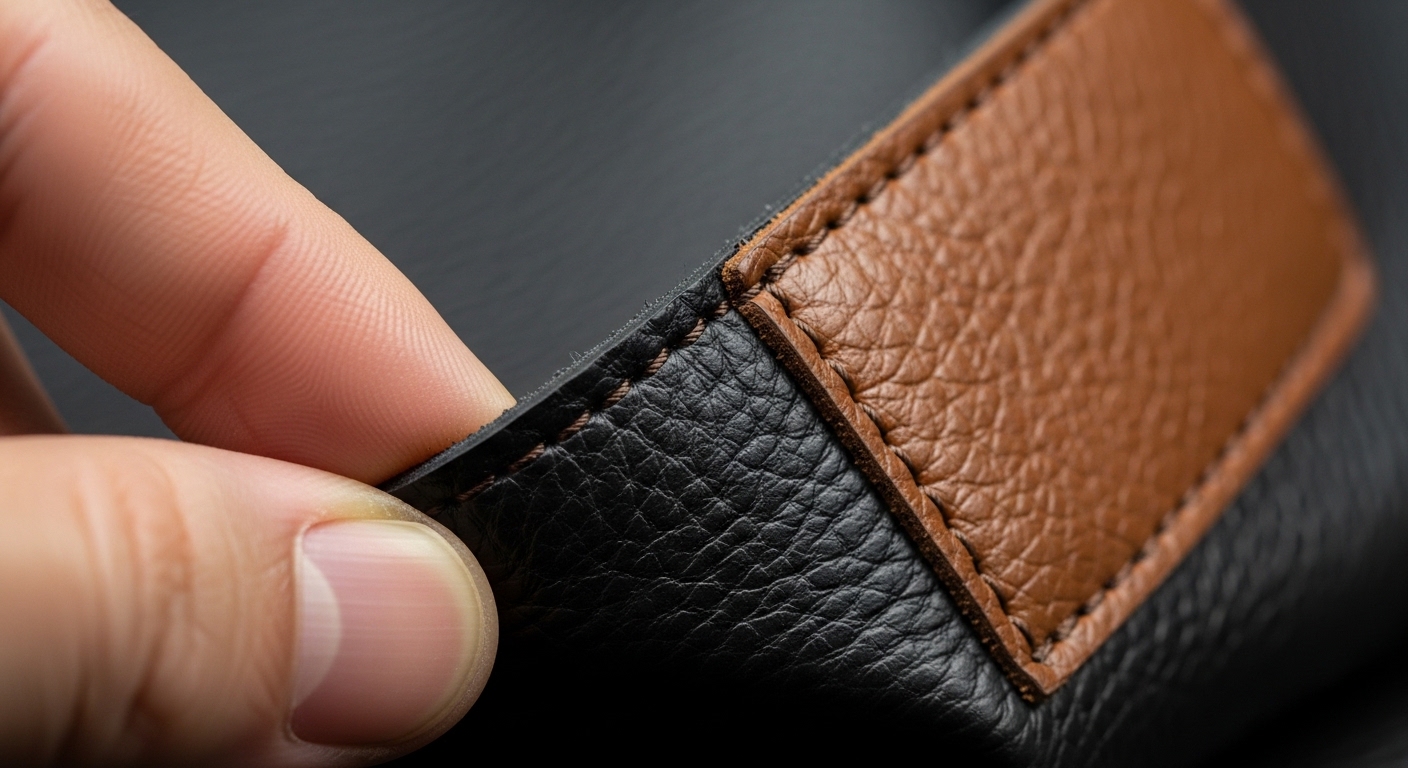
What are the best custom made patches for leather jackets?
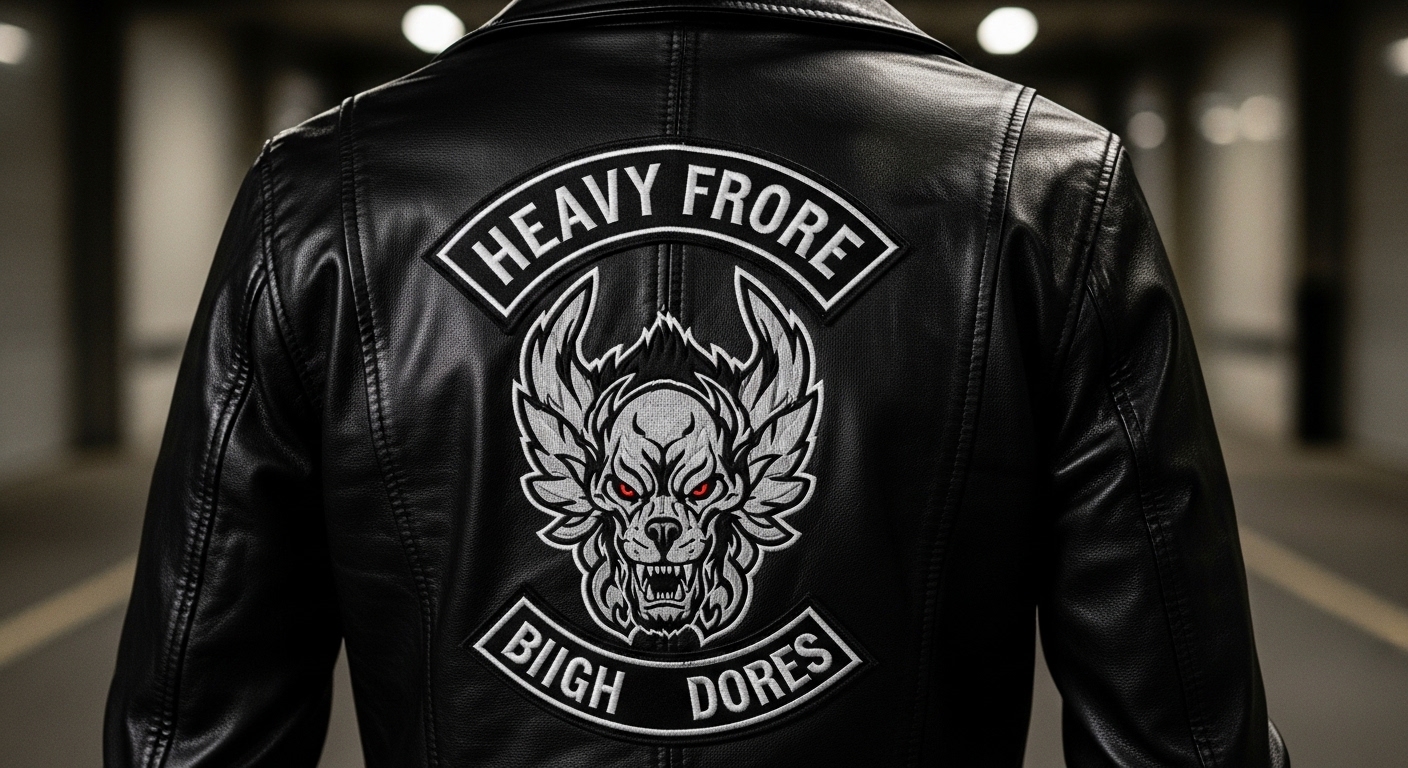
Leather jackets have weight, texture, and a “premium signal” built in—so your patch should match that energy. If you want a rugged, heritage look, custom made patches for leather jackets often work best in leather materials or woven label-style builds. Leather patches look intentional on biker jackets, club jackets, and vintage-inspired outerwear because they age with the garment. Woven patches can give a classic “brand label” feel with clean typography and a flatter profile.
A practical caution: heat can damage leather finishes. If you’re considering iron-on, think twice. Many makers choose sew-on for leather because it avoids heat risk and stays durable over time—especially on high-movement areas like shoulders and elbows.
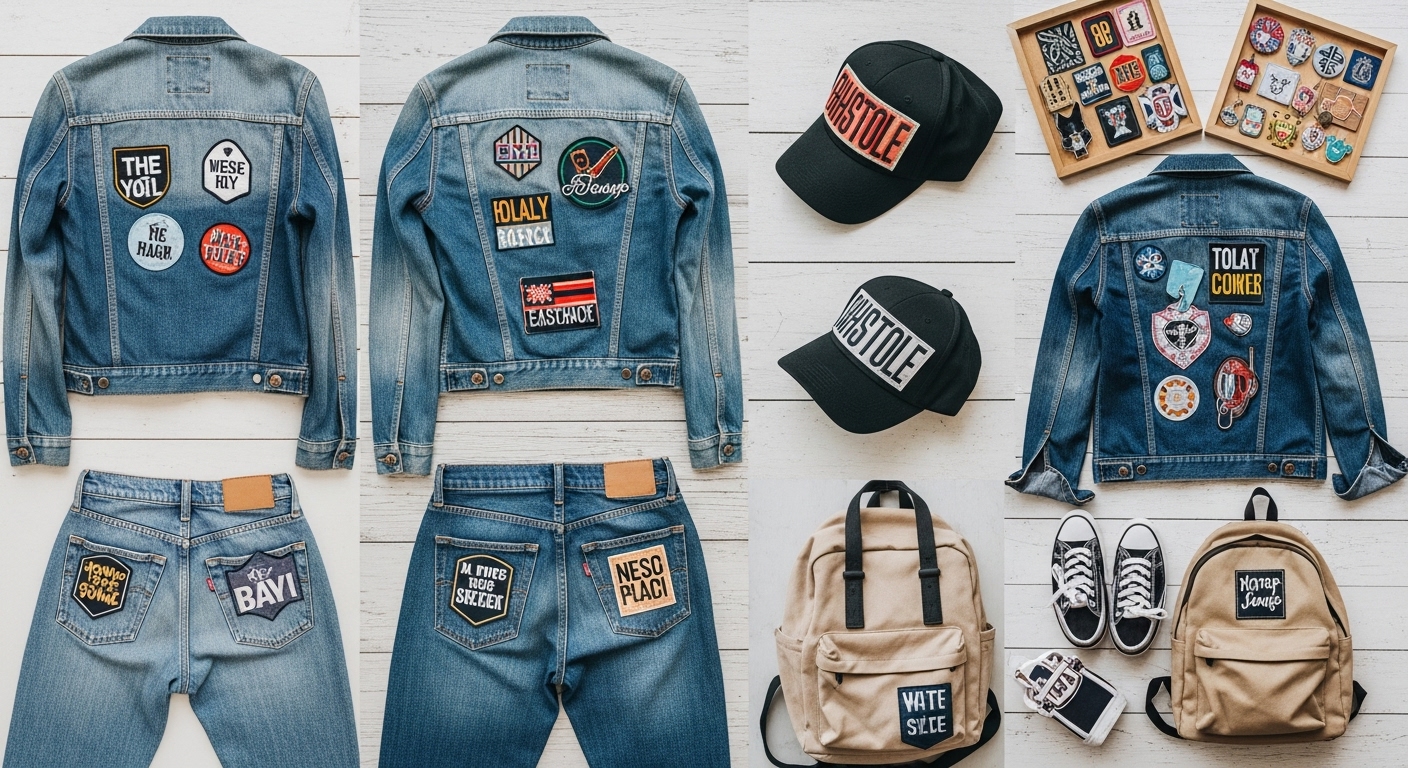
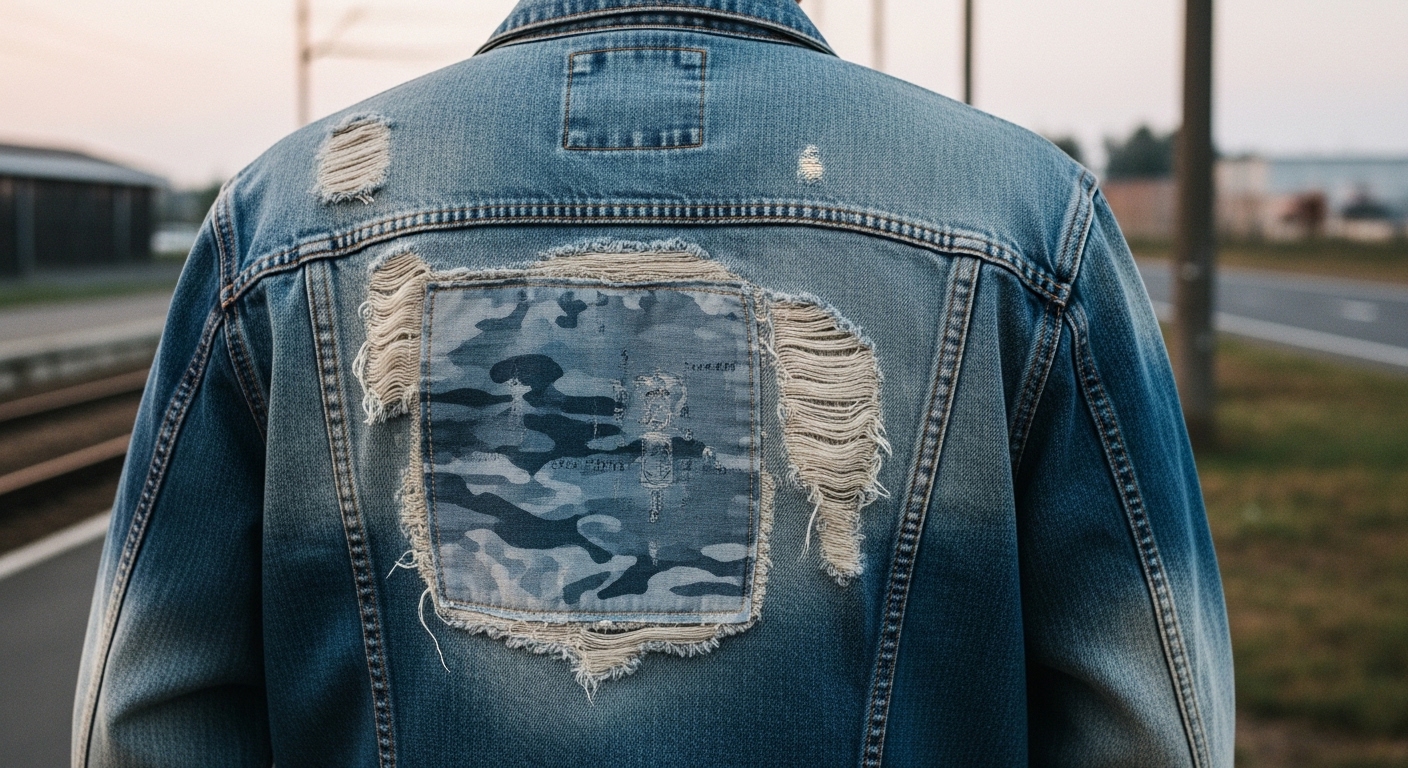
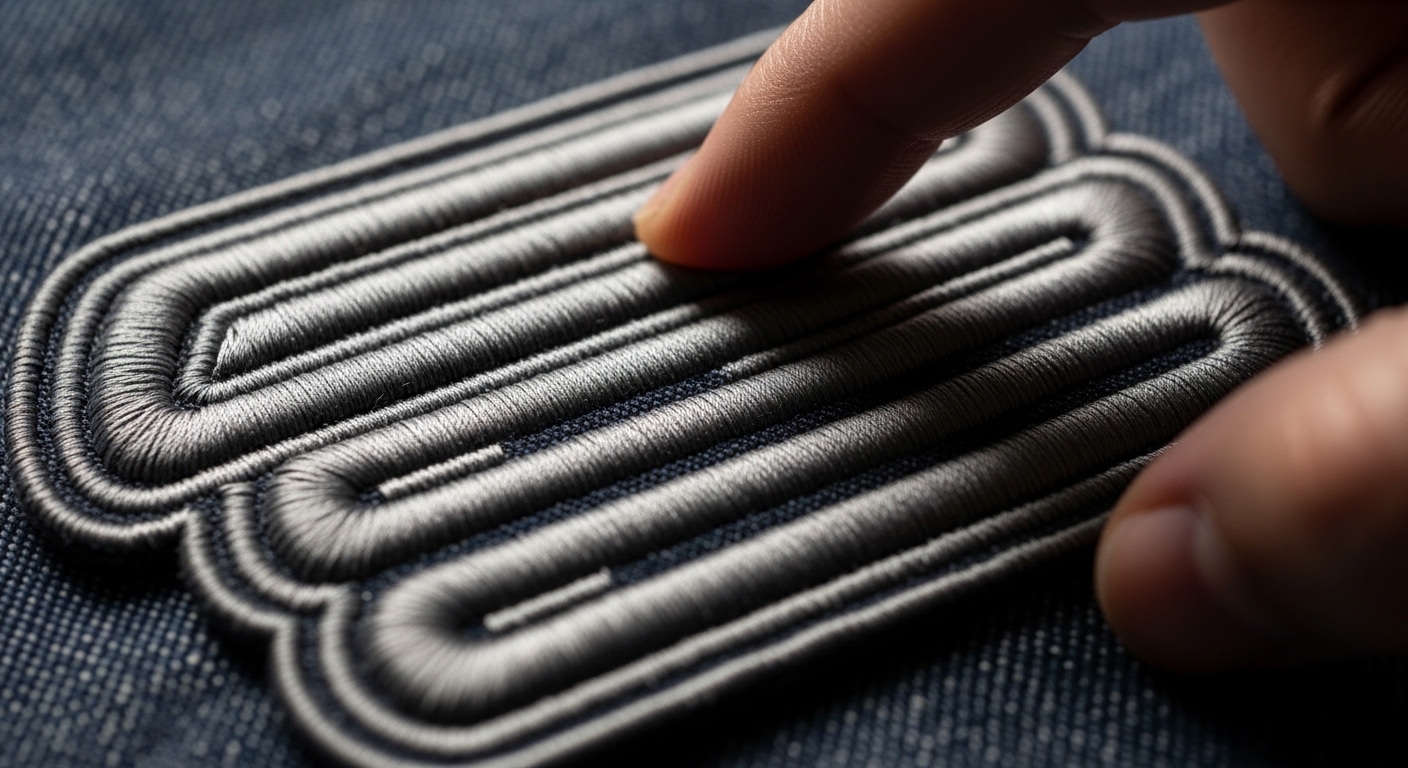
Why does embroidery feel “right” on jean jacket custom patches?
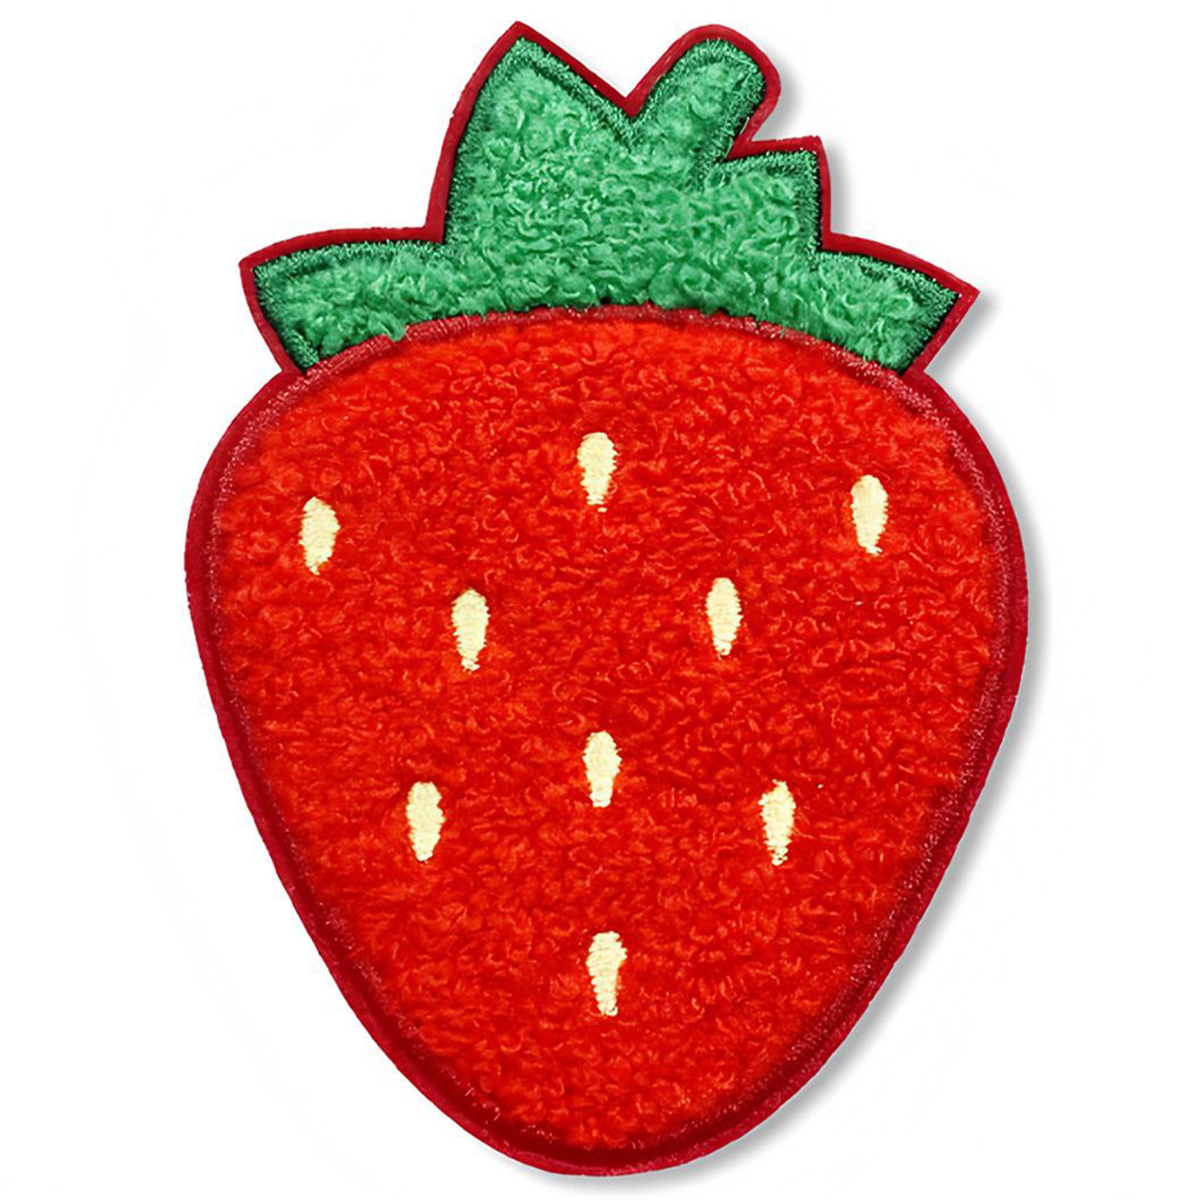
Denim is patch-friendly: it’s strong, textured, and built for wear. That’s why embroidered patches are a classic for jean jacket custom patches. Embroidery adds depth that looks natural against denim grain, and it holds up well on jackets that see outdoor use. If your design is a name, club, or short phrase—especially patches with names on them—embroidery can look bold and readable when the letterforms are not too thin.
For varsity-inspired style, chenille is another strong denim match because it reads from a distance. If your artwork includes tiny text or very fine linework, woven or printed/sublimated styles may keep edges sharper. The point is to let the design decide the method.
How do you choose custom made patches for shirts without ruining drape?
Shirts and lightweight tops need patches that don’t fight the fabric. Heavy, thick patches can cause sagging or puckering, especially after washing. For custom made patches for shirts, thinner constructions are often more comfortable, particularly for chest logos on tees, polos, or button-downs. Printed or sublimated patch styles can carry complex, full-color artwork while staying relatively light, which helps your garment hang naturally.
If you still want embroidery on shirts, keep it smaller and place it where it won’t rub the neckline or fold constantly. For staff uniforms, simpler designs often look cleaner and wear better.
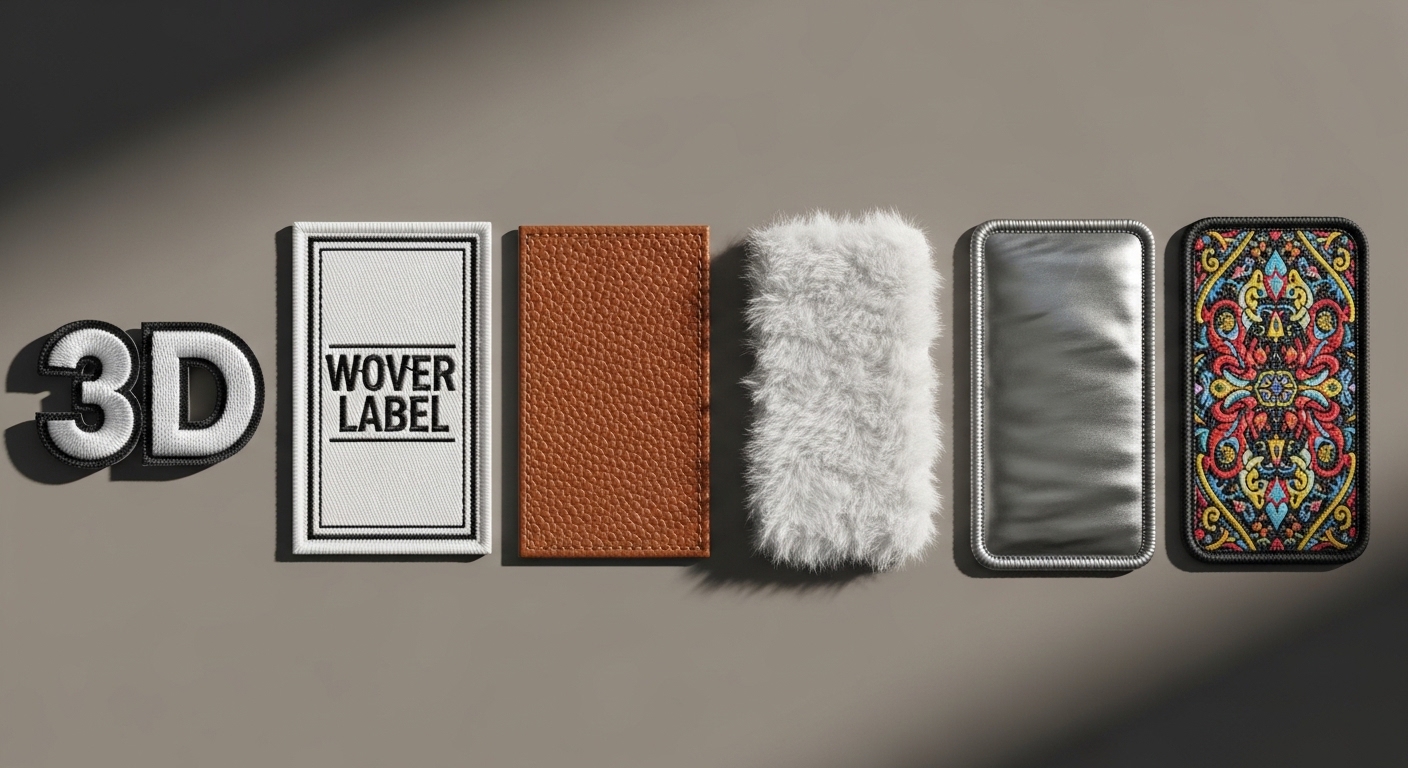
What materials and backings should you choose for comfort and durability?
Materials and backings determine how a patch feels against the body, how it survives wash cycles, and whether it stays secure on the garment. This matters most when you’re ordering custom made patches for jackets or custom made patches for leather jackets, where movement and friction are constant.
Patch Material/Type |
Best Use |
Strengths |
Watch-outs |
|---|---|---|---|
Embroidered |
Denim, workwear, classic branding |
Texture and depth; premium feel |
Tiny text may soften; avoid hairline details |
Woven |
Small lettering, label-style looks |
Sharper fine text than embroidery |
Less “3D” texture than embroidery |
Leather |
Leather jackets, heritage styles |
Ages well; matches leather character |
Heat-sensitive; sew-on is usually safer |
Chenille |
Varsity looks, bold letters |
High impact; reads from distance |
Not ideal for tiny details |
TPU/Flex |
Modern, clean, athletic/streetwear |
Sleek finish; contemporary feel |
Choose placement carefully for comfort |
Printed/Sublimated |
Full color art, complex graphics |
Great for gradients and detailed images |
Confirm wash durability and edge finish |
How do you choose between iron-on, Velcro, and sew-on backing?
Backing is about real-world use. Iron-on can be convenient on many cotton and denim garments, but heat sensitivity matters—especially for leather and some synthetics. Sew-on is the most reliable long-term choice for heavy wear and frequent washing. Velcro is best when you want removable patches (seasonal looks, event roles, or interchangeable designs).
Backing |
Best For |
Advantages |
Common Mistake to Avoid |
|---|---|---|---|
Sew-on |
Leather jackets, outerwear, heavy-use uniforms |
Most durable; no heat risk |
Skipping reinforcement on high-friction areas |
Iron-on |
Cotton tees, denim (with care) |
Fast DIY application; clean finish |
Using high heat on leather or heat-sensitive fabrics |
Velcro |
Swappable designs, event/club use |
Remove or swap anytime |
Forgetting the matching loop field on the garment |
How to create your own patches for clothes: a practical workflow
If you want to create your own patches for clothes, the fastest path is a clear workflow. Most delays happen when artwork arrives late, sizes are guessed, or backing choices are changed after proofs. A simple, consistent process helps you get a better result—whether it’s a single jacket project or a recurring program for branded uniforms.
A step-by-step process that prevents rework
Production & shipping time reference
Shipping Method |
Product Type |
Production & Shipping Time |
|---|---|---|
Priority Shipping |
Embroidery Patches |
3 business days for production, 3 business days shipping |
Priority Shipping |
Woven Patches |
10 business days for production, 3 business days shipping |
Priority Shipping |
Printed Patches |
5 business days for production, 3 business days shipping |
Express Shipping |
Embroidery Patches |
5–7 business days for production, 3 business days shipping |
Express Shipping |
PVC Patches |
12 business days for production, 3 business days shipping |
Express Shipping |
TPU / Flex Patches |
5–7 business days for production, 3 business days shipping |
Standard Shipping |
Embroidery Patches |
5–7 business days for production, 9 business days shipping |
Standard Shipping |
Woven Patches |
10 business days for production, 9 business days shipping |
Standard Shipping |
Printed Patches |
5–7 business days for production, 9 business days shipping |
Ready to turn your idea into a patch that truly fits your garment?
For tiered pricing, setup guidance, and the most suitable patch build for your fabric and design, contact Maxemblem here:
FAQ
Can you iron-on a patch to a leather jacket?
Heat can damage leather finishes, and adhesives may not bond reliably on certain leather treatments. For long-term durability, sew-on is usually the safest choice for leather jackets—especially for larger patches or high-movement areas.
Is it worth making patches for only one or two garments?
It can be—especially for personal projects, prototypes, or creator drops—but understand custom preparation steps first. Custom work often involves setup (like digitizing or other pre-production work). When the quantity is small, that one-time cost is shared across fewer pieces, which can make the per-piece cost higher.
How small can patches with names on them be?
The limiting factor is letter height and spacing. If you need very small, crisp text, woven or printed/sublimated patch types often keep edges sharper than dense embroidery. A simple test is to print the name at real size and check readability at arm’s length.
What’s the fastest way to get a great result on the first try?
Decide the placement and size on the real garment, design for the production method, choose the right backing for the fabric, and review proofs at actual scale. Most “quality issues” are actually “spec issues,” and clear specs prevent them.