Sign in
Create Your Account
Create My Account
Sign In
Create Your Account
Master custom enamel pin creation in 2026—learn pricing, mold fees, production steps & avoid surprises, from initial sketch to finished metal pins.

That brilliant design idea in your head—whether it's for your brand, a special event, or a personal passion project—deserves to exist in the physical world. The journey from concept to holding a beautifully crafted custom enamel pin in your hand is incredibly rewarding. Yet, for many first-timers looking to design enamel pins online, the process can feel mystifying. Why does the finished product sometimes look different from the digital mock-up? How do you navigate quotes that seem to hide more than they reveal?
This comprehensive guide demystifies every step. We'll walk you through the four fundamental decisions that determine your pin's success, explain the realities of manufacturing (including why small batches cost more per piece), and provide a clear roadmap from your initial sketch to the finished product arriving at your door. Whether you're an entrepreneur wanting to get custom enamel pins made for promotion or a creator eager to make your own metal pins for a community, this guide equips you with the knowledge to partner confidently with a manufacturer and avoid costly surprises.
The 4 Pillars of Pin Production: Making Informed Choices
Creating a successful custom pin isn't just about having a great design. It's about making four interconnected decisions with a clear understanding of how each affects the final product's look, feel, cost, and durability. Mastering these will transform you from a novice to an informed partner in the creation process.
1. Understanding Price: Why Custom Pins Aren't Like Printing Business Cards
The most common point of confusion for newcomers is pricing structure. Unlike digital printing, where you pay per piece with minimal setup, custom metal pins involve physical tooling. This fundamental difference explains why pricing works the way it does.
Cost Component |
What It Is & Why It Exists |
Impact on Your Order & Smart Questions to Ask |
|---|---|---|
The Mold Fee (Tooling Cost) |
The one-time cost to create the custom steel die that stamps your unique design into metal blanks. This is precision engineering, not a software click. |
This is a fixed cost. A $200 mold fee adds $2 to each pin for a 100-piece order, but only $0.20 for a 1000-piece order. Always ask: "Is the mold fee included in the per-pin quote or separate? Who owns the mold after production?" |
Per-Unit Production Cost |
The cost to physically produce each pin after the mold exists. Driven by material, size, number of colors, plating type, and order quantity. |
This cost drops at quantity breaks (e.g., 100, 250, 500, 1000 pieces). Ask: "Can I see the price per pin at different quantity levels? Does this include all plating and enamel colors I've specified?" |
Setup & Artwork Fees |
Fees for converting your design into a manufacturable format. May apply if your artwork needs significant redrawing or vectorization. |
Often waived if you provide clean vector files. Ask: "Do you charge for artwork preparation based on my file? What file format do you prefer to avoid fees?" |
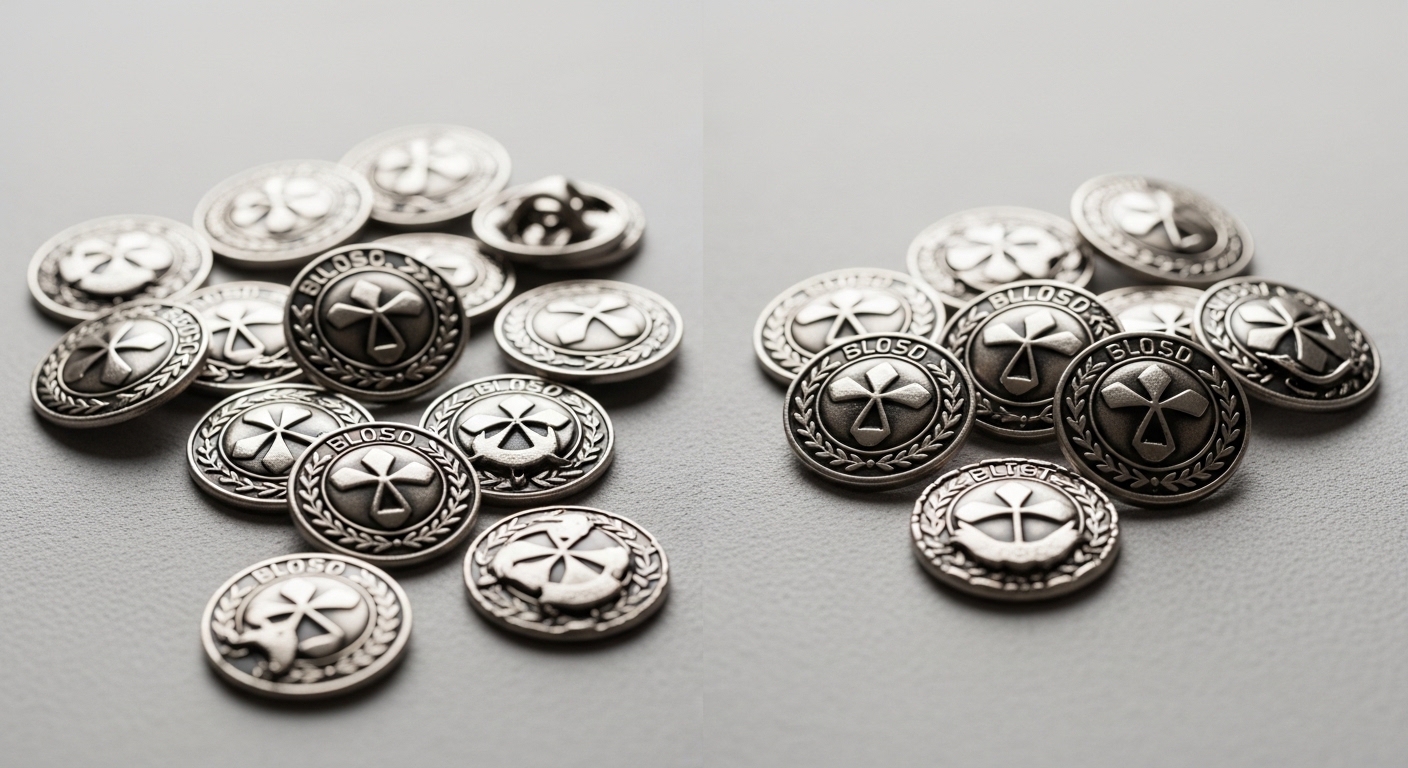
The Small Batch Reality: Why "Custom" and "Cheap/Unit" Often Conflict
This is the critical concept: Custom manufacturing requires custom tooling. The mold fee is a fixed cost. When spread over a small number of pins, it significantly raises the cost per piece. For example:
This is why manufacturers often have minimum order quantities (MOQs) for custom designs—it makes economic sense for both parties. If you need a truly small run, be prepared for a higher per-unit cost, or discuss alternatives like custom button pins (which don't require metal molds) with your supplier. For specific advice on small-quantity projects, contacting us directly allows us to explore tailored solutions that fit your budget and vision.
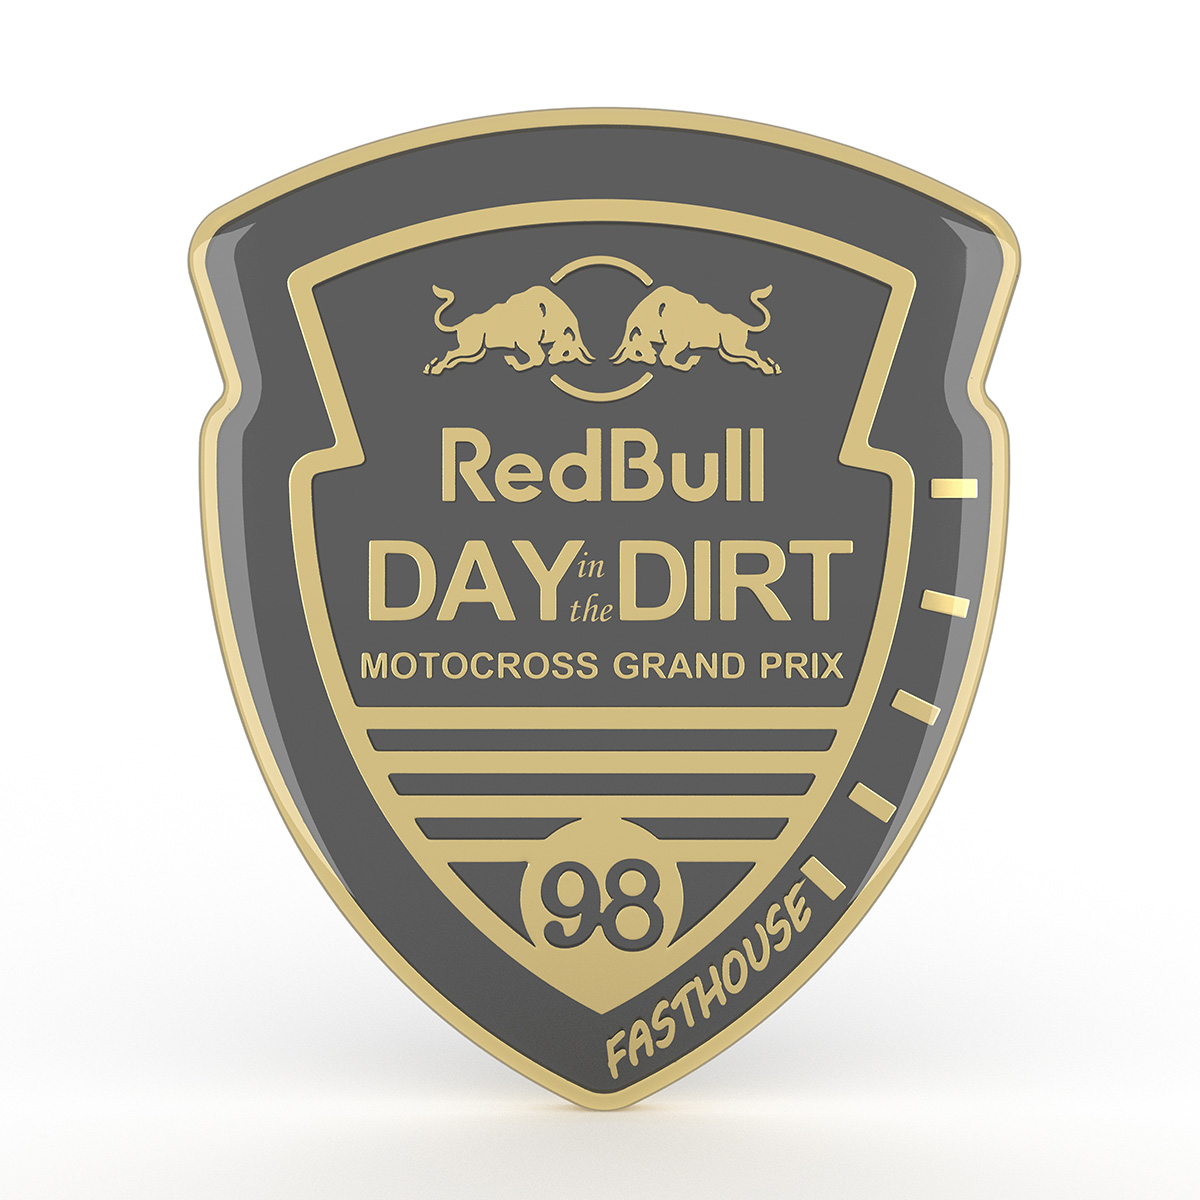
2. Process & Finish: Hard Enamel vs. Soft Enamel - Which Serves Your Vision?
This choice defines your pin's tactile feel and visual personality more than any other. Both are "enamel pins," but they achieve dramatically different results.
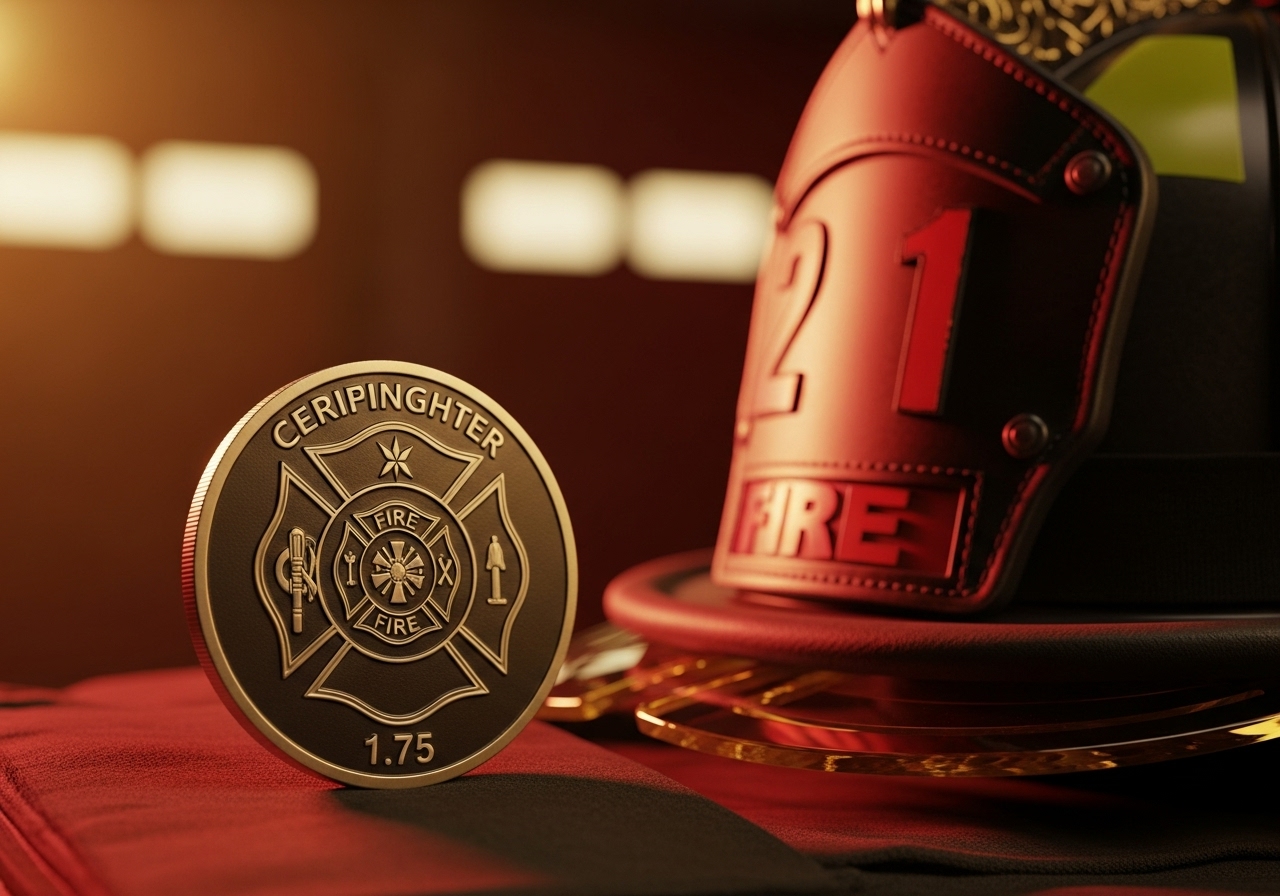
Hard Enamel (Cloisonné)
The Look & Feel: A perfectly smooth, glass-like surface that's polished completely flush with the raised metal lines (cloisons). It has the refined, planar finish of fine jewelry or a luxury watch face.
Best For: Designs where a premium, timeless, and ultra-durable finish is paramount. Official corporate logos, award pins, high-end brand merchandise, or any design with large areas of solid color that benefit from that flawless, glossy surface.
Consideration: The production process involves multiple firings and precise polishing, which can make it slightly more expensive than soft enamel. It represents the pinnacle of traditional enamel pin craftsmanship.
Soft Enamel
The Look & Feel: A textured surface where you can feel the recessed enamel pockets and the distinct, raised metal lines separating them. This creates shadow, depth, and a classic, tactile quality.
Best For: The vast majority of custom enamel pins, especially for events, fandoms, startups, and creative projects. The texture adds character, it's excellent for highly detailed designs with many colors, and it's generally the most cost-effective route for colorful pins.
Consideration: The recessed areas can collect dust/lint over time (easily cleaned with a soft brush). It's the "workhorse" finish that balances aesthetics, durability, and cost perfectly.
What About Designs That Aren't Suited to Enamel?
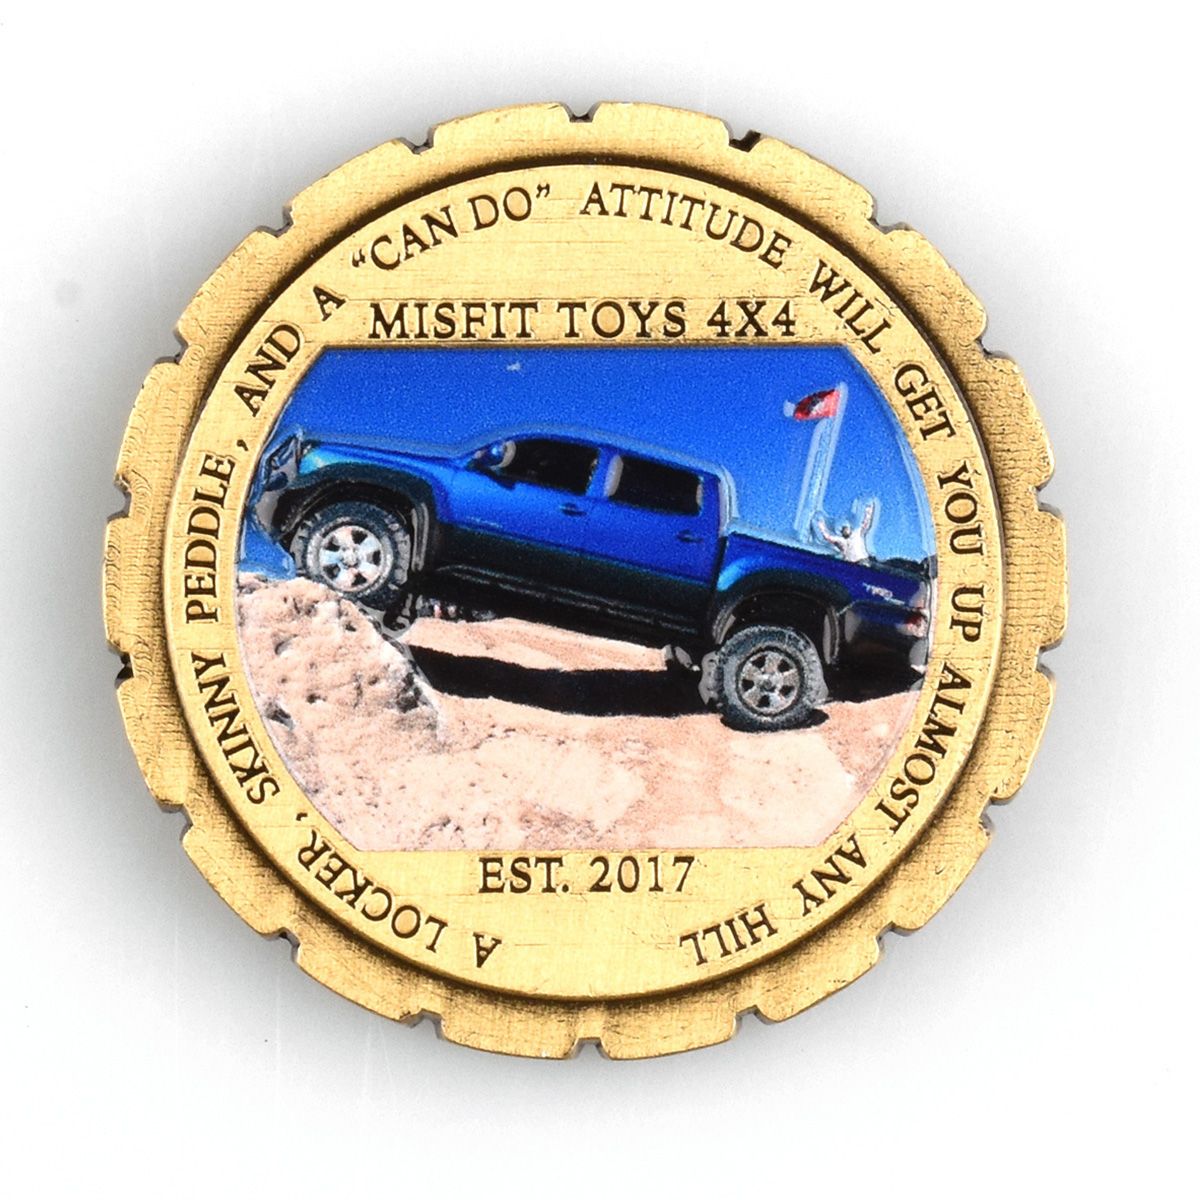
If your design includes photographic elements, skin tones, gradients, or ultra-fine detail like realistic hair, neither hard nor soft enamel will work. Enamel is for solid, Pantone-style colors. For these complex designs, offset printing or UV printing directly onto a metal base is the recommended solution. This digital process can reproduce millions of colors and subtle details, opening up entirely new creative possibilities for your custom metal pins.
3. Size & Proportion: Giving Your Design Room to Breathe
Size isn't just an arbitrary choice—it directly impacts the readability of your design, the pin's presence when worn, and its production feasibility. The most common pitfall is designing something beautiful on a large screen, only to have the details become a muddy, indistinguishable mess when reduced to pin size.
The Universal Sweet Spot & Size Guidelines
Through producing thousands of designs, we've found that 1.25 inches to 1.5 inches (32mm to 38mm) is the ideal range for most custom pins. This size:
Size-Specific Advice:
Under 1" (25mm): Only for extremely simple designs (a single symbol, initials). Fine text and thin lines will not reproduce well.
1" - 1.25": Good for minimalist designs. Ensure any text is bold and short.
1.25" - 1.5": The Recommended Range. Accommodates logos with text, mascots, and moderate detail.
1.5" - 2": Makes a statement. Perfect for complex scenes, commemorative pieces, or designs meant to be the center of attention.
Over 2": Becomes a "large format" pin. Consider weight and how it will be worn. May require special backings (safety pins, sturdy rubber clutches).
Pro Designer Trick: Always print your design at 100% scale (actual size) and hold it up. Does it look clear from arm's length? Can you read all the text? This simple test prevents 90% of sizing regrets.
4. Designing for Manufacturability: Bridging the Digital-Physical Gap
This is where many first-timers stumble. What looks stunning in Adobe Illustrator may be impossible or prohibitively expensive to produce in metal and enamel. Designing with the medium in mind from the start saves time, money, and disappointment.
The Golden Rule: Provide Vector Artwork. Your design must be in a vector format (AI, EPS, PDF, SVG). Vector graphics use mathematical paths, not pixels, so they scale infinitely without losing sharpness. This is non-negotiable for creating the crisp metal lines of your pin. A low-resolution JPG or PNG will result in blurry, soft edges.
Common Design Traps and Solutions:
A reputable manufacturer will review your artwork and suggest modifications for manufacturability before any tooling begins. This collaborative step is invaluable.

The Step-by-Step Journey: From Digital File to Physical Pin
Now that you understand the key decisions, let's walk through the actual process of how your idea becomes a tangible product. Knowing this timeline and workflow helps set realistic expectations.
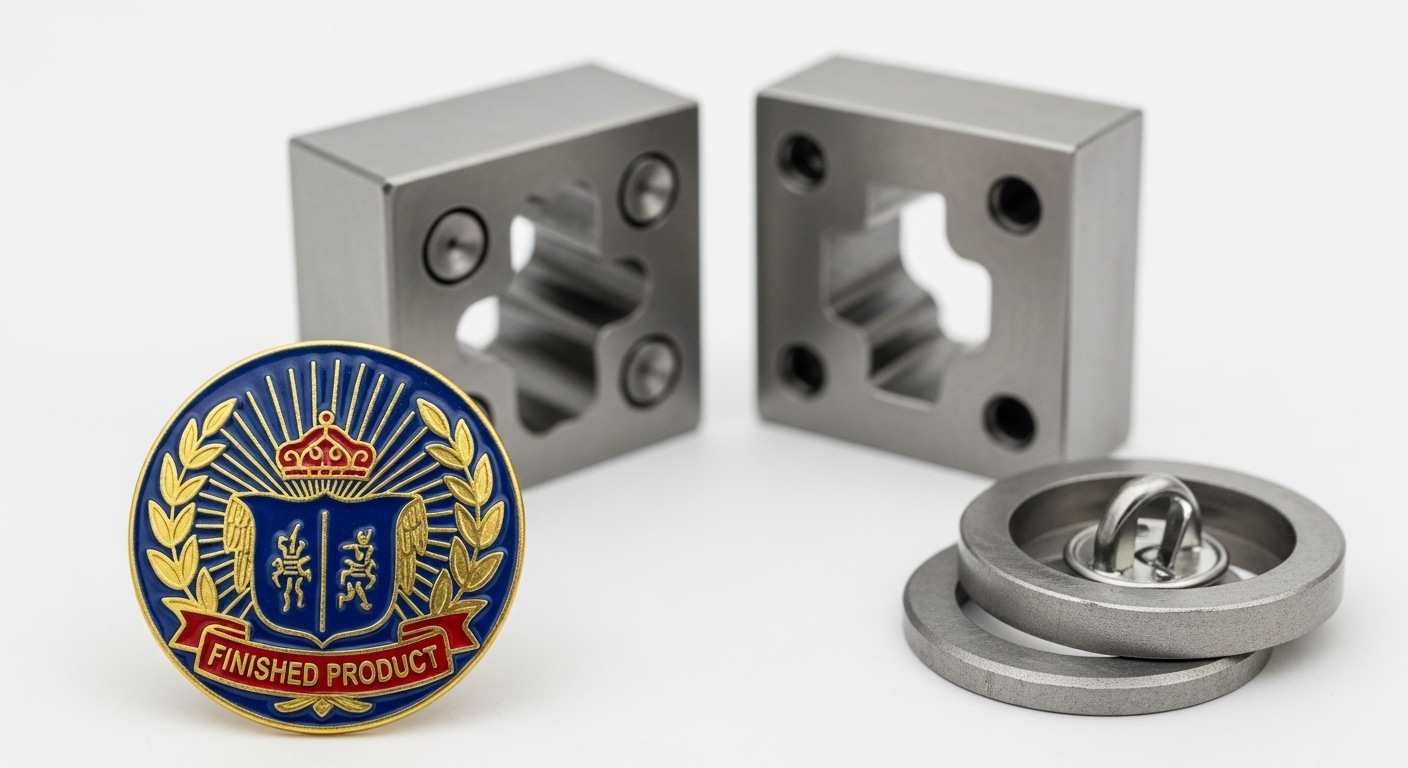
Phase 1: Preparation & Quotation (1-3 Days)
Phase 2: Tooling & Sampling (7-10 Business Days)
Never skip the sample stage. It's your only chance to catch and correct issues before hundreds or thousands of pins are made.
Phase 3: Mass Production & Shipping (Timeline Varies)
Once the sample is approved, full production commences. The timeline depends on your order size, complexity, and chosen shipping method.
Service Level |
Product |
Total Timeline (Business Days) |
|---|---|---|
Priority Service |
Enamel Pins |
8 days production + 3 days shipping = ~11 days total |
Express Service |
Enamel Pins |
15 days production + 3 days shipping = ~18 days total |
Standard Service |
Enamel Pins |
15 days production + 9 days shipping = ~24 days total |
Remember: These are business day estimates for production and shipping after sample approval. Always add the time for Phases 1 & 2 (prep and sampling) to your overall project plan.
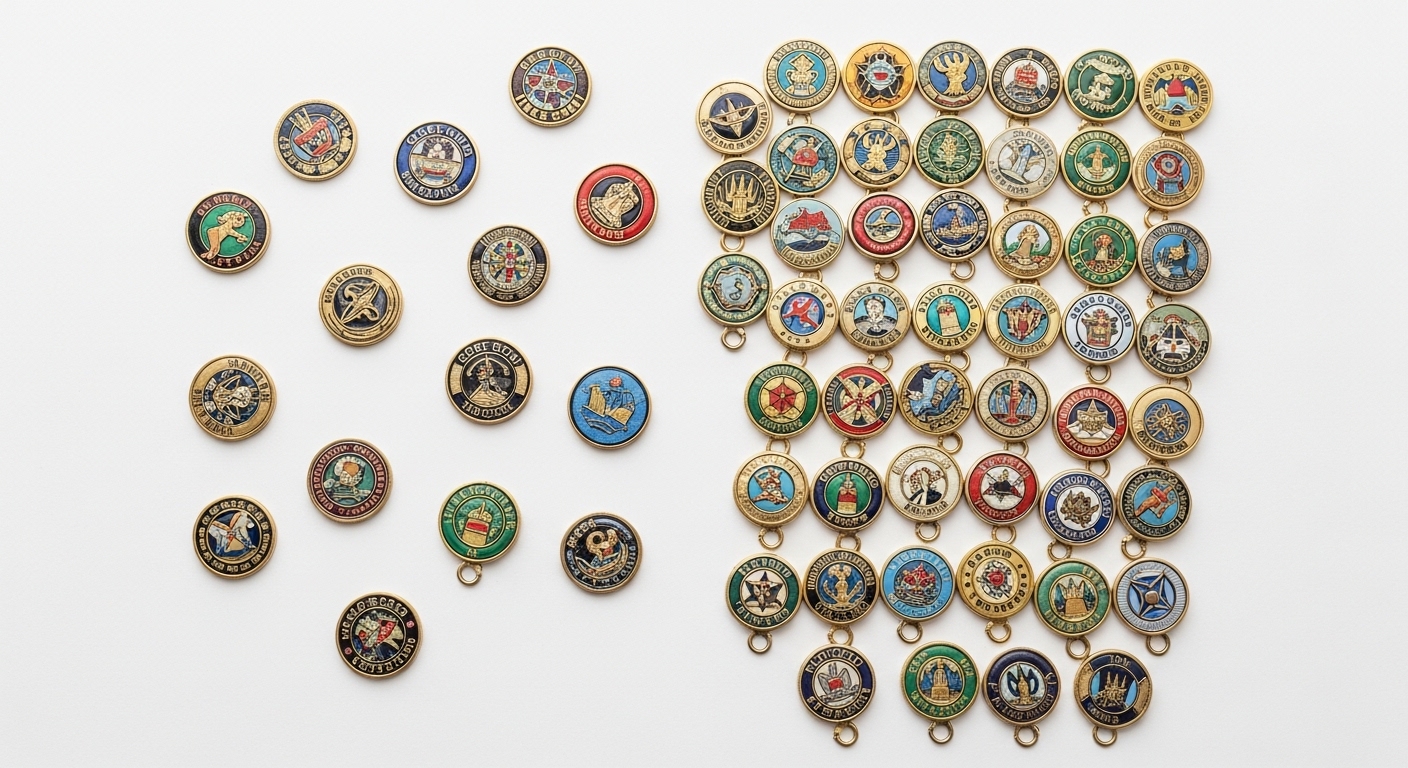
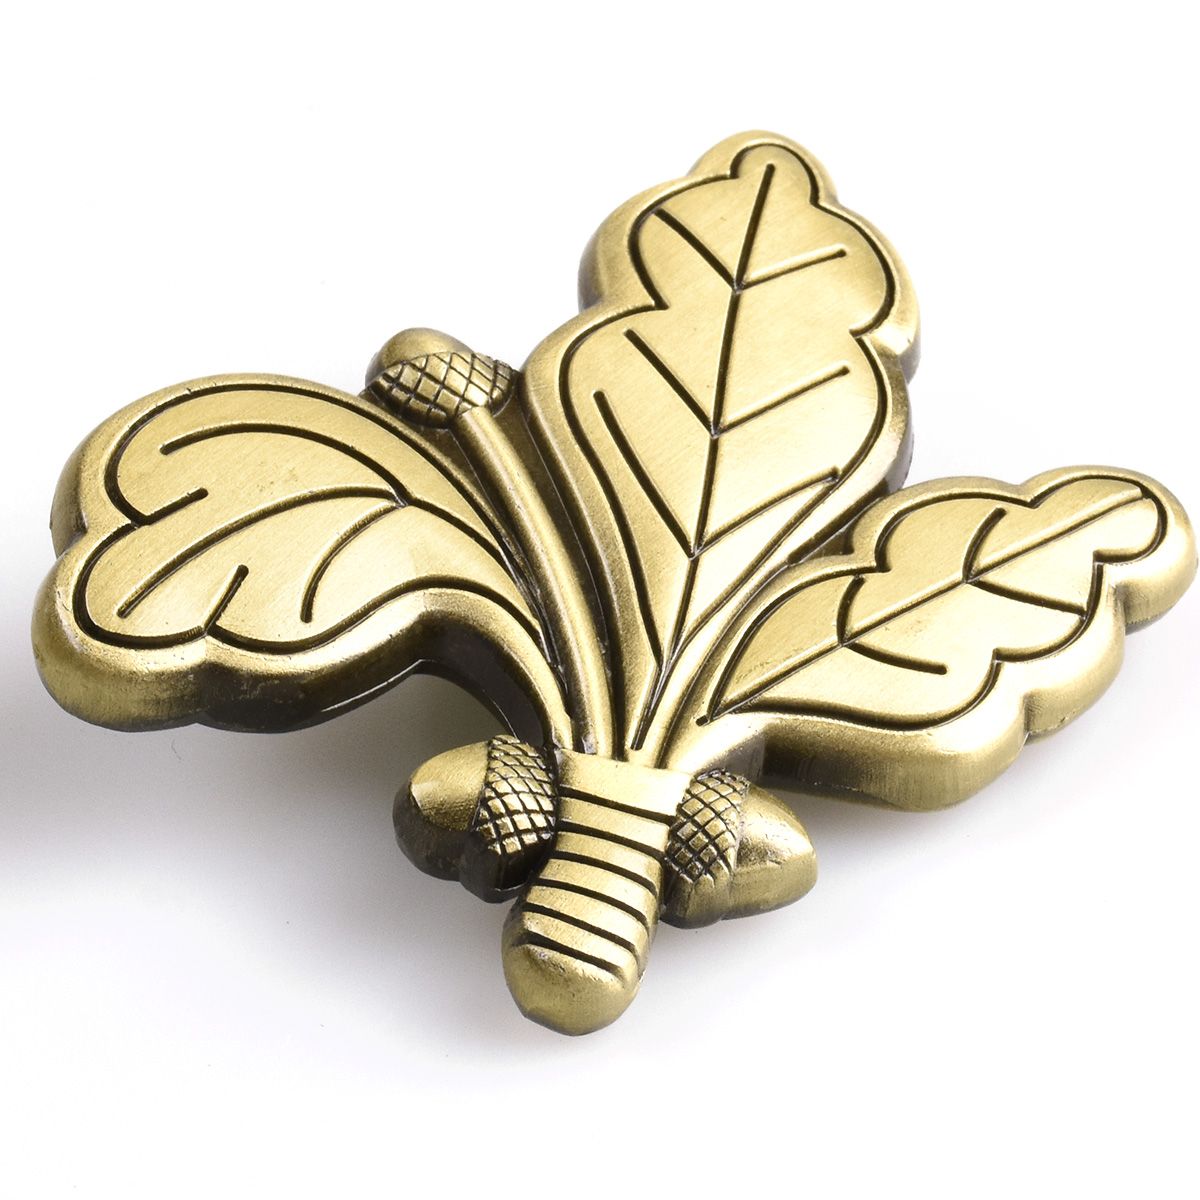
Beyond Basics: Materials, Finishes & Specialized Options
Once you've mastered the core decisions, exploring material and finish options lets you fine-tune your pin's character.
Material Choices: Zinc Alloy vs. Stainless Steel
Plating & Special Finishes
Plating is the thin metallic coating applied over the base metal. It defines your pin's "metal color.
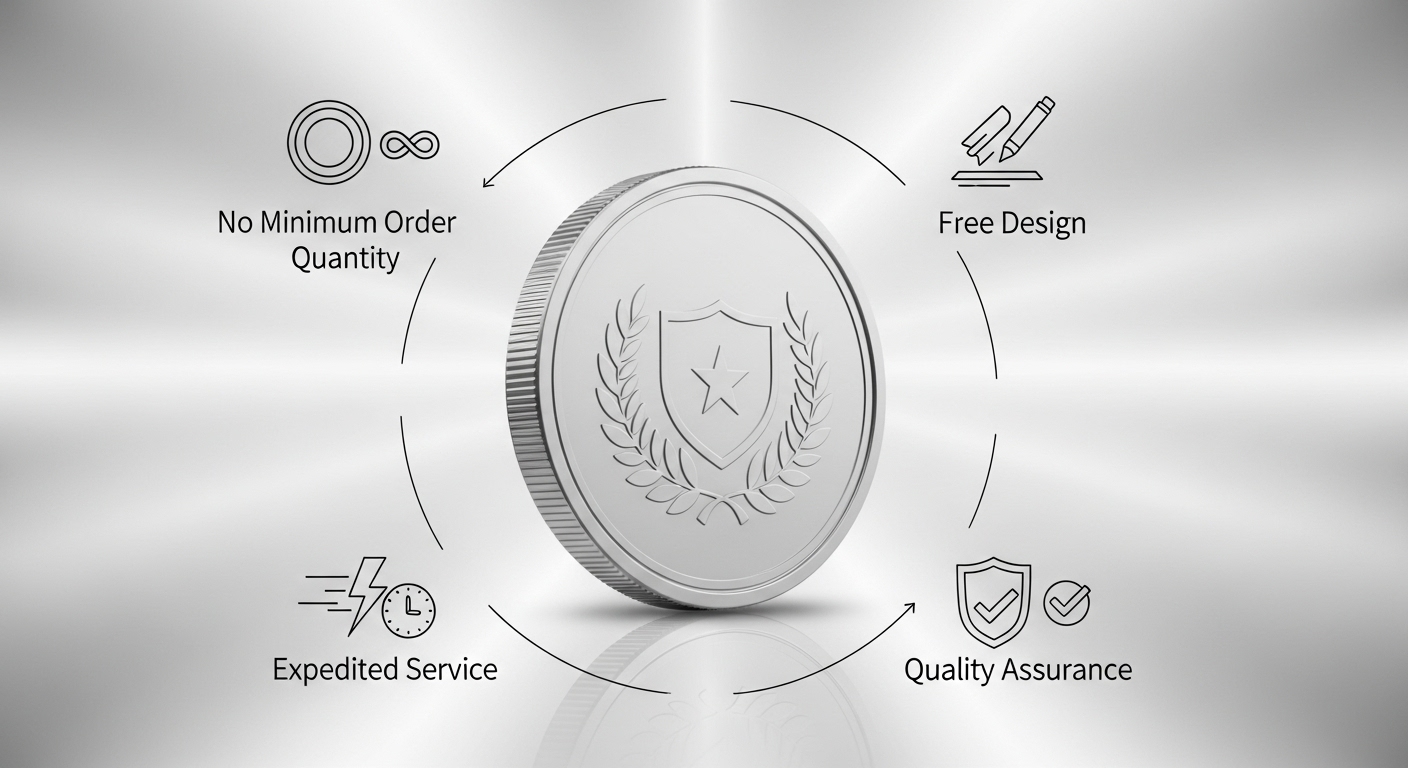
Bring Your Vision to Life with a Trusted Partner
The process of creating custom pins is a partnership. You bring the creative vision; a good manufacturer brings the technical expertise to execute it flawlessly. With over twenty years of experience, we've guided thousands of clients—from first-timers to global brands—through this rewarding process.
We combine modern manufacturing technology with old-school attention to detail, ensuring every pin meets our high standards for polish, color fidelity, and durability. Whether you need 50 pieces for a passionate community or 50,000 for a nationwide campaign, we provide the same level of care and clear communication.
Frequently Asked Questions
I only need 25 pins. Why is the price per pin so high?
This is due to the mold fee, a fixed one-time cost for creating the custom tool (die) for your design. This fee, often between $150-$300, is divided by your total quantity. For 25 pins, a $200 mold adds $8 to each pin's cost before the production cost. For very small quantities, the mold dominates the economics. Solutions include: ordering a higher quantity (the per-pin cost drops dramatically), exploring custom button pins (no mold fee), or using a modified stock design. Contact us to discuss the most cost-effective path for your small batch.
What's the difference between "hard enamel" and "soft enamel"?
It's all about the final surface texture:
Hard enamel is premium and formal; soft enamel is classic, cost-effective, and great for detailed, colorful designs.Most custom enamel pins you see (for events, brands, fandoms) are soft enamel.
Can I make a pin from a photograph or a complex illustration with gradients?
Traditional enamel (hard or soft) cannot reproduce gradients, photographs, or ultra-fine detail like realistic hair—it's meant for solid, distinct colors. For such designs, you need offset printing or UV printing. This process digitally prints the image directly onto a smooth, usually silver or gold, metal base. It allows for full-color, photorealistic results. Think of it like printing a sticker, but the ink is cured onto metal. This is how you achieve pins with portraits, landscapes, or any artwork that doesn't use simple color blocks.
What file format should I use for my design?
You must provide vector artwork. Acceptable formats are:
Do NOT send: JPG, PNG, PSD, or Word documents. These are raster (pixel-based) images that become blurry when enlarged for production. If you only have a raster image, most manufacturers (including us) offer artwork vectorization services for a fee to recreate your design in the proper format.
How long does the entire process take from start to finish?
For a standard order using Express Service:
Total (Realistic): 30-40 calendar days. For Priority Service, you can shave about 7-10 days off the production phase. Always plan ahead and account for potential revisions during the sample stage. Rushing any step risks quality.