Sign in
Create Your Account
Create My Account
Sign In
Create Your Account
Learn to order premium custom embroidered patches in 5 steps. Get expert design, size, border & wholesale tips for brands, uniforms & events.
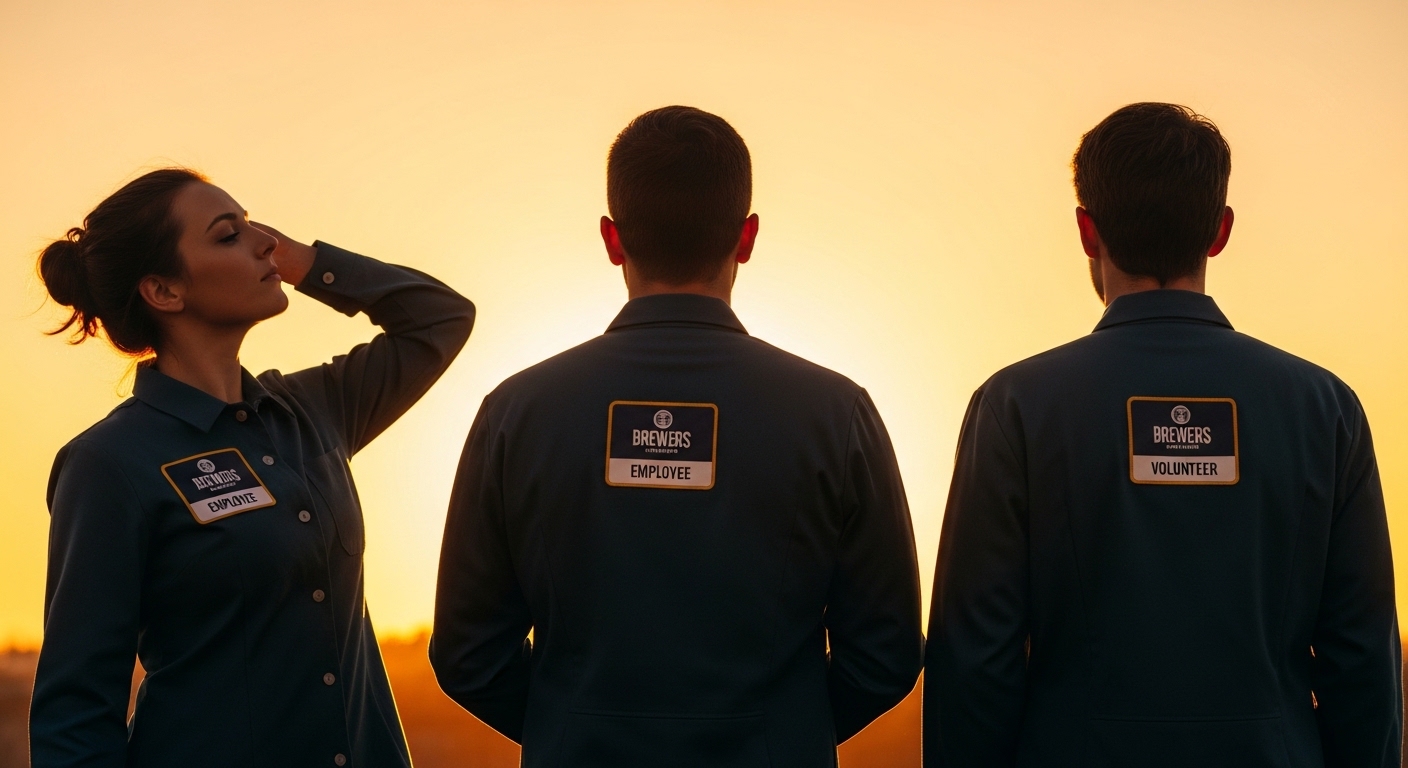
Picture this: you're managing a growing brewery, and your staff's uniforms look functional but generic. You want something that captures your brand's rustic charm and creates team pride. Or perhaps you're leading a non-profit organization and need a recognizable symbol for volunteers at events. Maybe you're simply a motorcycle enthusiast wanting to personalize your jacket with a unique club emblem. In all these scenarios, one solution consistently rises to the top: custom embroidered patches.
For decades, embroidered patches have served as the workhorse of brand expression and group identification. Unlike printed logos that can fade or peel, a well-made embroidered patch is durable, tactile, and carries a sense of permanence and quality. However, the journey from a great idea to a box of perfect patches on your desk is where many businesses and individuals hit roadblocks. How do you ensure the colors match your brand guide exactly? What's the difference between thread types? Why does one supplier quote $2 per patch while another asks for $8? And most importantly, how do you buy custom embroidered patches online without getting stuck with disappointing quality?
This guide cuts through the confusion. Drawing on twenty years of manufacturing everything from small-run passion projects to massive wholesale custom embroidered patches orders for global brands, we'll walk you through the entire process. You'll learn not just how to order, but how to make informed decisions at each step to guarantee the final product exceeds expectations. Whether you need 50 patches for your hiking club or 5,000 for a corporate uniform rollout, the principles remain the same.
From Sketch to Stitch: A 5-Step Framework for Your Perfect Patch Design
Creating custom design embroidered patches isn't just about sending a logo to a factory. It's a collaborative translation process, turning a digital concept into a physical object made of thread. Skipping steps or making assumptions here is the most common source of errors. Follow this framework to navigate from inspiration to a manufacturable design.
Step 1: Defining Your Design's Purpose and Constraints
Before you open a design program, ask the "why" and "where." A patch for a firefighter's turnout gear has vastly different requirements than one for a retail employee's polo shirt. Start with these questions:
Taking the time to answer these questions will save countless revisions later. For example, the Custom John Ball Zoo Embroidered Patch needed to be colorful and detailed for visitors to appreciate up close, yet durable enough for staff to wear daily. This dictated a higher stitch count and specific thread types.
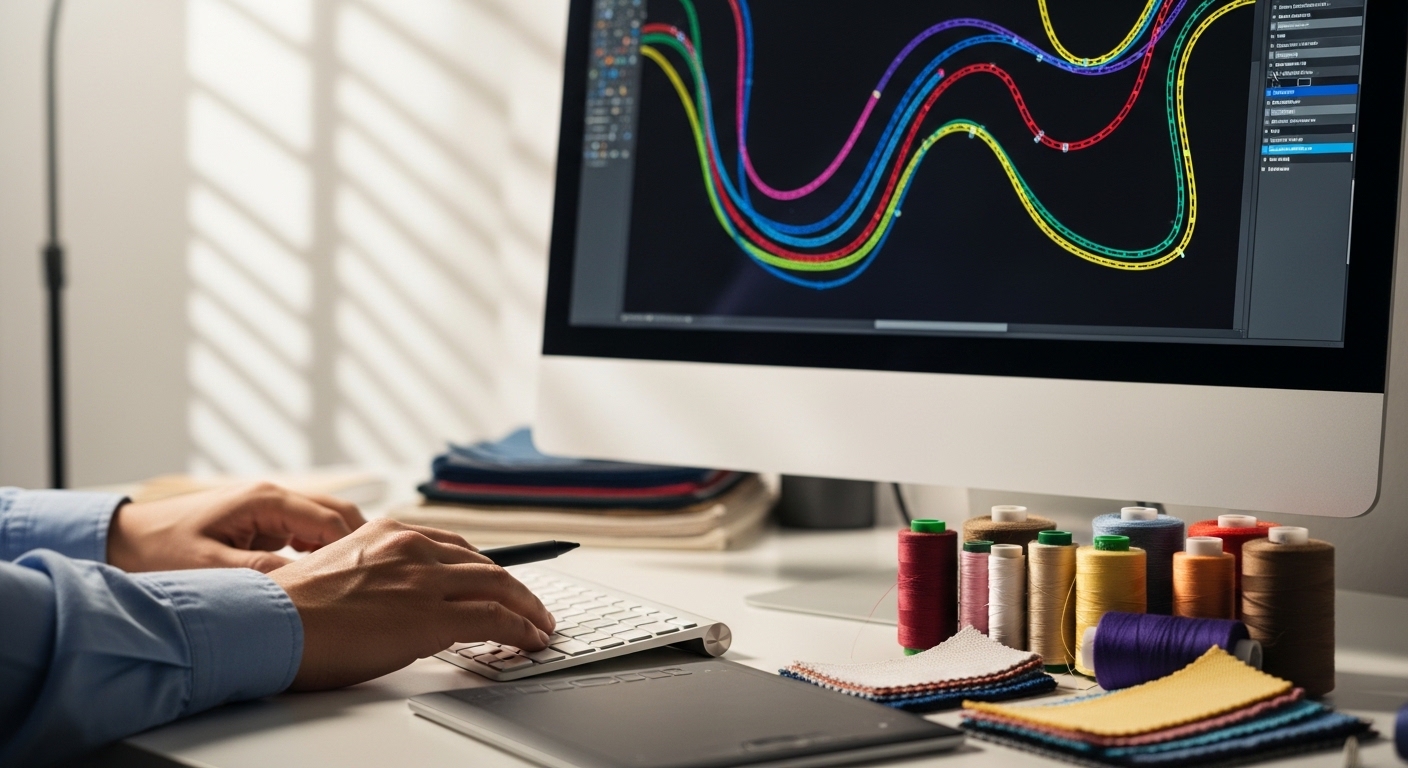
Step 2: Translating Your Logo into an Embroiderable Format
This is the critical technical hurdle. Most logos are designed for screens and print, not for stitching. Embroidery has inherent limitations: it cannot create photographic detail, extremely thin lines, or subtle gradients. A successful translation requires simplification and adaptation.
Key Adaptation Rules:
Most reputable companies that make custom patches, like Maxemblem, offer professional digitization services. This is where an artist translates your artwork into a digital embroidery file (.dst, .pes, etc.) that tells the machine exactly where to place every stitch. Providing a clean, vector-format logo (like an .AI or .EPS file) is the best starting point for this service.
Step 3: Making Strategic Choices on Size, Shape, and Border
These physical attributes define the patch's presence and functionality.
Attribute |
Options & Considerations |
Best For / Visual Impact |
|---|---|---|
Size |
Typically ranges from 1" to 10"+. Cost increases with size. For first-time orders, a 3" to 4" patch is a versatile, cost-effective choice that offers good visibility. |
Chest logos: 3"-4". Back patches: 6"-10". Hat patches: 1.5"-2.5". Always request a physical size mockup to visualize. |
Shape |
Custom Shape (Die-cut): Patch is cut to the exact outline of your design. Requires a custom steel rule die (adds one-time tooling cost). Standard Shape: Made as a square, circle, rectangle, or oval, then embroidered. No die cost. |
Custom shapes are distinctive and professional but add cost and time. Standard shapes are economical and faster, especially for smaller orders. |
Border |
Merrowed Edge: A thick, raised overlock stitch border. Very durable, classic look. Hot Cut (Patch Cut): Border is laser or hot knife cut, leaving a clean fabric edge. Modern, flat appearance. No Border/Straight Stitch: The design is embroidered directly onto fabric, which is then cut very close to the stitches. |
Merrowed is best for durability and a traditional feel. Hot cut offers a sleek, contemporary look. No border is used for intricate shapes but is less durable. |
Embroidery, Woven, or Chenille? Selecting the Right Material and Texture
Not all "patches" are created with the same technique. The choice between embroidery, weaving, and chenille impacts aesthetics, detail, texture, and cost. Understanding these differences is key to getting the look and feel you want.
Patch Type |
How It's Made & Look/Feel |
Ideal For |
Detail Level |
|---|---|---|---|
Embroidered Patches |
Thread is stitched through a fabric backing (like twill or felt), creating a textured, raised, and tactile surface. Offers classic dimensionality. |
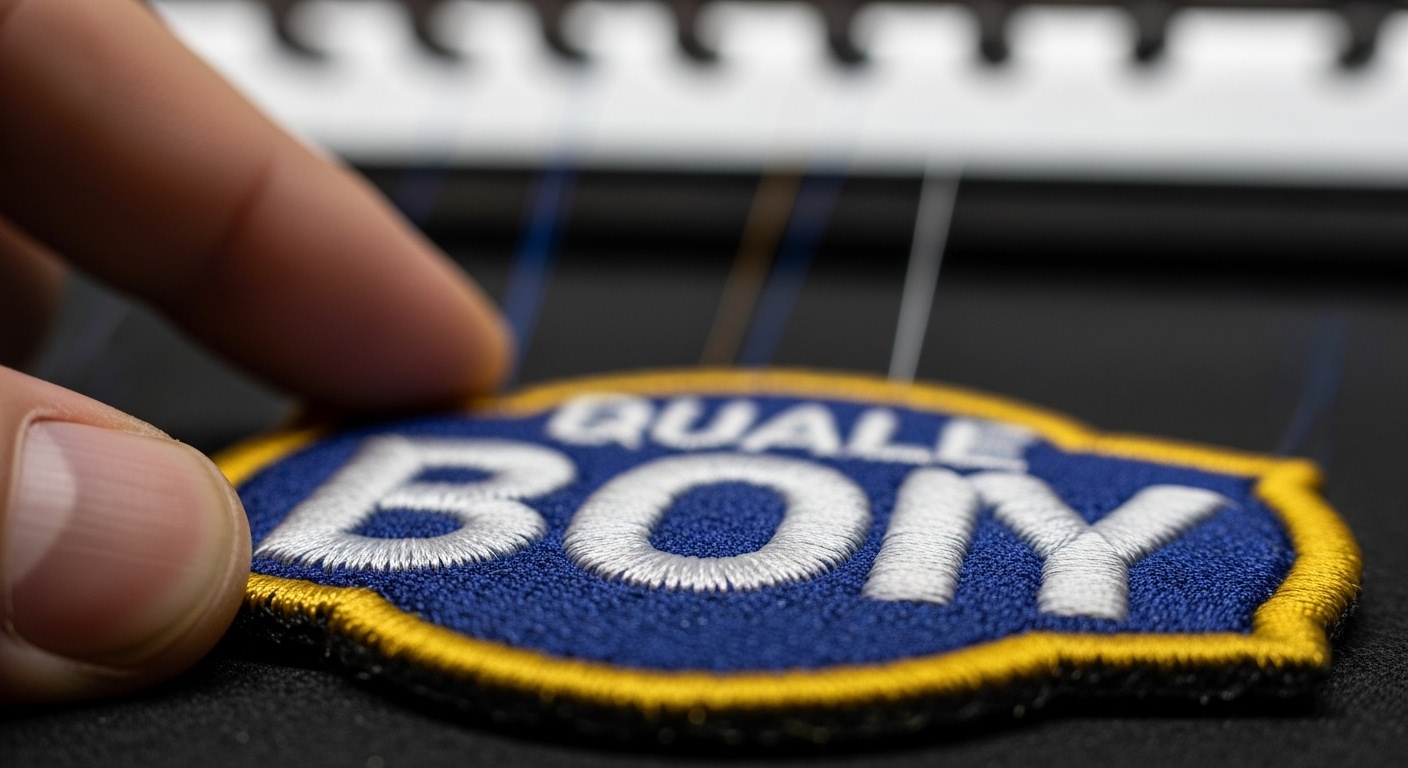
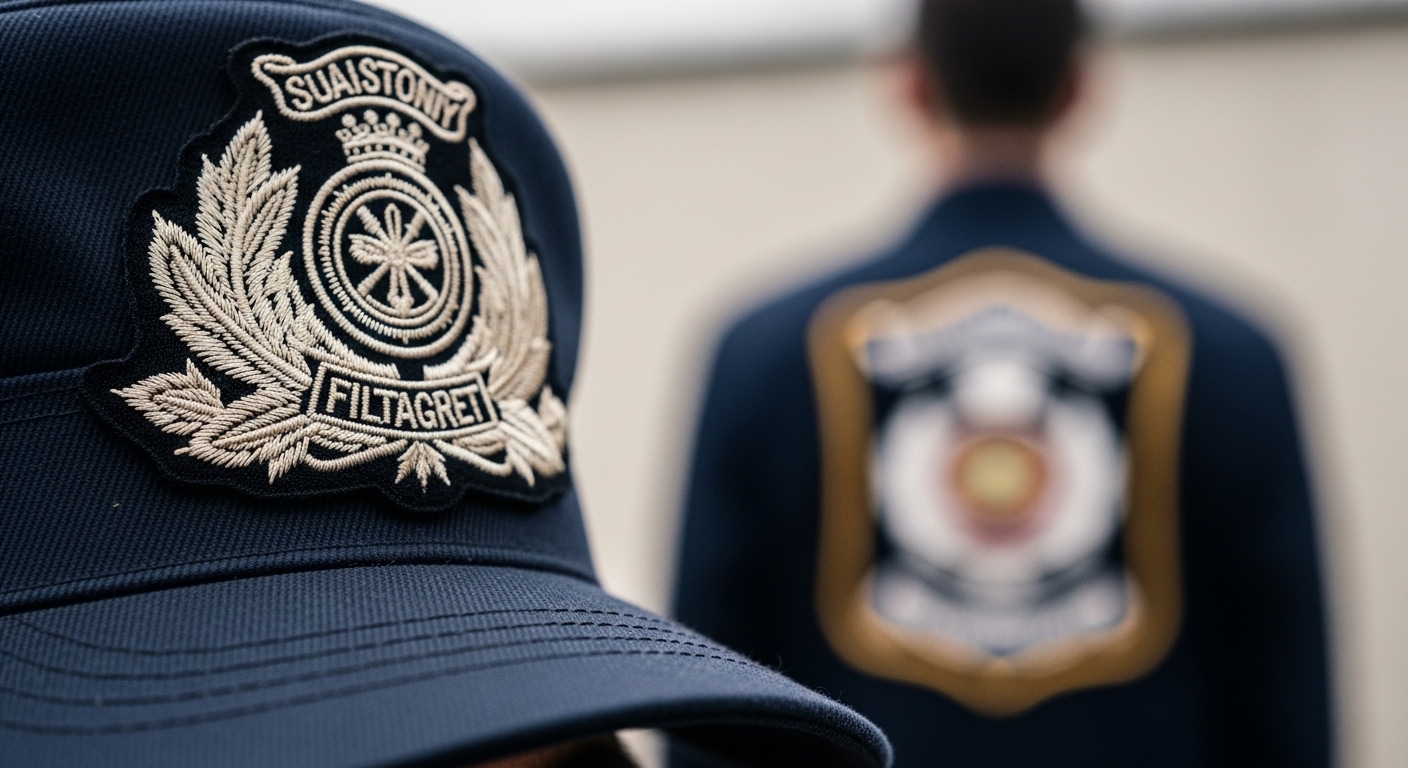
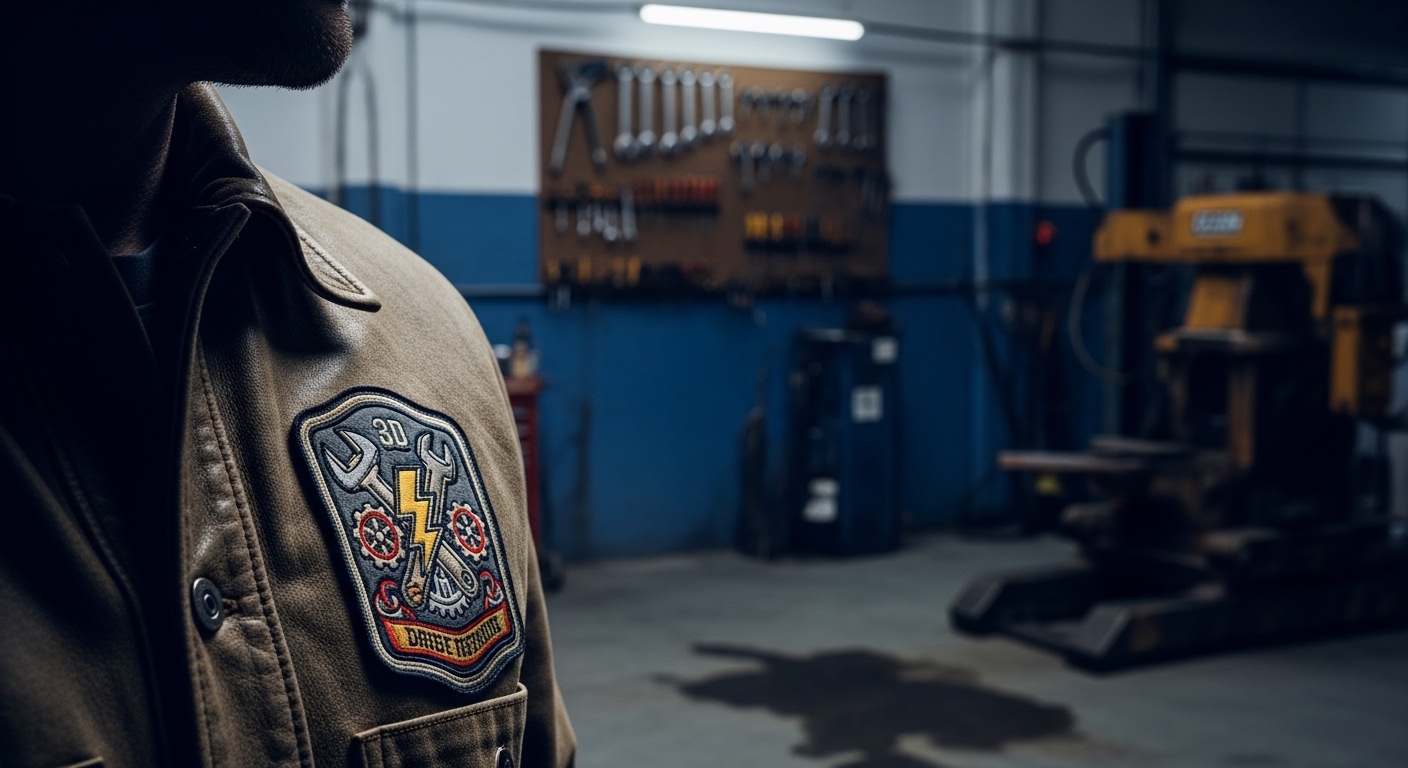
Military units, corporate logos, motorcycle clubs, scouting—any application requiring durability and a traditional, premium feel. The standard for high quality custom patches. |
Medium. Excellent for bold logos, text, and defined shapes. Not for photorealistic detail. |
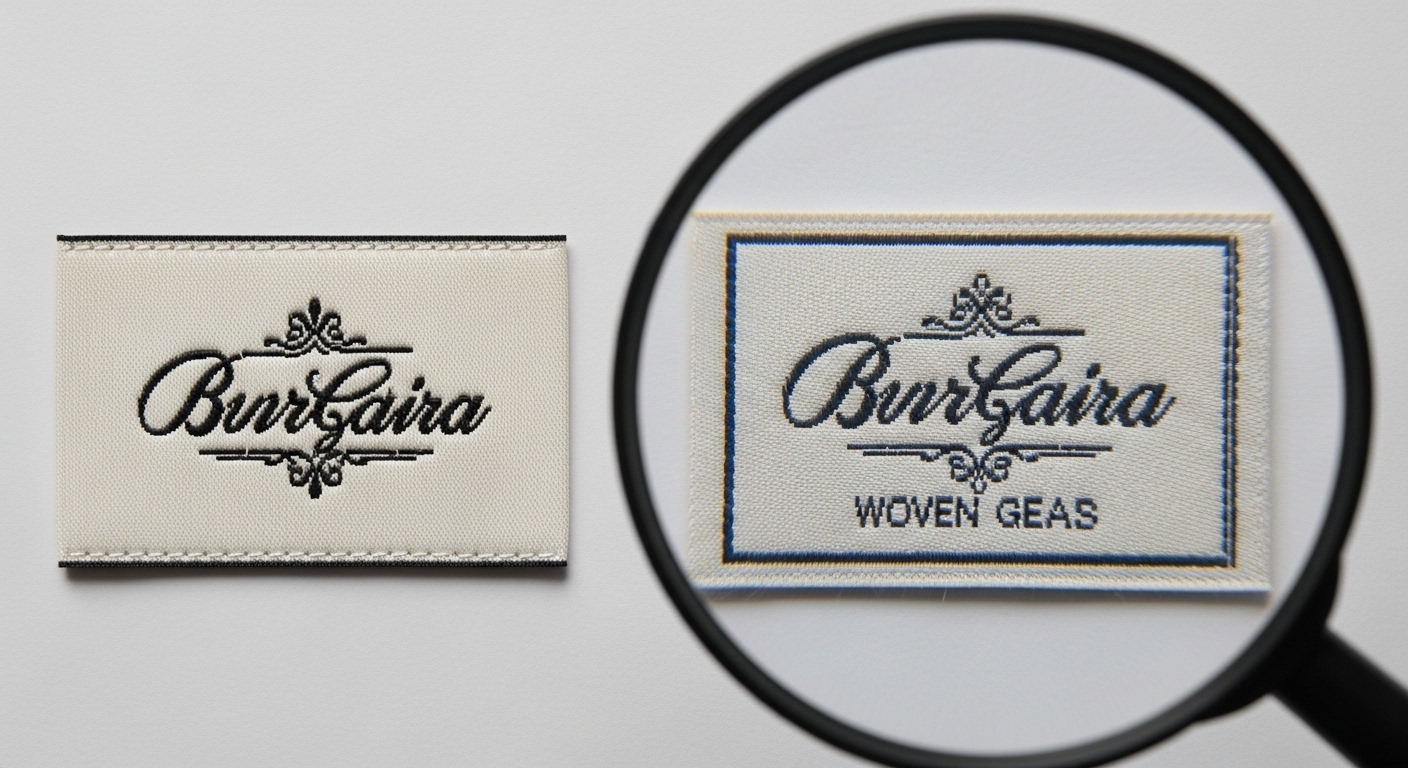
Woven Patches |
Threads are woven together on a jacquard loom, creating a thin, flat, and dense fabric. Similar to the label inside your shirt. |
Designs with very fine detail, small text, or gradients (simulated through dithering). Great for name tapes, intricate crests, or when a low-profile, flat patch is needed. |
Very High. Can reproduce much finer lines and smaller text than embroidery. |
Chenille Patches |
Made by looping fuzzy yarn through a backing, creating a thick, soft, and raised "varsity letter" texture. Often combined with felt and embroidery. |
Letterman jackets, sports teams, fraternities/sororities, and retro-inspired designs. All about a classic, athletic, textured look. |
Low to Medium. Best for bold letters, numbers, and simple mascot shapes. |
Think of it this way: choose embroidery for durability and a classic 3D texture, woven for maximum detail in a flat format, and chenille for a specific vintage, athletic aesthetic. This decision is as important as the design itself and will define the patch's character.
Navigating Production: Pricing, Timelines, and Partner Selection
Once your design is finalized, you enter the production phase. This is where understanding industry norms protects you from overpaying, missing deadlines, or receiving subpar quality. Let's demystify the three major pillars: Cost, Time, and Supplier Evaluation.
Understanding the Real Cost of Custom Patches
Receiving a quote for custom made embroidered patches can be confusing if you don't know what factors drive the price. It's rarely as simple as "cost per square inch." Here’s what you're paying for:
Transparency Tip: A trustworthy supplier will be able to explain their quote using these variables. Be wary of a single, vague "per patch" price with no breakdown or explanation of what happens if you change the quantity.
Realistic Timelines: From Order to Delivery
Rushing a custom manufacturing process leads to mistakes. Planning ahead is crucial. The total lead time is Production Time + Shipping Time. Here’s a realistic overview based on standard industry operations for embroidered patches:
Service Level |
Typical Production Time |
Shipping Time (to US/EU) |
When to Choose |
|---|---|---|---|
Rush Production |
3-5 business days |
3-5 business days (Express) |
Critical deadlines. Expect a premium rush fee. Ideal for last-minute event needs. |
Standard Production |
7-12 business days |
5-9 business days |
The most common and cost-effective choice. Plan for a total of 3-4 weeks from order to delivery. |
Large Wholesale Order |
12-18 business days |
7-12 business days (Sea Freight) |
Orders of 5,000+. Maximizes cost savings via slower, bulk shipping. Start the process 6-8 weeks ahead. |
Protect Your Timeline: Always build in a 1-2 week buffer after the promised delivery date for your event. This accounts for potential customs delays, proof approval time, or unexpected production hiccups.
Your Patches, Perfected and On Time
The journey to create custom embroidered patches should be exciting, not stressful. With a clear understanding of design, materials, cost, and timing, you're equipped to partner with a manufacturer confidently.
At Maxemblem, we combine two decades of technical expertise with a commitment to transparent communication. We guide you through each decision, provide detailed proofs, and stand by our quality and delivery promises. From your first sketch to the final stitch, we're here to ensure your vision becomes a reality.
Frequently Asked Questions
Where can I safely buy custom embroidered patches online?
Look for suppliers with: Transparent Pricing (clear quotes with breakdowns), Physical Samples (willing to send proofs or existing samples), Detailed Processes (they explain digitization, provide artwork proofs), and Secure Platforms (professional website with SSL encryption). Read independent reviews and ask for references for large orders. Companies with long-standing industry presence, like Maxemblem, typically offer more reliability and expertise than anonymous online storefronts.
What are the different backing options, and how do I choose?
How many colors can I have in my embroidered patch?
Technically, there's no hard limit, but practicality and cost create constraints. Each additional color increases production time (thread changes) and complexity. Most high quality custom patches look best with 2-6 colors. Exceeding 8-10 colors can make the patch look busy and increase cost significantly. For designs requiring photographic color (like a portrait), a printed patch or a woven patch is a more suitable and cost-effective choice, as they can handle thousands of color shades without increasing production difficulty.
Can I order a single sample patch before my full order?
Yes, and for anything other than the simplest design, it is highly recommended. A physical sample allows you to verify colors under real light, feel the texture, check the stitching quality, and test the attachment method. Reputable manufacturers offer a "studio sample" or "prototype" service, though there is usually a fee to cover the setup and production of a single piece. This fee is a small price to pay to ensure your full production run is perfect. It's a hallmark of a supplier confident in their quality.