Sign in
Create Your Account
Create My Account
Sign In
Create Your Account
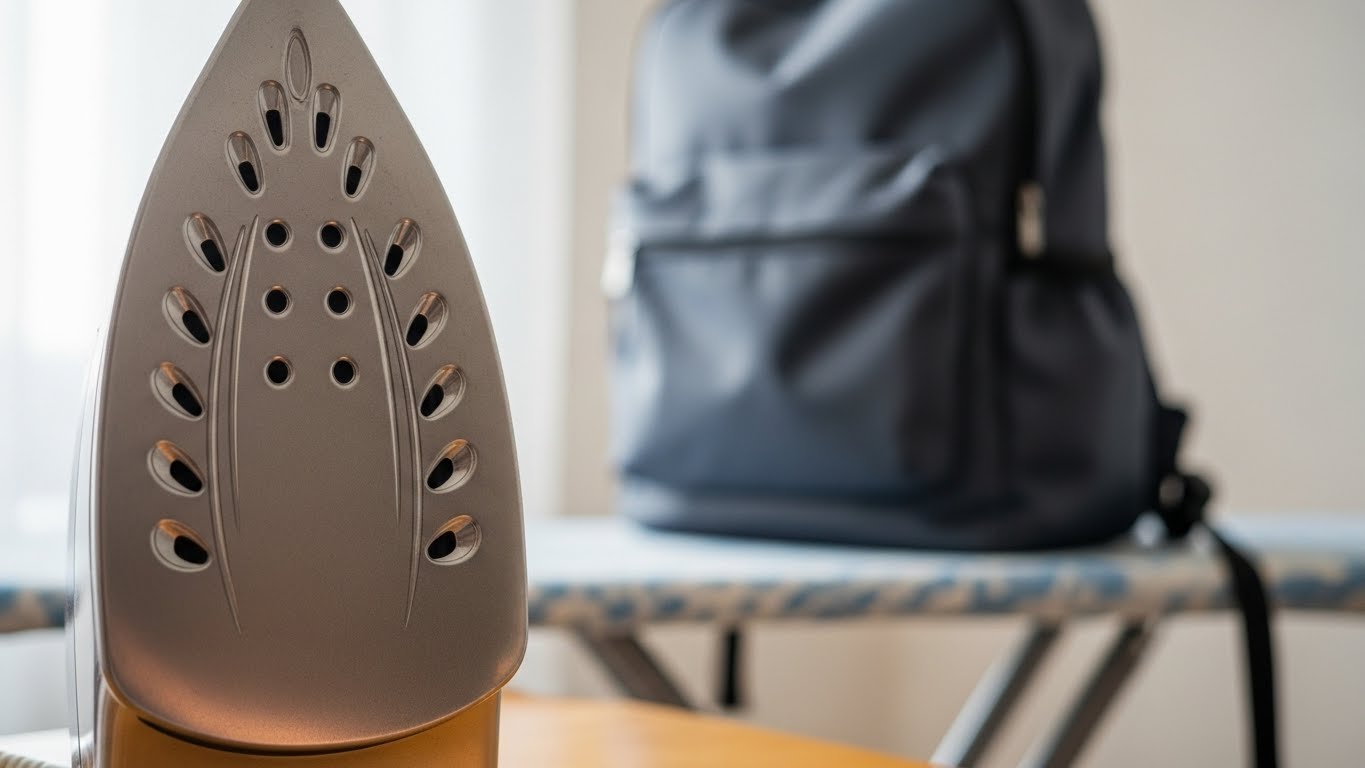
Learn to apply a custom name patch to your backpack with this guide. Get a durable bond for school, travel or everyday use and add a unique personal touch.
Giving your backpack a personal touch with a custom name patch is a fantastic way to express your style and make it easily identifiable. Whether it's for school, travel, or everyday use, a well-applied patch transforms a simple bag into something uniquely yours. While the process is straightforward, getting a durable bond—especially on common materials like polyester—requires the right technique. This guide walks you through every step, from choosing your personalized backpack patch to ironing it on perfectly and ensuring it lasts for years.
What You'll Need: Gather Your Supplies
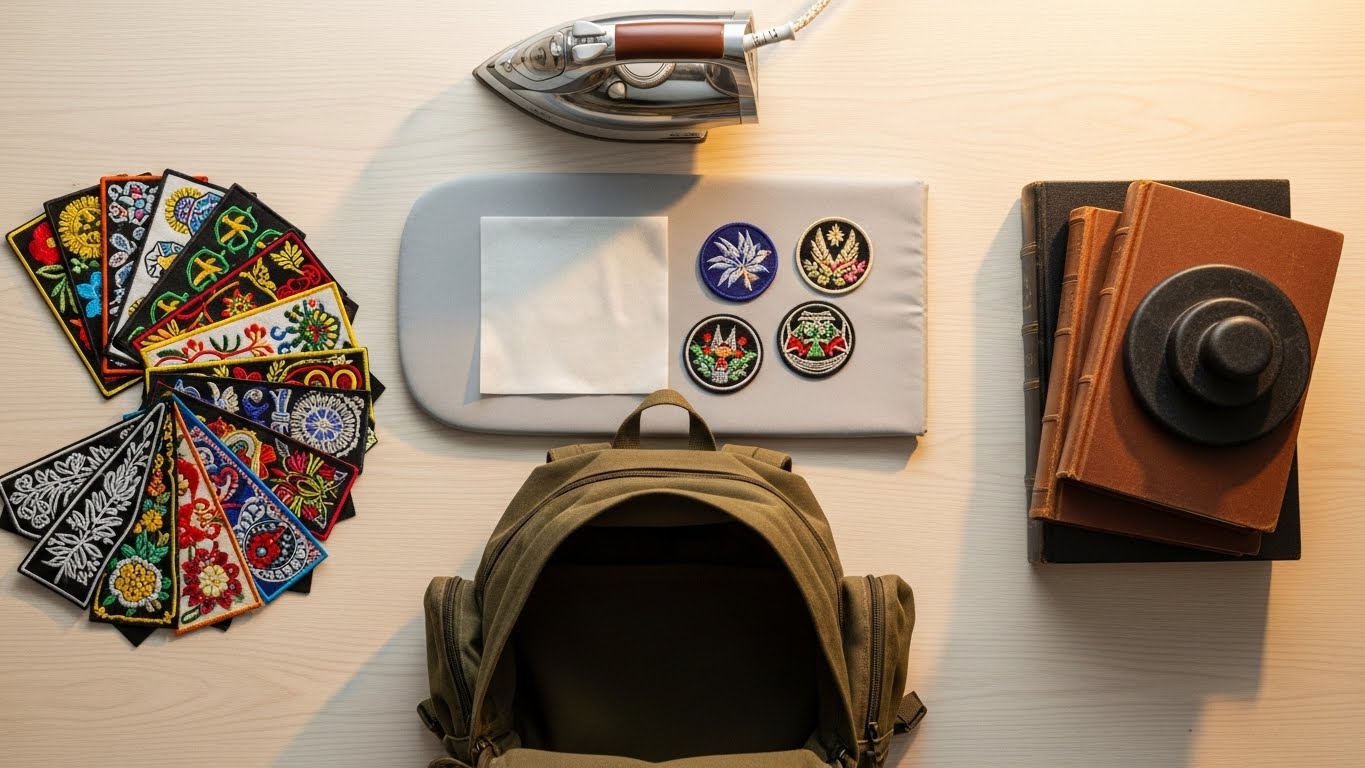
Preparation is the key to success. Before you start, make sure you have all these items ready:
Your Custom Patch: Ensure it's clean, flat, and has an iron-on backing.
The Backpack: It should be clean and completely dry. Iron out any wrinkles on the target area if possible.
Household Iron: Any standard iron will work.
Critical: You must be able to turn the steam function OFF.
Pressing Cloth: A thin piece of cotton fabric (like a pillowcase or an old t-shirt) is essential to protect both the patch and your backpack from direct heat.
Ironing Board or Hard, Flat Surface: You need a stable, heat-resistant surface to press on.
Heavy Object (Optional): A heavy book can be placed on the patch after ironing to apply pressure as it cools, reinforcing the bond.
Pro Tip: Always do a quick test. If you're unsure about the heat or the backpack material, test the ironing process on a small, hidden area (like inside a pocket seam) first. This can save you from accidental damage.
Material Matters: Is Your Backpack Iron-Friendly?
Not all backpack materials are created equal when it comes to heat. The most common backpack fabric, polyester, requires careful attention.
Material |
Ironing Suitability |
Key Considerations |
|---|---|---|
Polyester & Nylon |
Good (with caution) |
Use a MEDIUM or LOW heat setting. High heat can melt, shrink, or scorch synthetic fibers. A pressing cloth is non-negotiable. |
Canvas or Cotton |
Excellent |
These natural fabrics can handle higher heat. You can typically use the cotton setting on your iron for a strong bond. |
Waxed Canvas |
Poor |
Direct ironing is not recommended as it can damage the wax coating. For these, consider using a strong fabric glue instead. |
Delicate Fabrics (e.g., Thin Mesh) |
Poor |
High heat can burn or warp delicate materials. Sewing is often a safer attachment method for these areas. |


How to Properly Apply Patches to Different Backpack Materials: The Iron-On Steps
Follow these steps carefully for a professional, long-lasting result. The process is similar for most fabrics, but the heat setting is the critical variable.
Step 1: Prepare the Area
Lay your backpack flat on the ironing board. Position it so the section you want to patch is as flat and smooth as possible. If you're patching a curved area like a strap, try to flatten it as much as you can. Clean the spot with a dry cloth to remove any dust or lint.
Step 2: Position and Preheat
Place your embroidered name patch exactly where you want it, adhesive side down. Take a moment to double-check the alignment—you won't be able to move it once heated.
Plug in your iron and set the temperature. For polyester backpacks, use a medium heat setting. For canvas or cotton, you can use a higher setting (like "Cotton"). Once the iron is hot, ensure the steam function is turned off completely.
Step 3: Apply the Heat
Cover the patch with your pressing cloth. Press the hot iron firmly down onto the cloth-covered patch. Do not slide or move the iron around, as this can shift the patch.
Apply firm, steady pressure for 30 to 45 seconds. For larger patches, you may need to work in sections, holding the iron in place for 30 seconds on each area.
Caution: If you smell plastic or see smoke, the heat is too high! Immediately lift the iron and let the area cool. You may need to lower the temperature for your next attempt.
Step 4: Cool and Seal the Bond
This is the most commonly skipped but vital step. After ironing, do not touch or move the patch. Simply remove the iron and let the backpack sit until the patched area cools down completely. This cooling period allows the adhesive to set fully.
For extra security on a high-stress area (like a strap), you can place a heavy book on top of the patch while it cools to apply continuous pressure.
Step 5: The Final Test
Once completely cool, gently try to peel up a corner of the patch with your fingernail. If it lifts easily, the bond isn't secure. Cover it again with the pressing cloth and reapply heat for another 20-30 seconds. If it's firmly attached, you're all set!
Making It Last: Care for Your Patched Backpack
To ensure your personalized patch stays looking great:
Wash with Care: Turn the backpack inside out if possible before washing. Use a gentle, cold water cycle and mild detergent.
Air Dry: Always air dry your backpack. The intense heat of a dryer is the number one enemy of iron-on adhesives and can cause peeling.
Reinforce if Needed: For patches on areas that get a lot of friction (like the bottom of the bag), consider adding a few hand stitches around the edges after ironing.This combines the ease of iron-on with the permanence of sewing.
Frequently Asked Questions
My iron-on patch is peeling at the edges. Can I fix it?
Yes, this usually means it wasn't heated long enough or with enough pressure. Place the pressing cloth over the patch and re-iron, paying special attention to the peeling edges. Apply firm pressure for 30-45 seconds and let it cool completely without moving it.
Can I remove an iron-on patch if I make a mistake?
Removal can be difficult and may damage the fabric. You can try reheating the patch with an iron to soften the adhesive and then slowly peel it off. Any leftover adhesive residue can sometimes be rolled off with your fingers or treated with a commercial adhesive remover, but test any cleaner on an inconspicuous spot first.
Is it better to sew or iron on a patch for a backpack?
It depends on your priority. Ironing is faster, easier, and requires no skill. Sewing is more durable and permanent, especially for heavy-duty use or on materials that can't handle heat. For the best of both worlds, iron the patch on first to hold it perfectly in place, then stitch around the edges for reinforcement.
With the right technique, adding a custom name patch to your backpack is a simple and rewarding DIY project. It personalizes your gear, makes it easily identifiable in a crowd, and can even cover up minor wear and tear. By following these steps—especially by matching the heat to your backpack's material and allowing for proper cooling—you'll create a bond that lasts through all your adventures.